Do you need to learn how to organize your fridge with containers in a fast and simple way? If you’re tired of cramming your groceries into a messy fridge, it’s time to do something about it. I promise. It’s worth your time.
It can be extremely frustrating to have clutter and disorganization in your home, but having chaos in the kitchen can be the worst. Kitchen clutter, especially food disorganization, can lead to waste and frustration. Learning how to organize your fridge with containers will not only make the space look neater, but it will keep your food organized for good.
Deciding to deal with your fridge offers so many benefits beyond aesthetics. It’s been shown that an organized fridge can significantly reduce food waste, make meal planning easier, and even promote healthier eating. Who knew a plan and a few containers could make such a big difference?
You’re going to learn fridge organization ideas, ways to organize your fridge shelves, container ideas, and much more! If you’re ready for a change, today is a great day to start!
This post is all about how to organize a fridge with containers.
How To Organize A Fridge With Containers So It Stays Neat
End the chaos! Let’s get your fridge together and take charge of the food in your house. You can set up your fridge to help support your healthy eating plan and stop overbuying food. Adding containers can trap you into creating an organized space. Let’s get started:
Step #1: Remove Everything From The Fridge
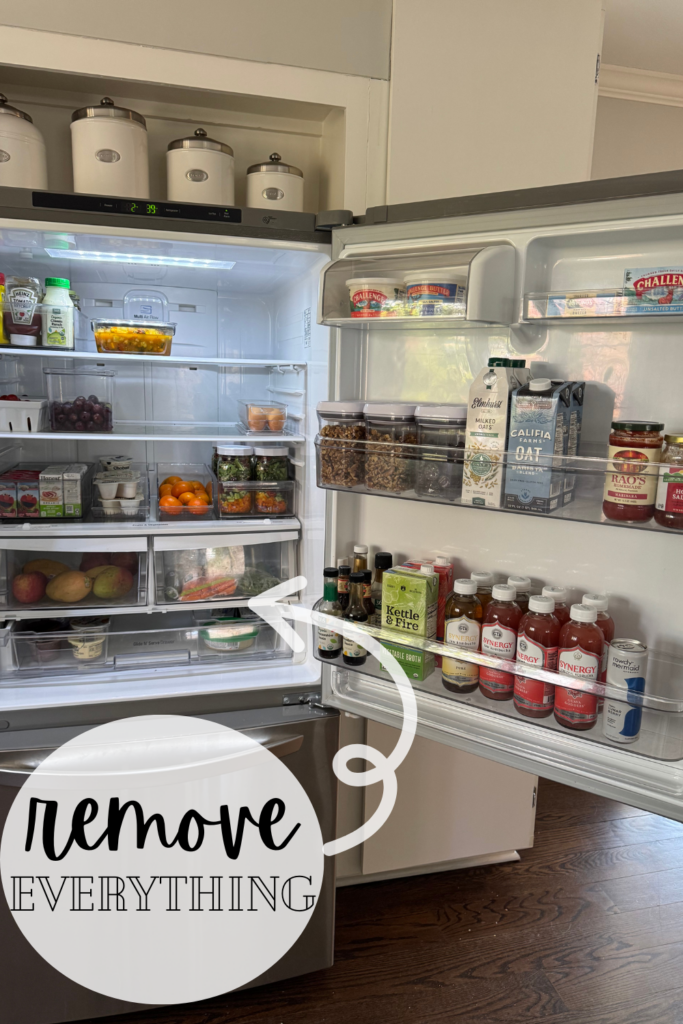
It might feel like it will take too long, but it will take you less than ten minutes to empty everything. This step might sound ridiculous, but it’s arguably the most important step. This is where we get real, toss, sort, and evaluate how to organize what you decide to keep.
Step #2: Clean
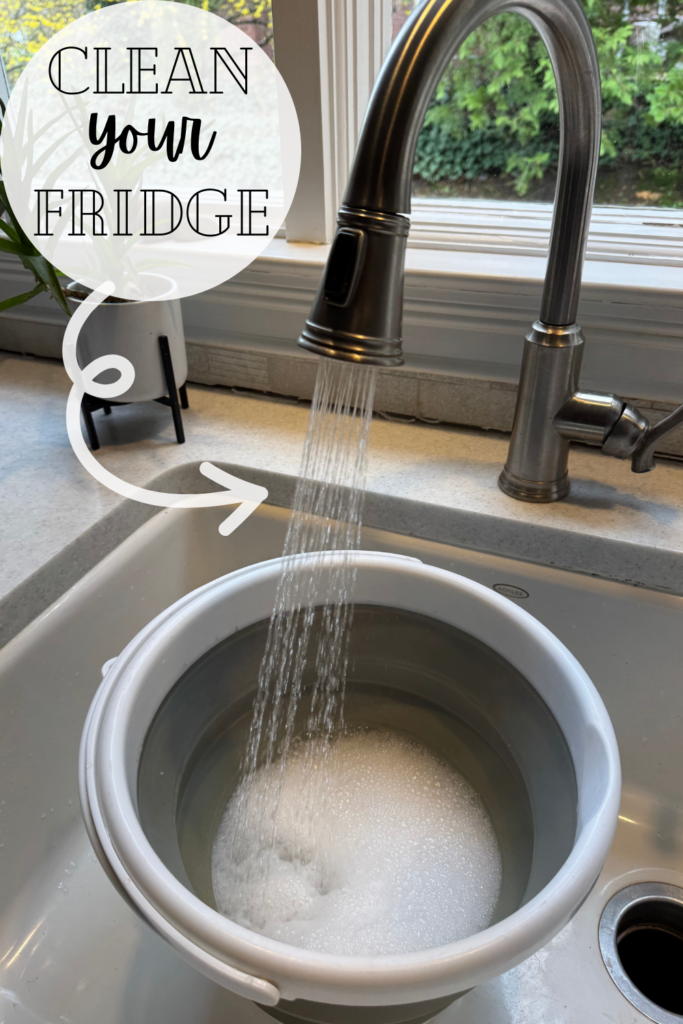
It’s time to fill up a bucket and scrub out that fridge. If you don’t have your food sorted in containers, you most likely have some spills or dried food somewhere in your fridge. This is your opportunity to get your fridge squeaky clean! If you don’t have a ton of time, don’t let this step hold you back. You can do a decent job with a paper towel and some white vinegar. Just make sure you clean your fridge the best you can before you organize.
Step #3: Toss and Sort
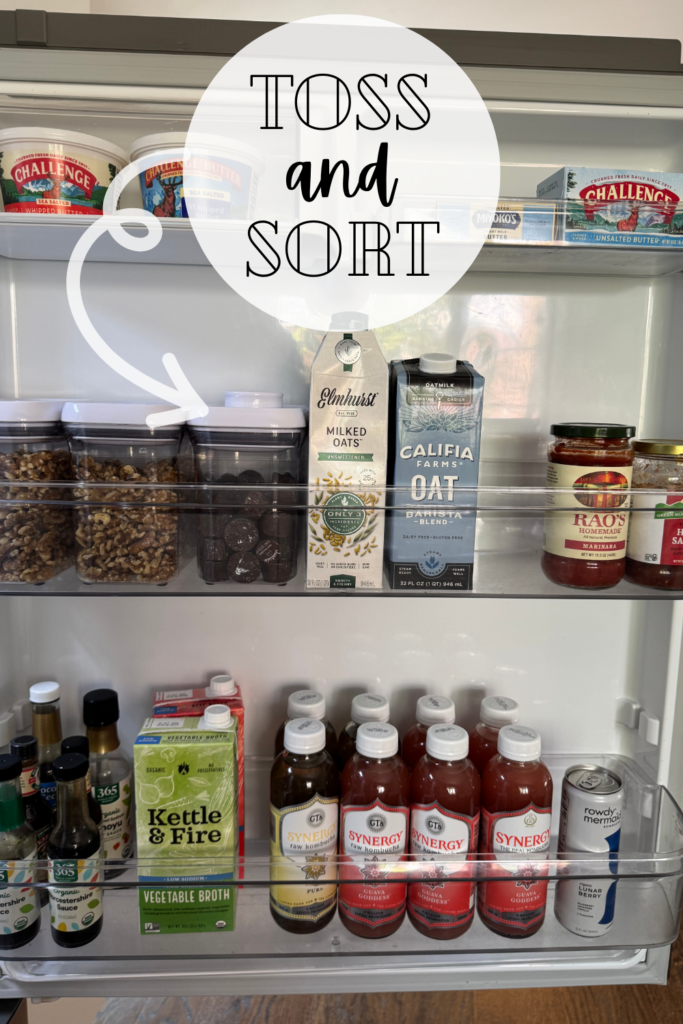
Now is the time to be ruthless. Let’s start with the Toss Pile. Do you have anything expired, leftover for too long, or anything you purchased, didn’t like, but kept anyhow? It’s time to get those things out of the fridge. They are basically in the way and taking up valuable space. I will give you a lesson I learned the hard way – just make a junk pile. Don’t try to rinse your old pasta jar to add to the recycling right now. Do that after you have everything put back that you want to keep. You want to act fast so your cold food stays cold.
Step #4: Plan Your Organization and Add Containers
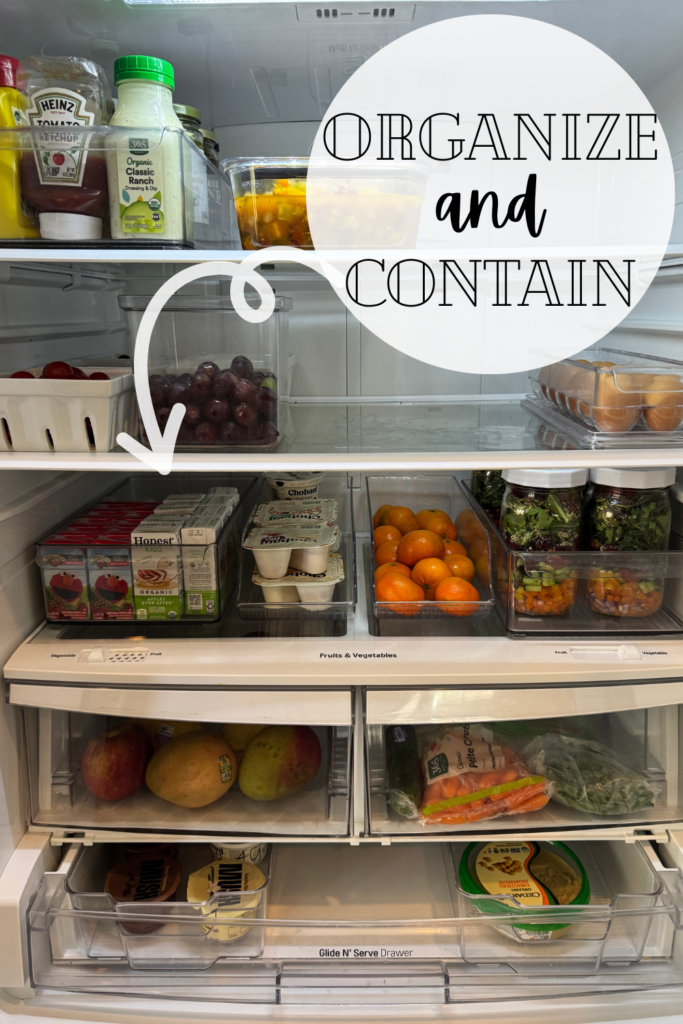
This is my favorite part of the project, but it can stress me out a little because it’s not usually perfect the first time I organize. I want you to know that it doesn’t have to be perfect, and you don’t have to rush to buy expensive containers. Actually, you shouldn’t. Start with grouping items and use containers you already have in the house (cake pans, Tupperware, etc.) as temporary place holders until you find the right organizers. This step will save you stress and money. As you use the fridge in your new organized way, you will learn what works and what doesn’t. Organizing is a process; it’s not a one-and-done project.
Here are a few tips to keep in mind as you begin to organize:
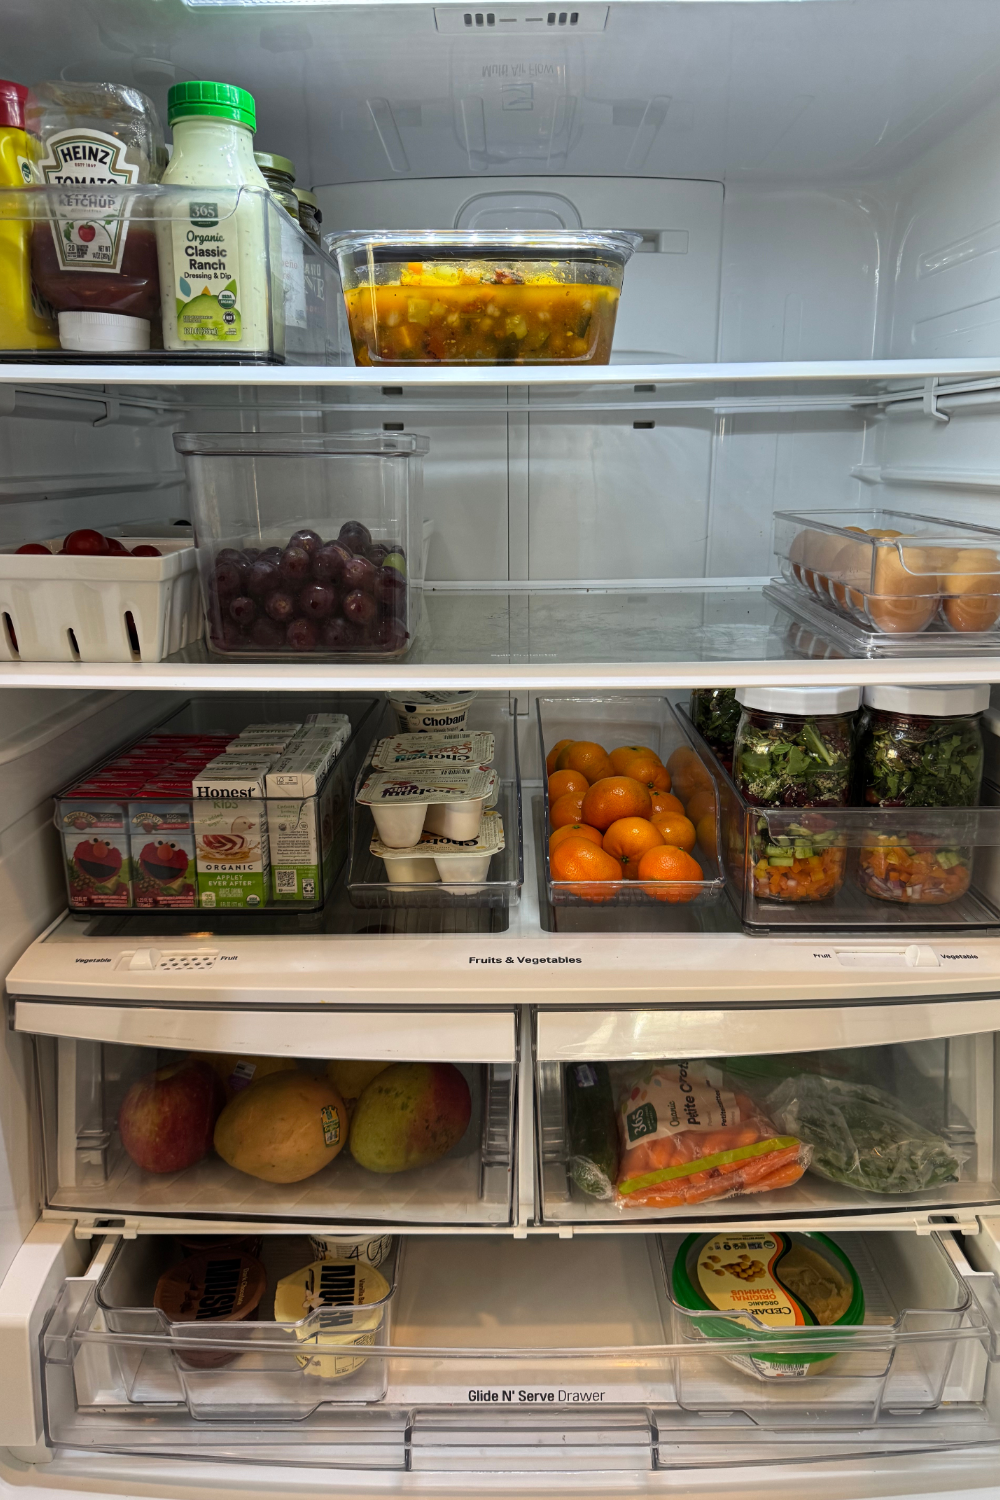
- The food in your fridge is unique to your family. You will see a lot of fruits and vegetables in my fridge because it’s my subtle way of getting my family to snack on healthy foods. You need to create a fridge that works for your family. If you have a busy household with kids and working parents, you might need to label containers to alert family members to what they can and can’t eat.
- Make it obvious when you need to replenish the foods you keep as staples. For example, my husband snacks on chocolate peanut butter cups, and I keep them in a clear container in the fridge door. When he is almost out, it’s obvious because I can see them. If I kept them in the original bag, I wouldn’t notice when I need to buy more.
- Stick with an organization system long enough to find out if it works. If you live alone, you can change your system as you see fit, but if you live with other people, it takes time for them to catch on to a new system. If you notice that your systems are failing, take it as a learning lesson and tweak them as you go. Make sure you give people in your household time to adapt before you decide it doesn’t work.
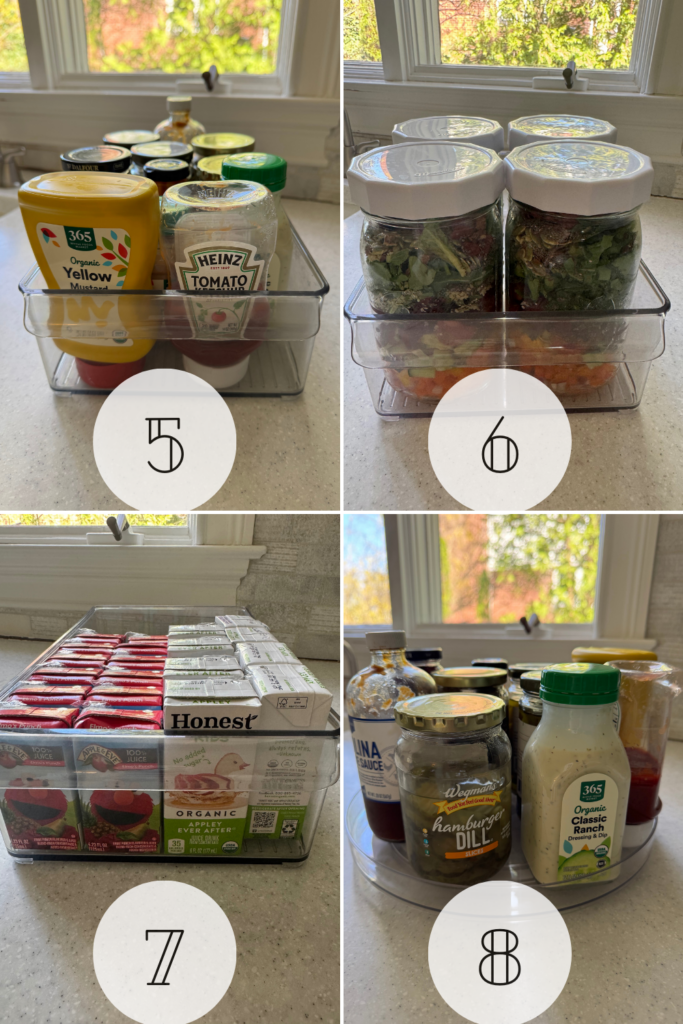
Step #5: Add Your Favorite Containers
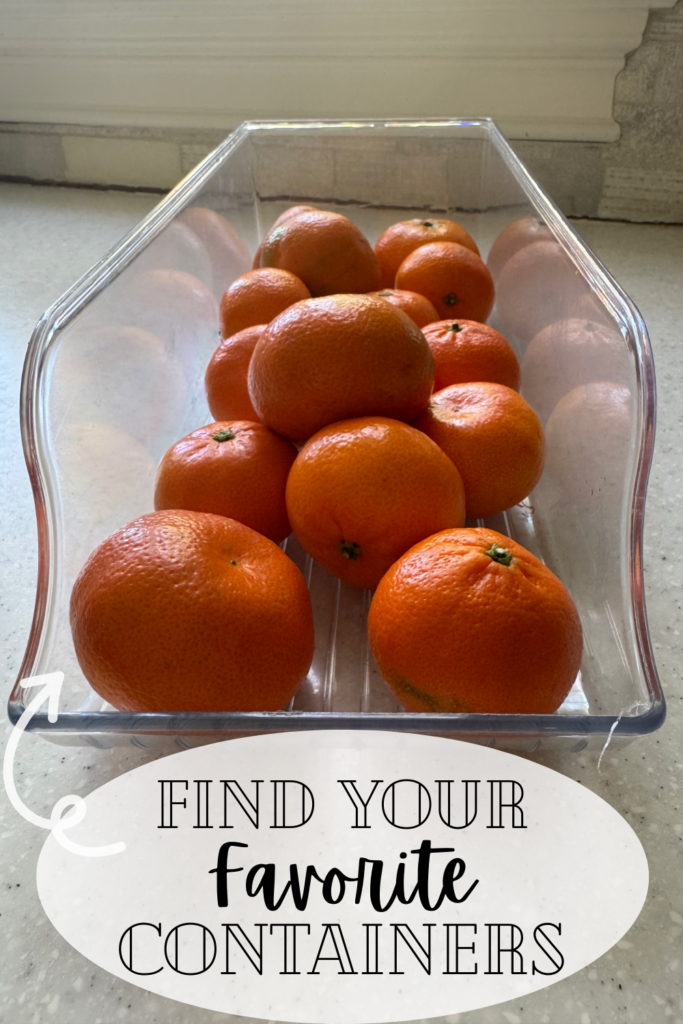
You will find containers that are perfect for your fridge. They will add functionality and beauty to your space, and they will even help keep the fridge clean. The little container in the photo above is meant to hold soda cans. I use it for seasonal fruit, and it works perfectly.
Here are some of my favorite fridge containers with links. I hope some of them work for you:
Links To Some Of My Favorite Fridge Organizers
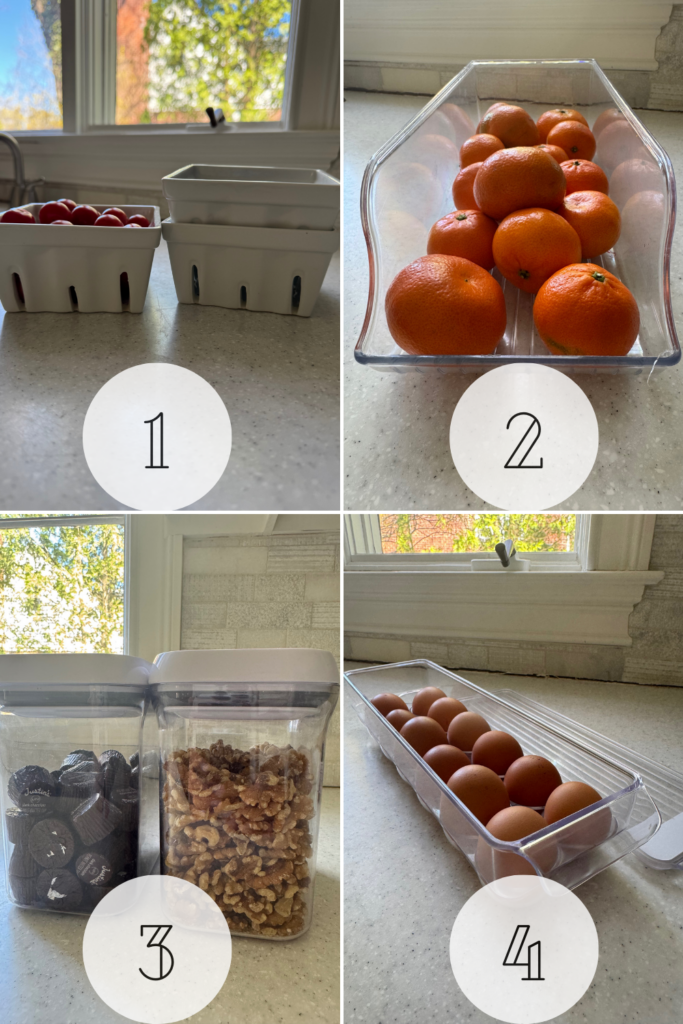
- Berry Boxes from Crate and Barrel: These are my absolute favorite organizers. They keep my berries fresher for longer, and look amazing in my fridge. I have had them for years, and they are still perfect!
- Soda Can Organizers from Amazon: If you want proof that you can get creative, how about a soda can organizer used for seasonal fruit! Try to think outside the box to make your fridge uniquely your own.
- OXO Pop-Top Storage Containers from Amazon: You can’t beat these containers when it comes to a tight seal. The 1.7 QT size fits perfectly in my fridge door, which is a huge bonus. And, they are clear, so I can always see when my husband needs a refill on his chocolate.
- Egg Organizer from Amazon: A clear egg organizer will always tell you when it’s time to go to the store. This little container will take your fridge to the next level.
- Large Fridge Container from Amazon: There are many containers for your fridge. I like the length of these because they extend to the back and utilize the most space. I use these for condiments, and they come in many sizes. I linked the extra-large size below.
- 32oz Wide Mouth Mason Jars from Amazon: If you want to start meal prepping salads, I highly recommend these jars. They have been the best containers I have found for my salads. They would work well for other storage as well.
- Extra Wide Fridge Containers Amazon: Juice boxes never looked so cute! You can store different types in this container, and they will always look tidy.
- Turntable from Amazon: I will be honest, I did a photo shoot with this organizer, but I have never actually used it in my fridge. But, after seeing how much easier it is to find condiments, I’m going to order one for my fridge.
A BIG Mistake To Avoid
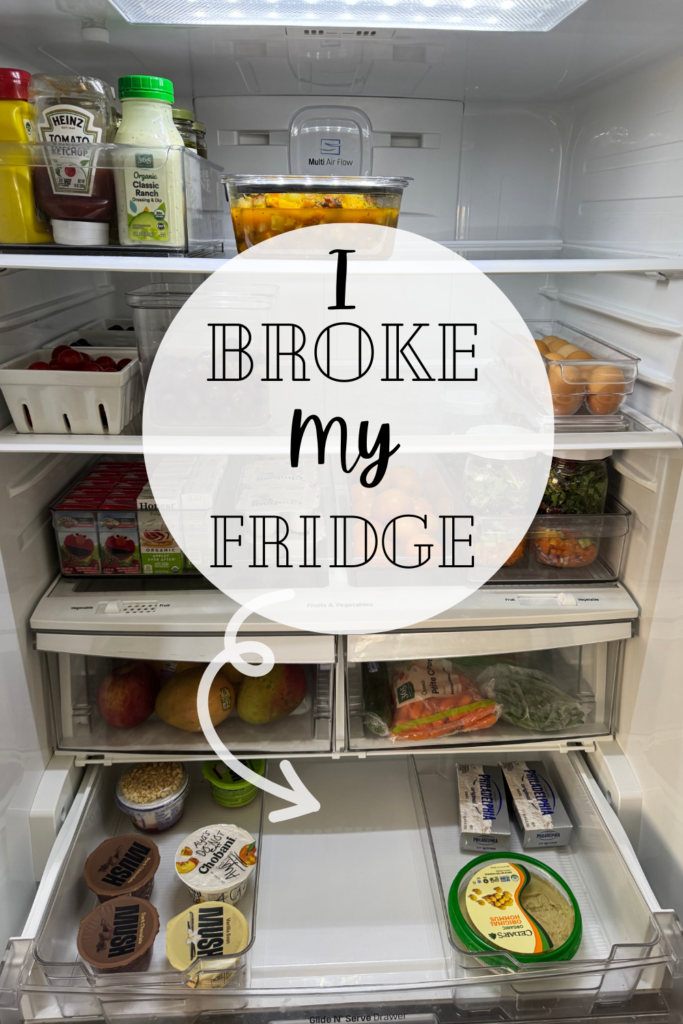
(There used to be a cover on this drawer.)
Unfortunately, mistakes can happen. I put these organizers in my lower fridge drawer, and they seemed to fit perfectly. I was wrong. When I pushed the drawer in, the top stuck a little, and it was harder to close. After a while, the drawer top snapped. The pressure from the height of my containers eventually caused the drawer top to break. I’m sharing this so you don’t make the same mistake. If you’re using containers in any type of drawer, make sure they fit perfectly!
This post is all about how to organize a fridge with containers to keep your food tidy.
You Might Also Enjoy:
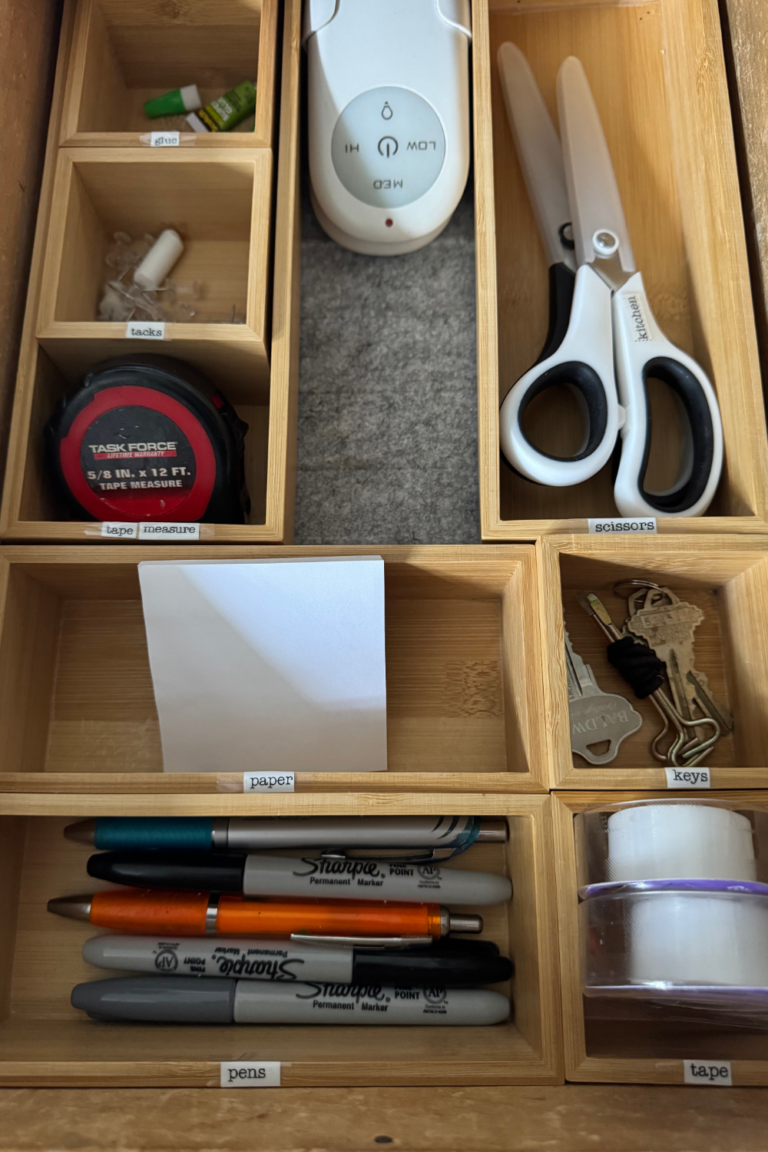
- How To Organize Kitchen Drawers Once and For All
- How To Make Mason Jar Salads To Keep Your Diet In Check
- 5 Steps To Organize A Junk Drawer That You Need To Do Today