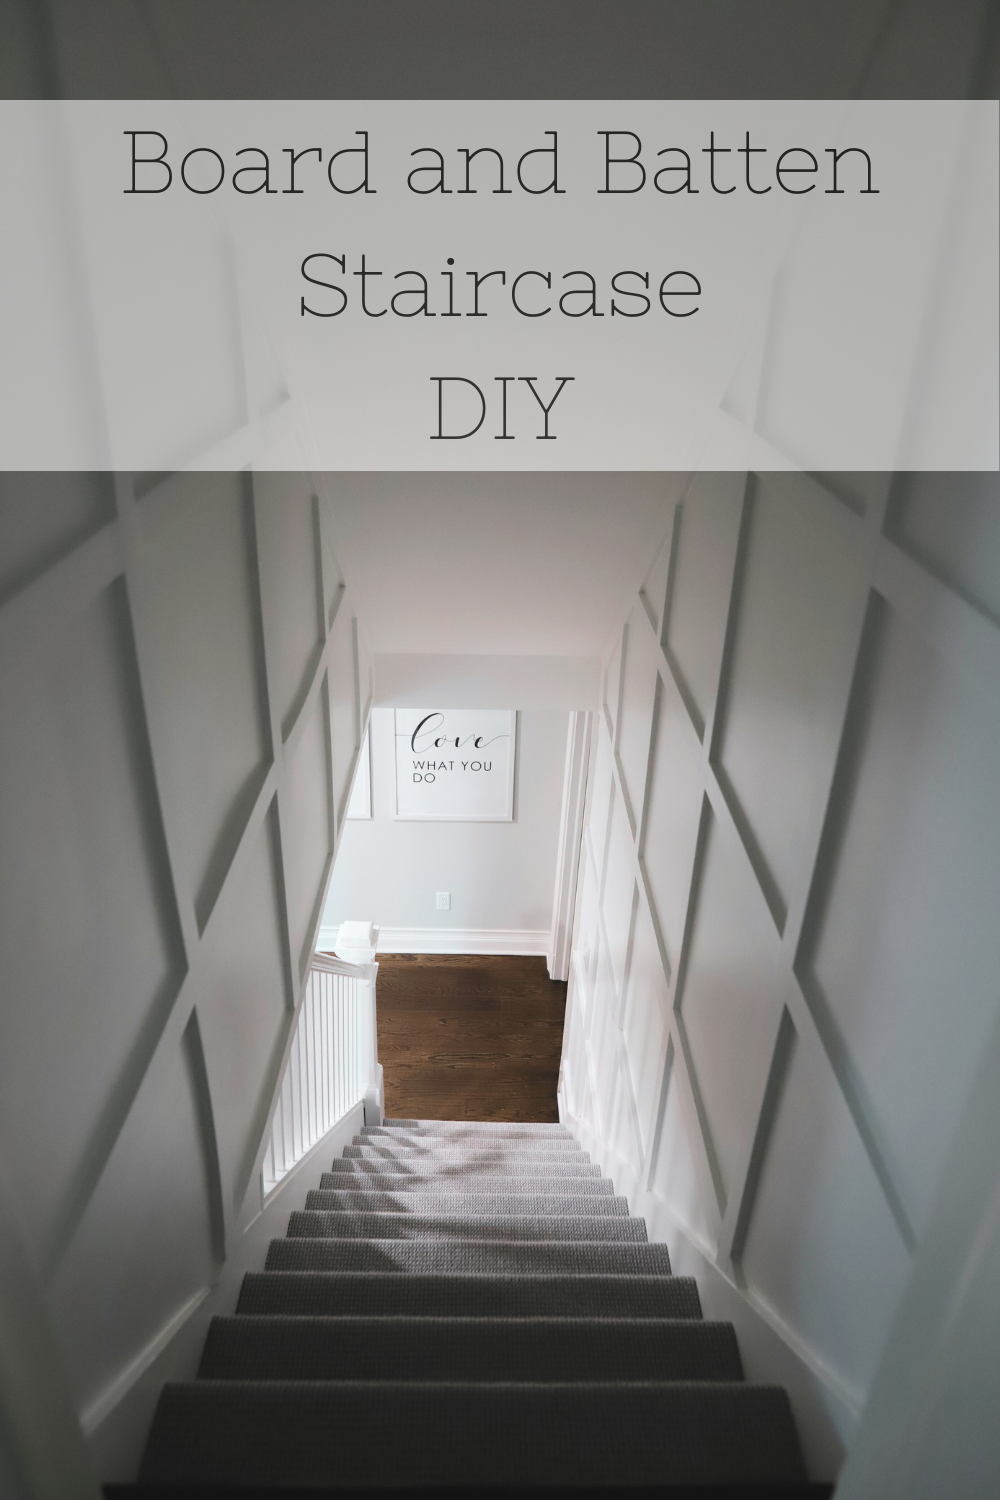
Have you wanted to start a board and batten staircase DIY but are scared because you don’t know what you’re doing? Don’t worry. I was too! But, with no experience, lots of googling, tons of calls to my dad and brother, and even more mistakes, I did it! If I was able to push past my fears and get it done, I promise you can too. Is it perfect? No. Is it beautiful? Yes.
Five minutes after we moved into our new home, I realized that our basement staircase was destined to be ugly. Everyone was scraping the walls, it was narrow, and there wasn’t a safe way to hang decorations. Then one day while scrolling on Pinterest I saw the answer to my problem. With no skills, no tools, and really no knowledge I decided to take on this board and batten staircase DIY project to bring this little stairway to life.
Here is what the wall does without even trying:
- The pattern deters people from running their hands (and lacrosse sticks) down the wall.
- Board and batten walls scream for a higher sheen paint (which makes it easier to clean).
- The simplistic design looks cool on its own so no other decor is needed. (WOO HOO!)
- Oh, and it’s a challenge to build, and who doesn’t love a good challenge?
This post is all about how to tackle a board and batten staircase DIY project.
Before The Board and Batten Staircase DIY
Here’s where I started.
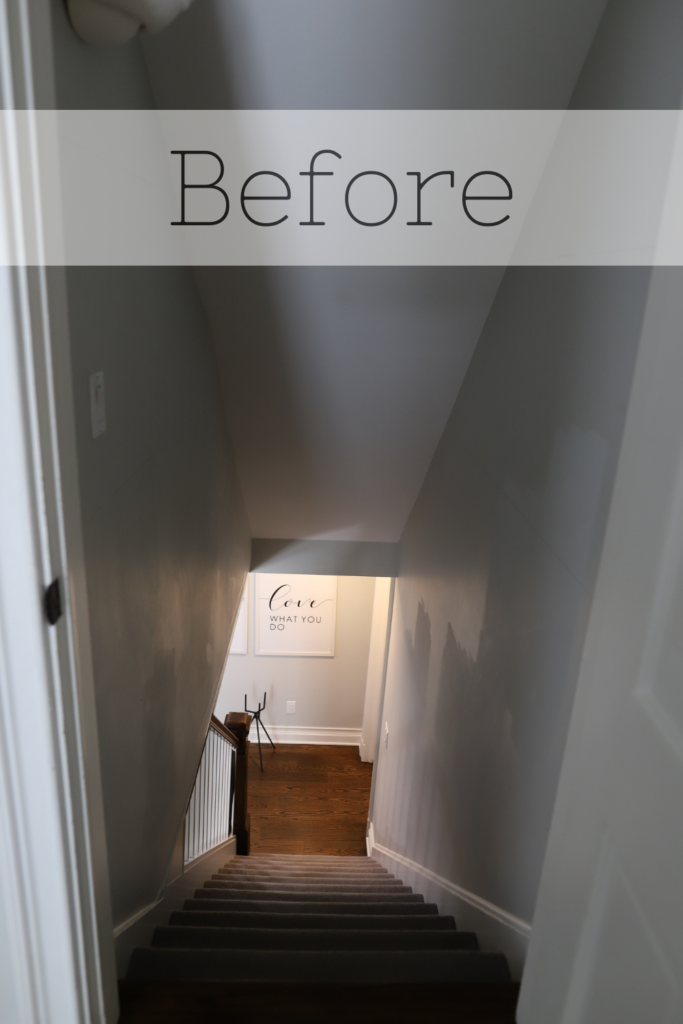
Old, tired carpet. Blotchy, dirty walls. Dark railing. You can say it. UGLY.
Let’s Talk Tools and Supplies
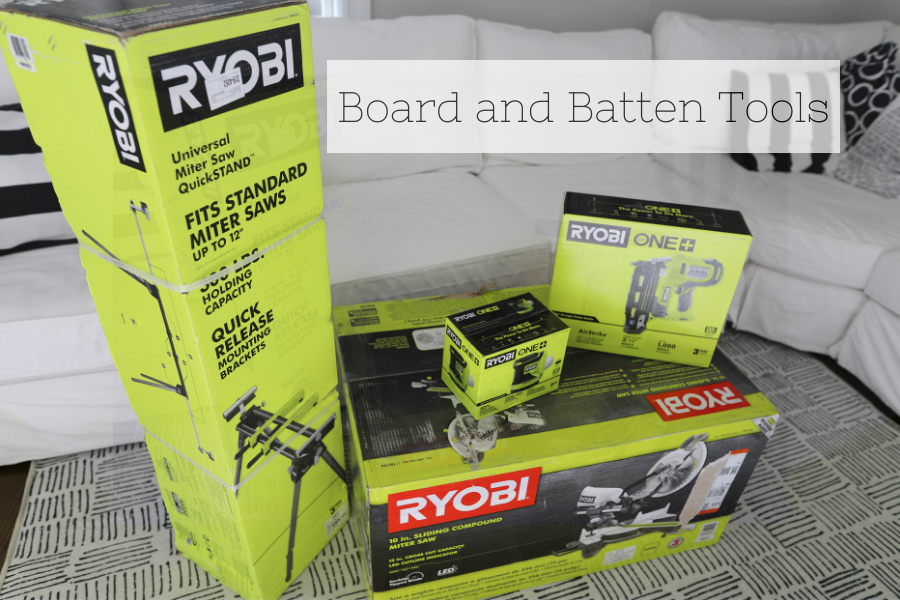
Click To Purchase The Exact One I Used
Tools:
- Ryobi 10-inch sliding compound miter saw and stand set($269.00 at time of post)
- Ryobi cordless 16 gauge nail gun and random orbit sander set ($209.00 at time of post)
- 24-inch Empire magnetic level. ($23.97 at time of purchase)
- Angle finder. ($17.53 at time of post)
- Caulking gun combo with one Alex paintable caulk included ($6.39 at time of post)
A Note About Tools:
I had no tools when I started this project. None. I planned to rent the saw, use a hammer and nails, and just sand everything by hand. I’m happy I didn’t go with this plan. The saw wasn’t cheap to rent -and none were available near my house. My dad told me I would pay for the saw 3 times over before I finished and he was right. If you are trying to save money on this project try to borrow tools. I live too far from my family to go this route but believe me, I asked friends before I bought anything. After a ton of research, I bought Ryobi Tools. You can read about them HERE. The choice came down to ease of use and price.
Supplies:
- Pre-primed MDF boards 1in/3in/8ft ($6.98/each at time of post)
- Diablo saw blade 60 teeth fine finish ($39.97 at time of post)
- Sandpaper in both high and low grit ($29.91 at time of post)
- 16 gauge nails (13.28 at time of post)
- Liquid nail ($3.58 at time of post)
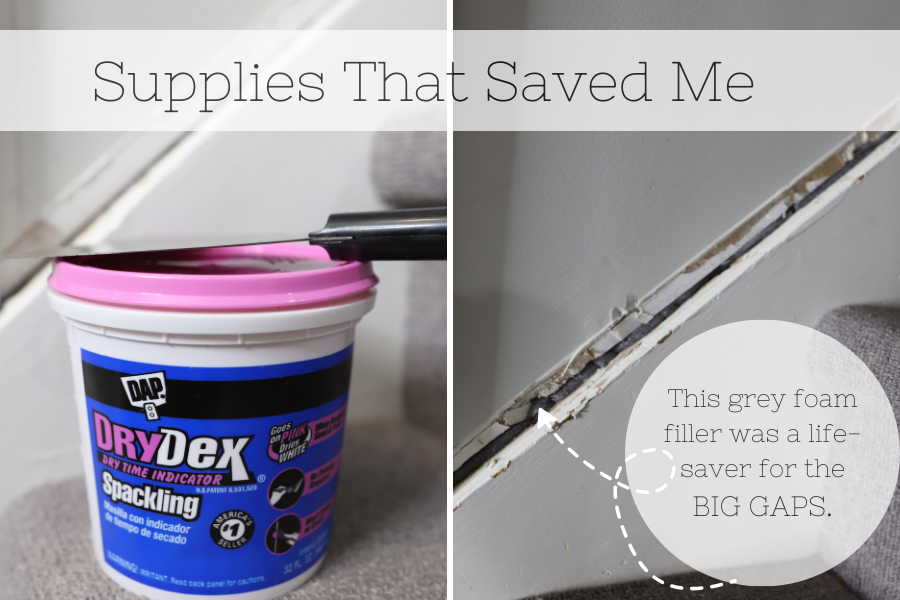
- Wood Spackling ($9.48 at time of post)
- Paintable Caulking ($5.78 at time of post)
- Foam gap filler for the big spaces ($3.93 at time of post)
Notes About Supplies:
1. The 8ft MDF will fit in your SUV – just in case you’re worried about it like I did.
2. Yes, the Diablo saw blade is a must- everyone, including my brother, says so.
3. Just buy the multi-pack of sandpaper – you will use it, I promise.
4. When in doubt, always use wood spackling over caulking. This is in bold for a reason. I learned the hard way that you can’t sand caulk. Head my warning.
5. If your house is old and your walls aren’t straight you should get some foam gap filler. It saved me more than once.
Steps To A Successful Board and Batten Staircase DIY
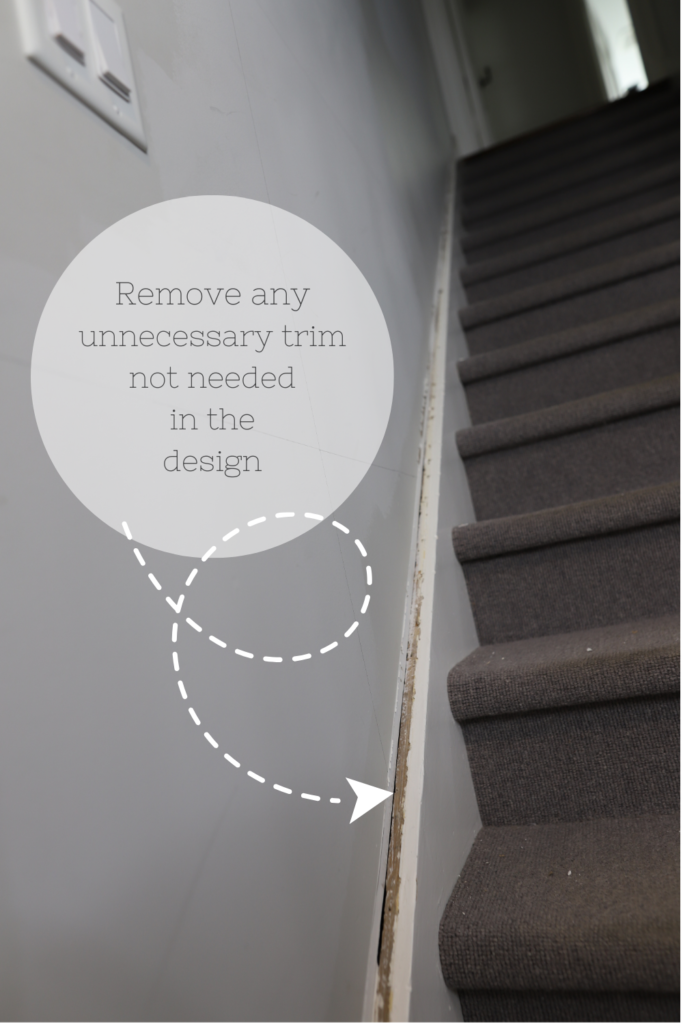
- Pull off any trim that you don’t want to include in your design. I only removed the rounded finish trim from the top of the main trim. I did this before I measured and drew my design.
2. Plan out and draw your design on your wall. Some other DIYers use blue tape to create the design. I like to draw it out and outline the width of the boards. Once I had it exactly right, I simply placed my boards on the wall in their correct position. When planning your design, remember to add your outline trim first. The outline trim will run along your ceiling and floors, (check to see if your base trim works as is) and enclose the sides of your design. Also, keep in mind that you want both sides of the stairwell to match. (I forgot about this and had to erase my template!)
3. Add your boards with Liquid Nail and your nail gun. This can simply be the same MDF you are using for your vertical and horizontal design. I ran into problems with this step because my walls are curved and bowed. I had major gaps between the wall and trim. If you have that problem, there is always a solution. Make the boards as straight as you can and deal with the gaps later.
4. Add your vertical boards after the outline trim boards. You will most likely need an angle finder for this. I’ll let you in on a secret. I didn’t love the angle finder. I felt like I was making much more precise cuts when I used folded paper.
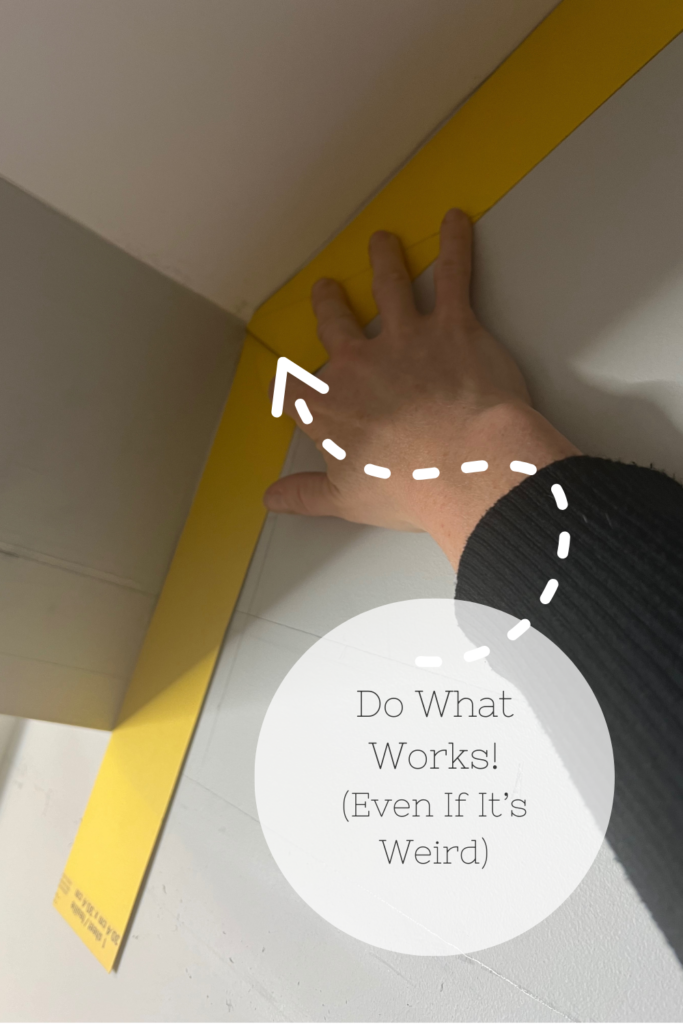
(Yes, I have an angle finder and yes it works. But, this gave me more confidence in my cuts. If you’re struggling with angle confidence, try it. I won’t tell anyone.)
5. Once your pattern is up and in place, take a moment and congratulate yourself. You did it! Well… almost.
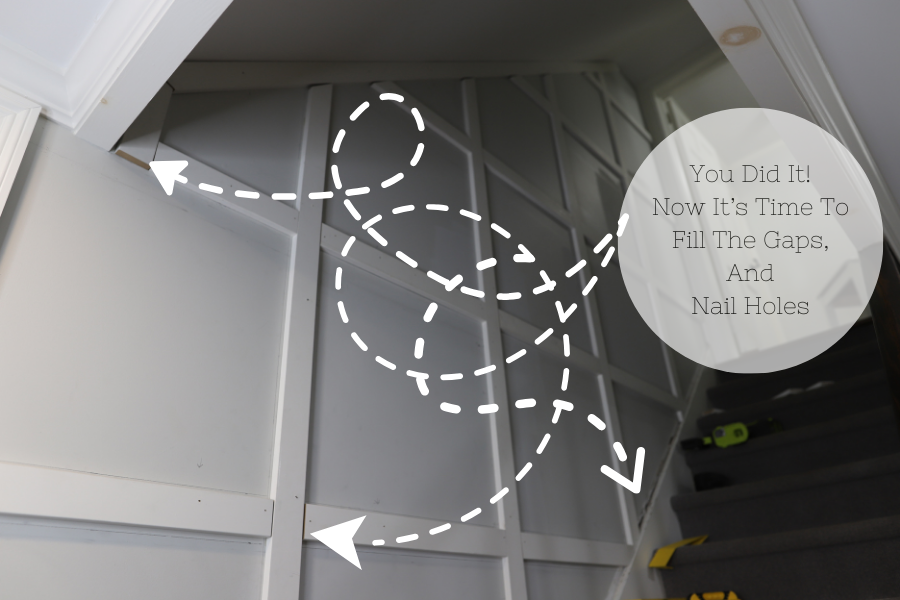
6. Fill your gaps and nail holes with wood spackling first. Spackling is very forgiving. It can be sanded down easily and painted. Caulk should be used more at the end of the project and only in areas you plan to paint, not sand. I learned this the hard way. If you encounter large gaps that feel too big to spackle, get yourself some grey filler foam. It works!
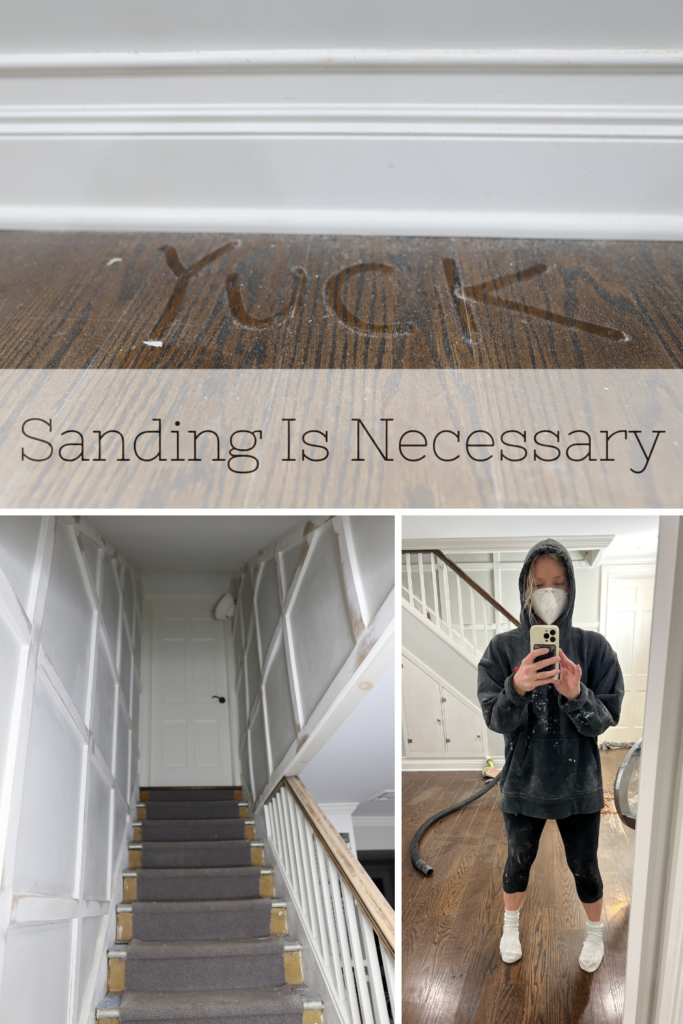
7. Time to sand. And, yes, you have to. I spent a lot of time sanding and honestly, I could have spent more. Sanding makes your project look seamless and professional. At this point in the project, you will just want to be done. I know I was. Sanding is messy, time-consuming, and kind of boring. Just do it anyhow!
8. Prime, Paint, and Repeat. At this point, your sawdust is cleaned up and you are ready for the final step. Before you open your primer, double-check your work and make sure you’re happy. Then, let the painting begin. My go-to primer and paint is Benjamin Moore. I went with Super White paint and chose a satin sheen for the walls, semi-gloss for the trim, and high gloss for the railing.
You Can Learn From My Problems
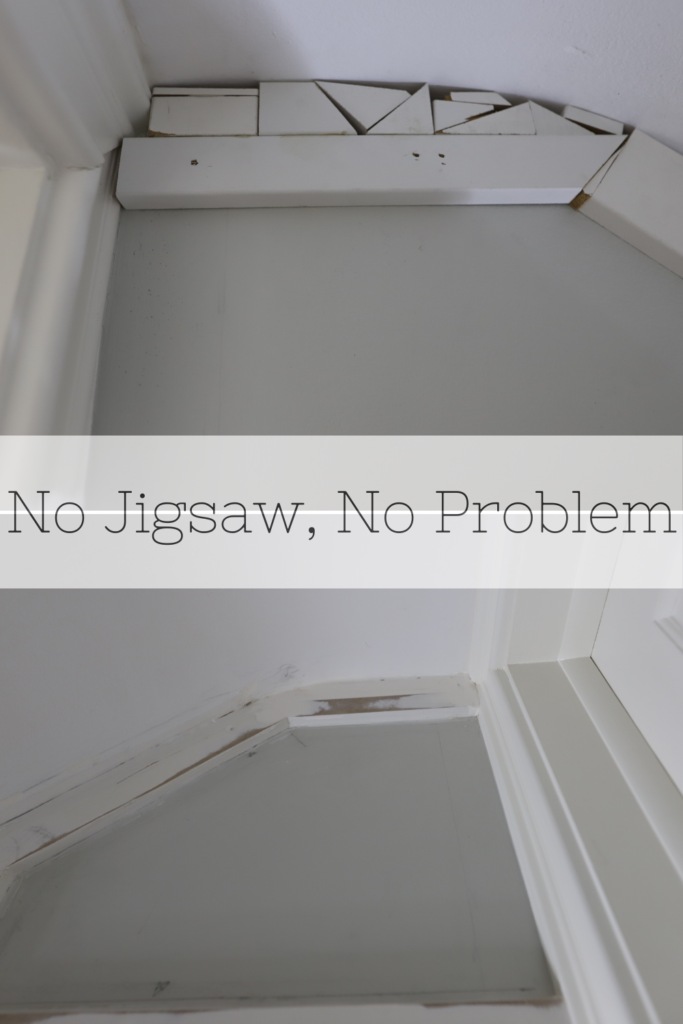
- Limited tools force creativity. You might cringe when you look at this, but it’s my reality. I had large gaps and no jigsaw to cut the perfect piece. I didn’t want to fill the entire hole with spackling, so I got creative. I used my scrap angle pieces to fill in the big space and spackled and sanded. Nobody has to know!
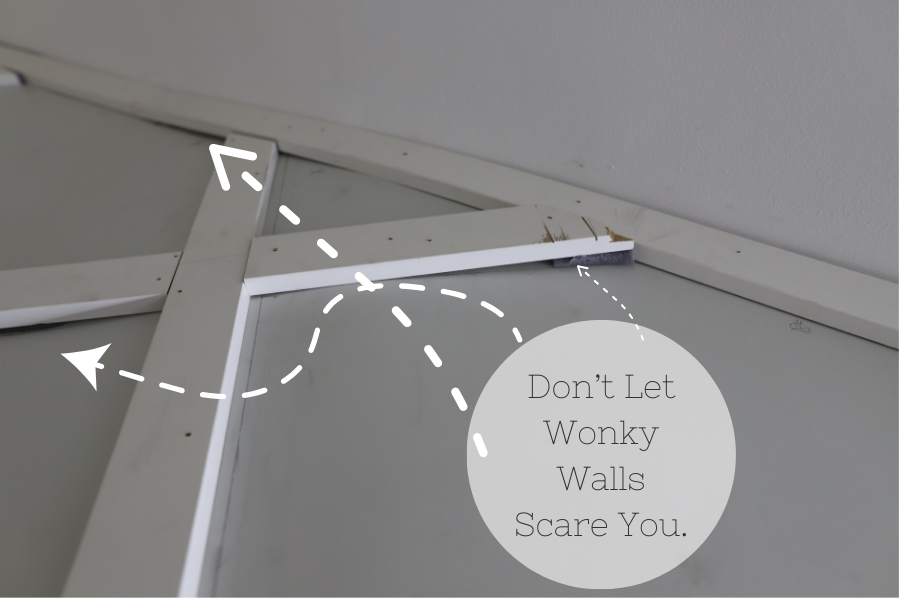
2. Not all walls are created even. Some board and batten DIY videos and blog posts show people simply nailing up straight boards on straight walls in what feels like minutes. This is not always the case. If your walls are bowed and curved and uneven, you can still achieve a beautiful end result. It will take more time and more wood filler, but you can get there. Don’t get discouraged by wonky walls. It will be ok.
3. Pull back any carpet before you start. Originally the plan was to refinish the staircase and add back a carpet runner. Well, I wasn’t expecting to pull back the carpet and find weird laminate and metal steps. The plan had to change. In the process, I realized the carpet needed to be cut so I could get to the base of the steps with paint. Don’t forget to plan for what you might find under your carpet.
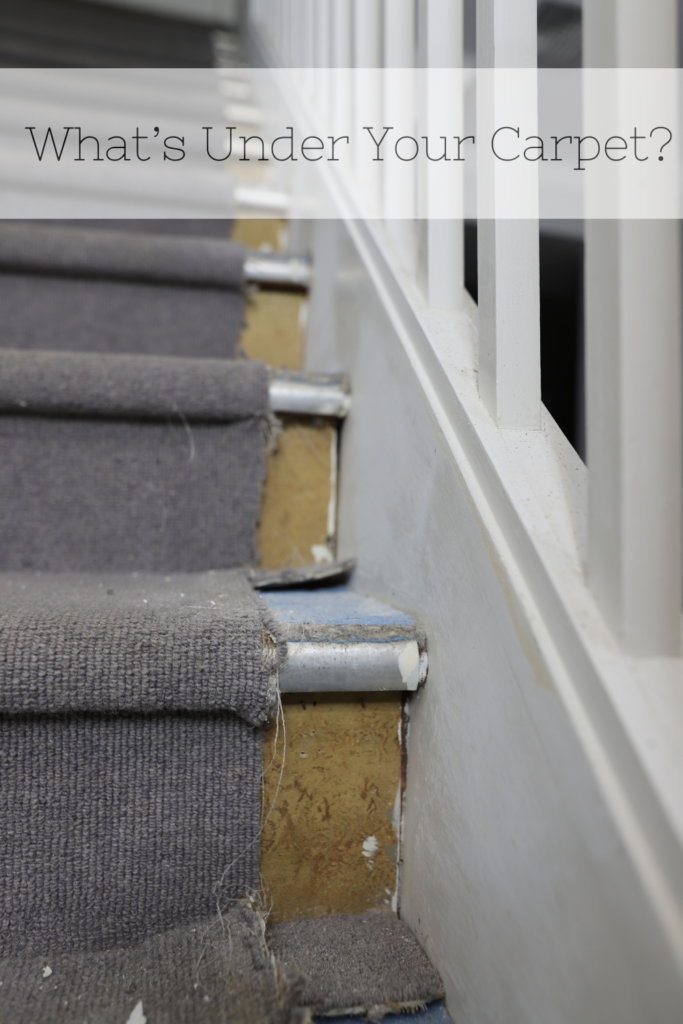
Side Note: If you’re planning to do a runner down the staircase, a designer friend of mine bought runner throw rugs and had a carpet guy install them as a single piece. So smart and so much cheaper!
4. Get A Quality Sand Mask. Why? Just check out my pic. No further words are needed.
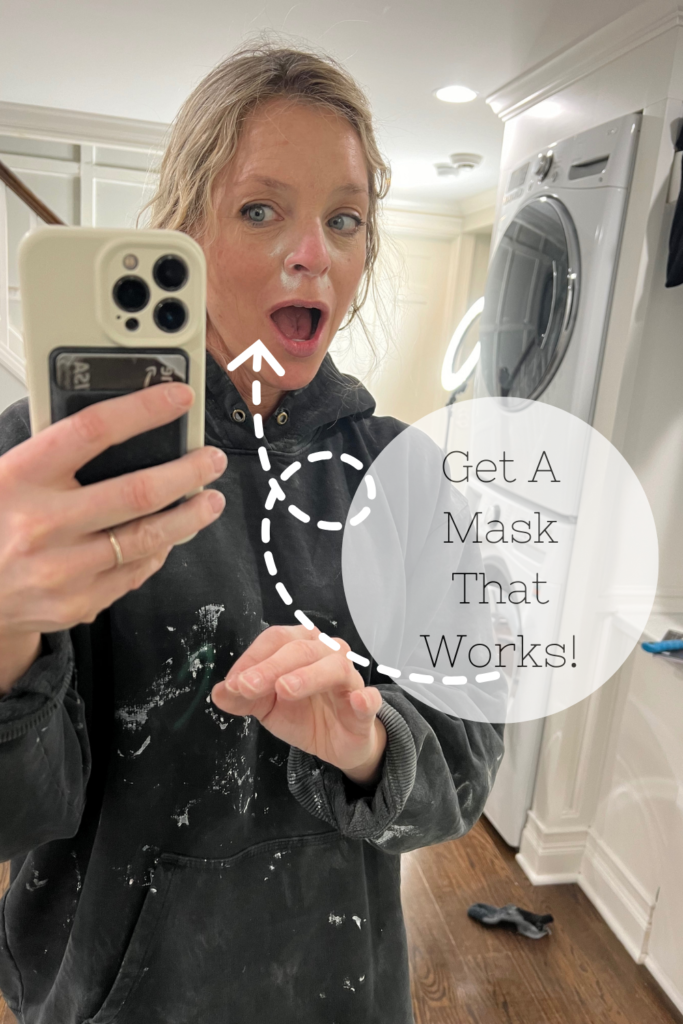
If anyone would like to send me a mask suggestion, I will take the advice! Just comment on this post and help a girl out!
This post was all about the good, bad, and ugly of a board and batten staircase DIY.
Other Posts You May Like:
- How To Hang Peel And Stick Wall Paper By Yourself
- Garage Organization System Review You Need To Read Before You Start
- Vanity Area For Teen Girl Bedroom
