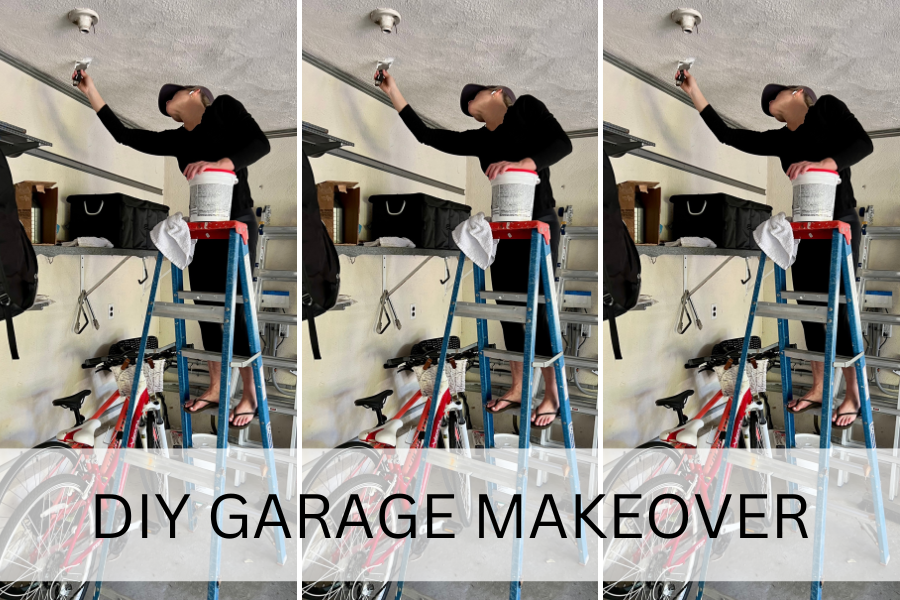
Are you thinking about attempting a DIY garage makeover? I’m scared, but I am going to do it! Join me and we can attempt this project together.
Does your garage look messy, dirty, cluttered or just needs an update? My garage is screaming for attention and I am scared, but I’m going to attempt a DIY makeover!
You are going to learn all about my DIY garage makeover plan from the place I picked to start and the products I plan to use and more.
After reading my plans and learning from my mistakes you are going to be ready to tackle your garage on your own. We got this!
This post is all about my plans for a DIY garage makeover: the good, the bad and the ugly.
Part One: DIY Makeover – The Plan
-
The Before:
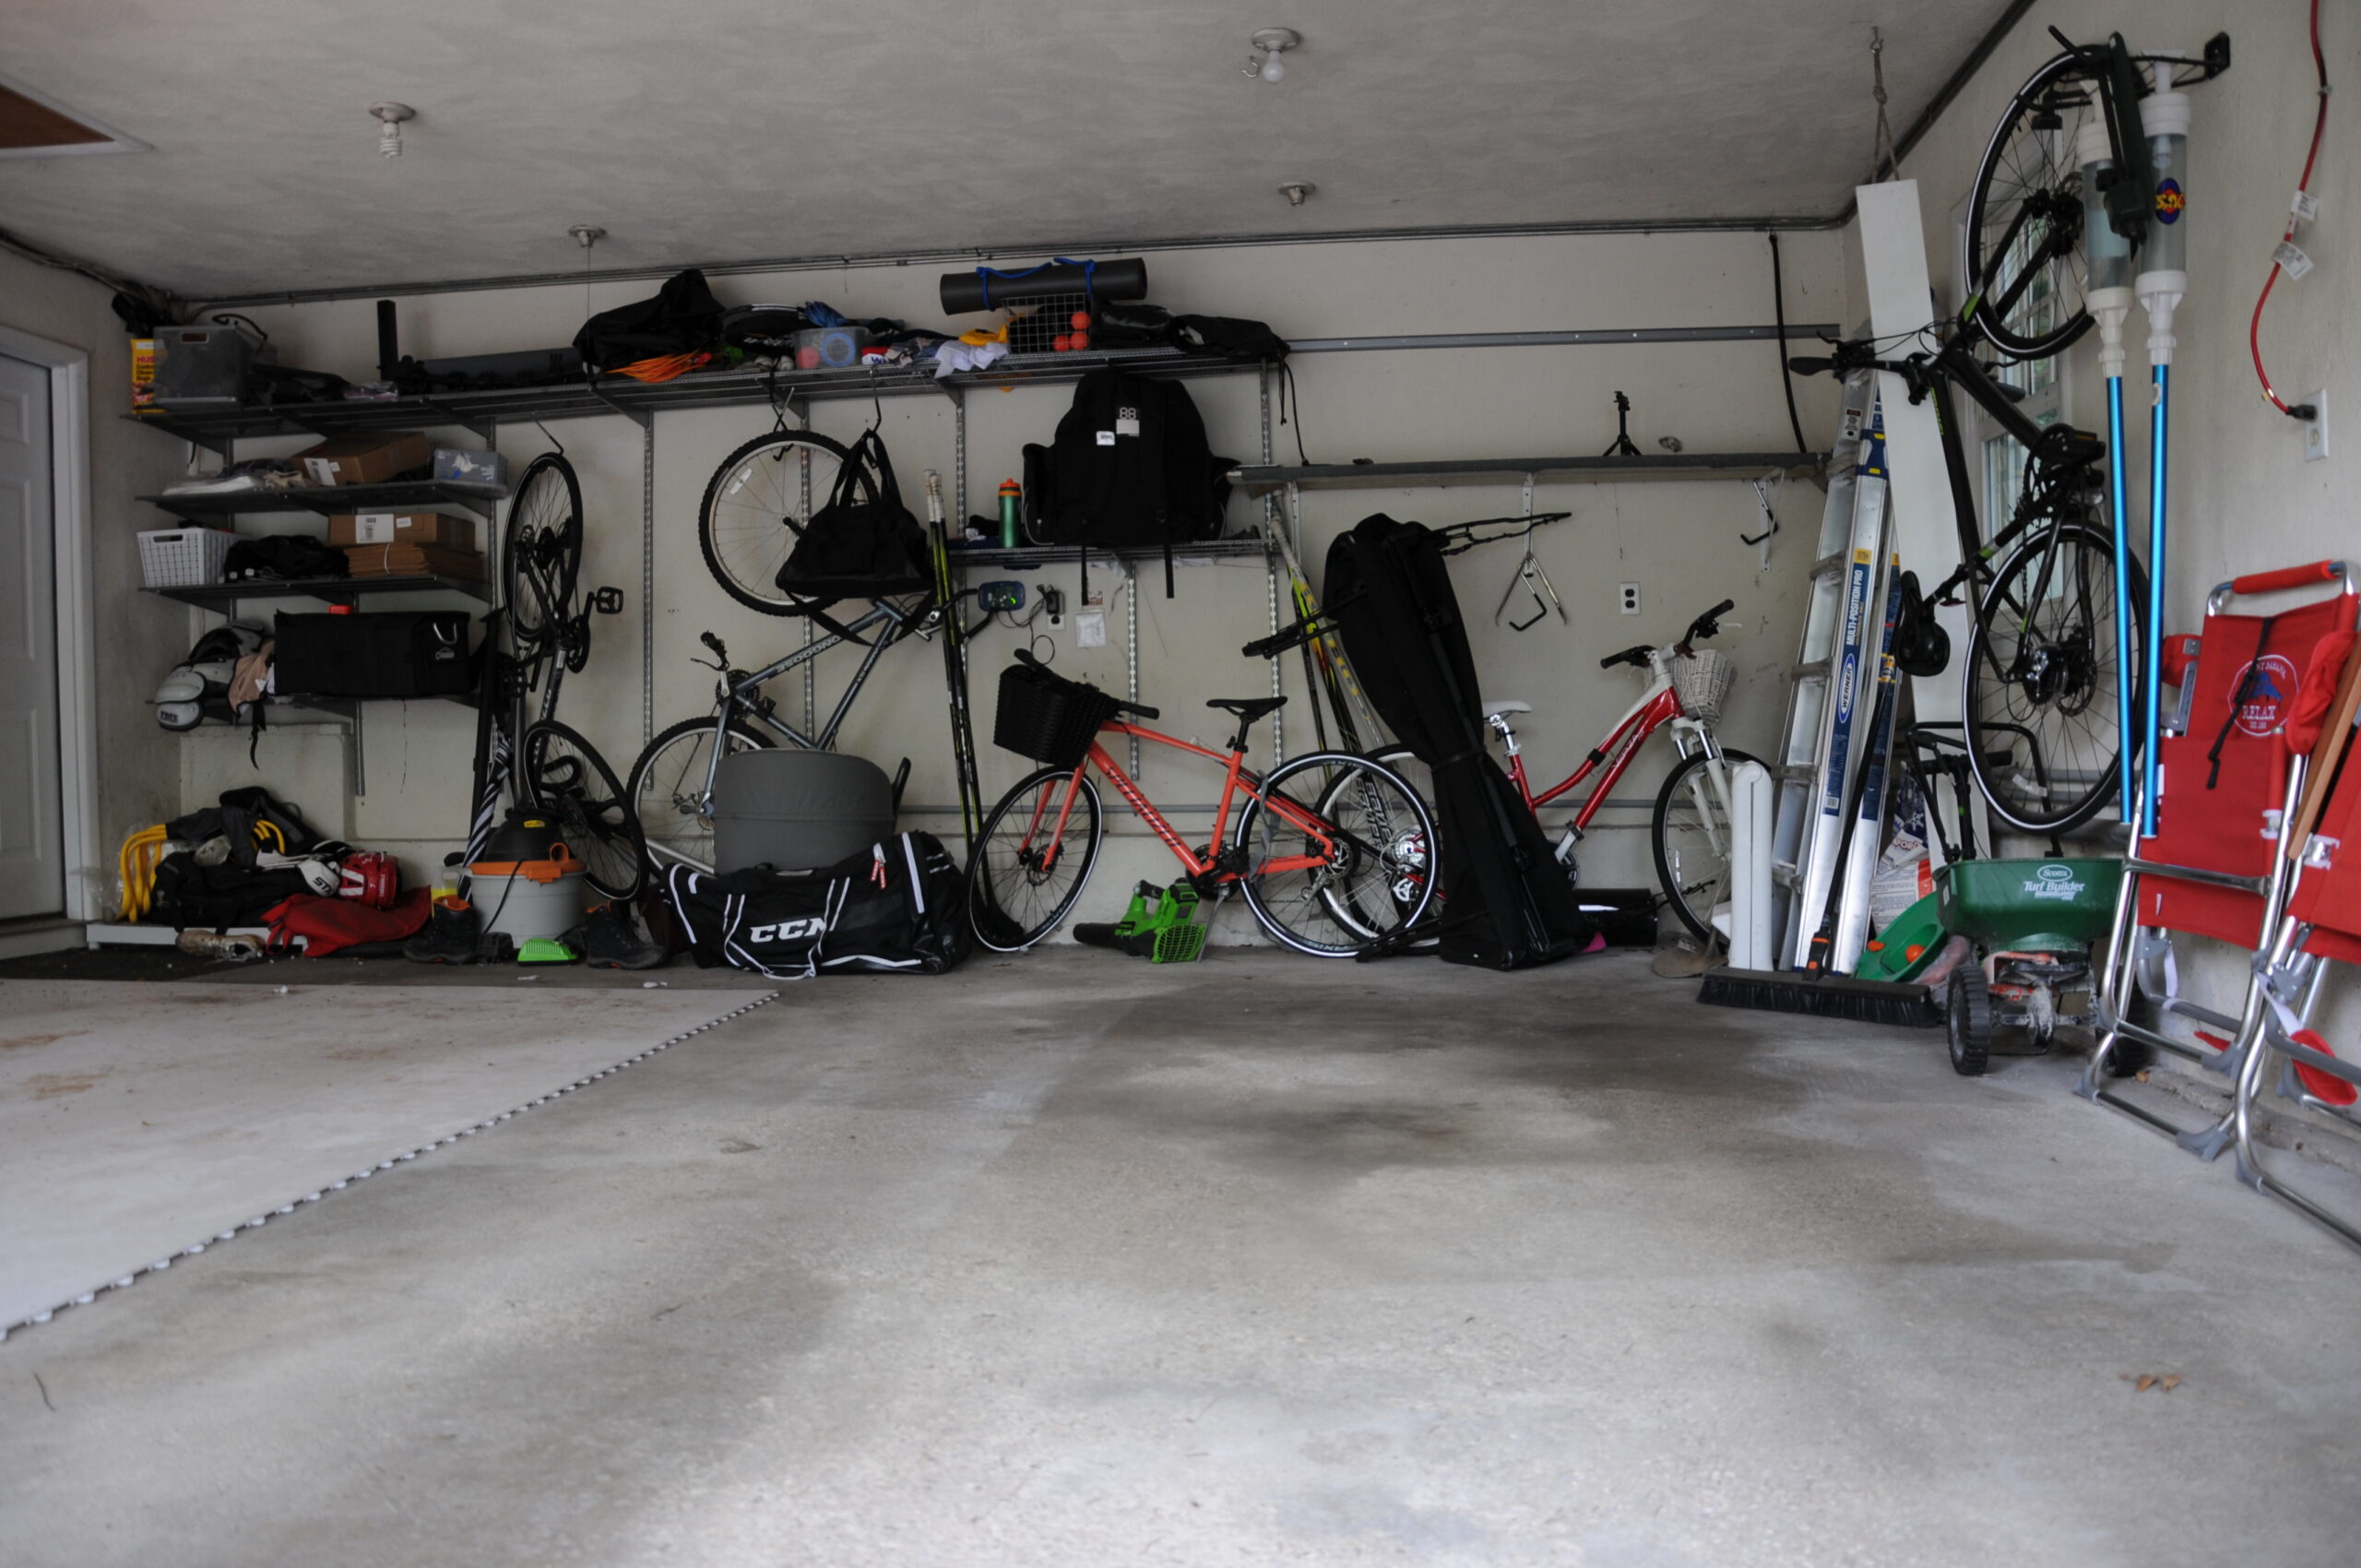
This is one view of the garage. It just makes me feel embarrassed every time I pull in. It’s frustrating because I know it can be so much better. I don’t want to spend much money- I will keep track. I also plan to do most if not all of the work myself. Luckily, my dad is a builder and I know he will come rescue me if I get in trouble.
2. The Clean Up
Check out this video to watch me work while the kids are in school. Click The Clean Out To Watch!
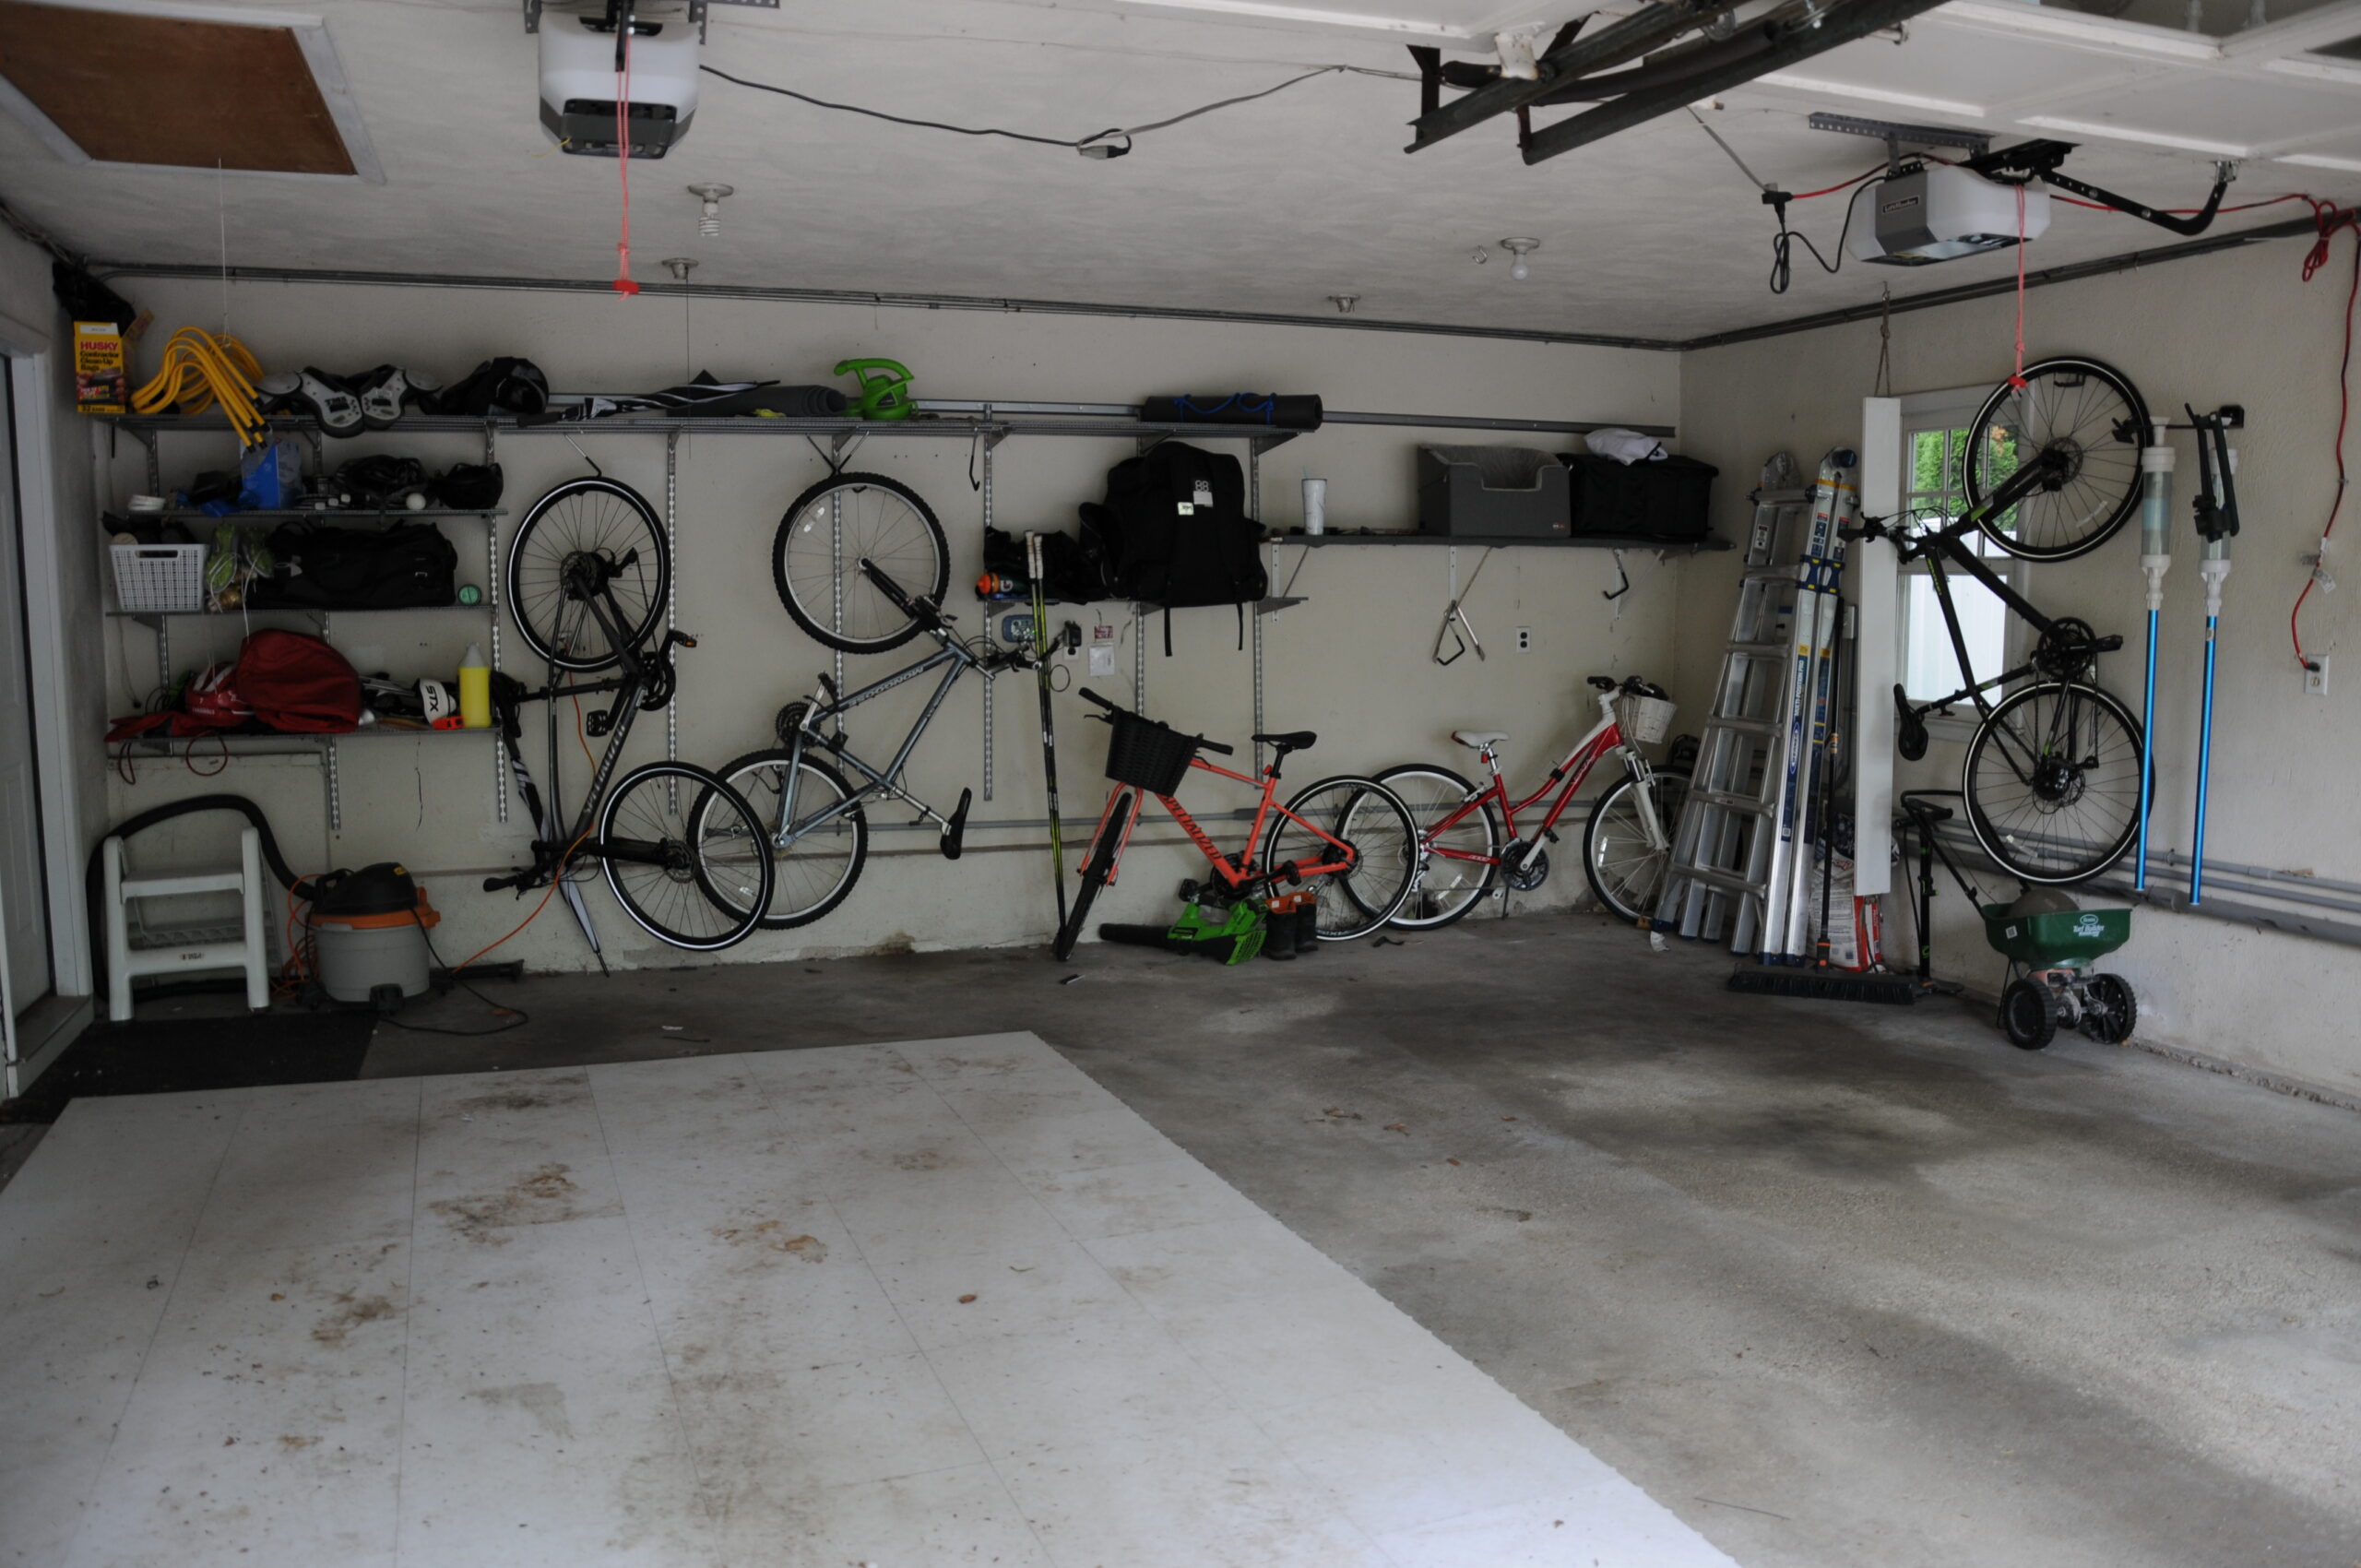
I didn’t want to tuck everything away just yet because we use a lot of things in this space. But, I needed to get a lot out of the way so I could move on to the next part of my plan. This didn’t take as long as I thought it would. And it won’t take you as long as you think either. Just get started!
3. The First Things I Bought
I grew up with parents that renovated homes. My earliest memories were of my parents working on messy homes (that we moved into) and watching them transform. One thing I learned… paint makes a huge difference. Now, I am no professional painter – you might not be either. But, I am going to try. The first few things I bought were:
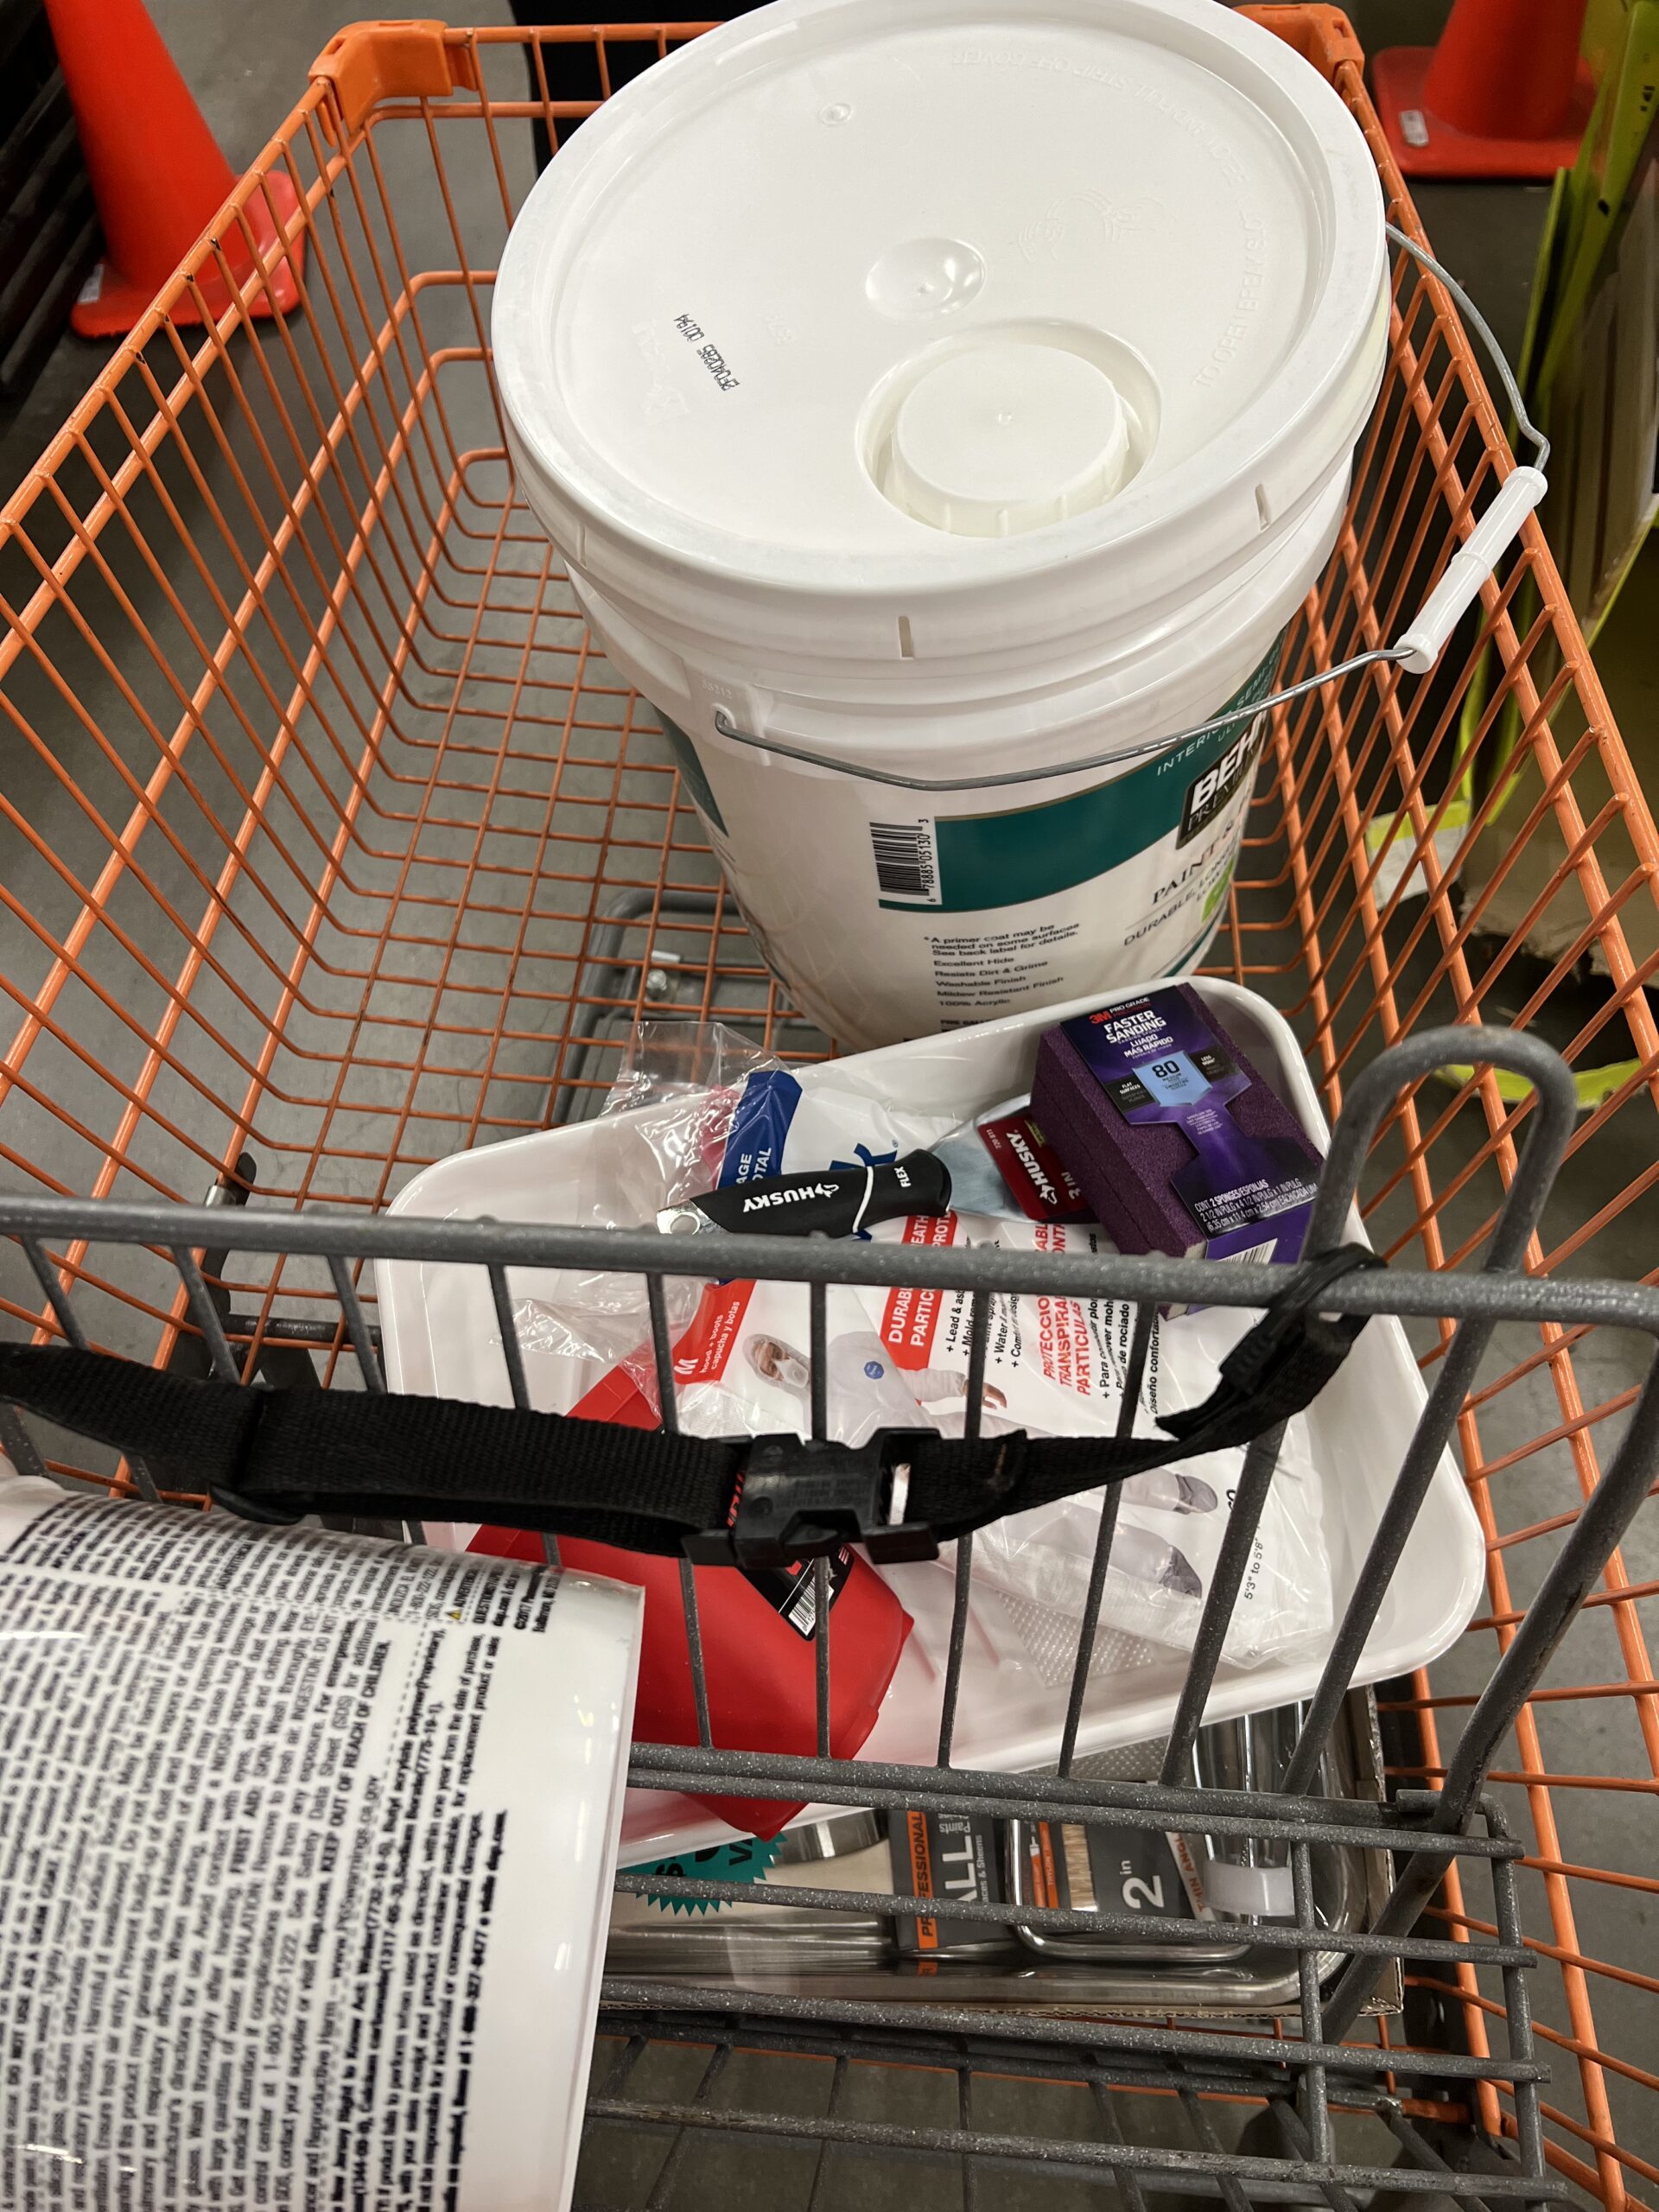
Here’s the list and links to what I bought from Home Depot:
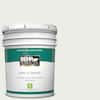
Behr Premium Plus Paint and Primer Low Odor
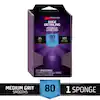
Faster Sanding 3M Pro Grade Sanding Sponge
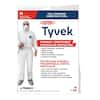 Dupont Tyvek Full Coverage Paint Suit
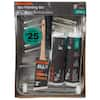
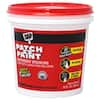
Paint and Patch Lightweight Spackling
4. The Wall Organizer Choice

Click HERE To Shop Gladiator Garage Works.
I chose a wall slat system after a ton of research. This type of system gives allows for never ending flexibility. There are lots of accessory options to hang bikes, add shelves, hooks, shoe racks and sports equipment storage. I know this system will adapt to seasonal storage changes (snow shovels vs. beach chairs) and give me more overall space especially in front of our cars. You should look into this type of system if you are tight on space.
5. Steel Wool To Seal Garage Holes
We have holes in our garage walls. Like large holes that are gaping around wires and pipes that lead into our house. Apparently, the holes are kind of like a mouse highway to our furnace room and from there… who knows what they do? Have parties? Run around our house at night? I am not a big fan of mice and I don’t care to live with them so I have been researching ways to seal those holes to keep the mice out. The answer: steel wool. You can use this to stuff into the holes and use other sealants along with it to make it look nice.

Click HERE to buy this steel wool on Amazon.com.
So far, I have cleaned out the garage to get it to the bare necessities. I started cleaning the ceiling and patching the holes and cracks as I go. I can’t wait to start painting! One step at a time. If you are considering a DIY garage makeover this is your nudge to take a baby step forward with me.
This Post Was All About The First Baby Steps of My DIY Garage Makeover
You Will Also Enjoy:
- 5 Real Facts About Decluttering That No One Wants To Talk About
- Design A Functional Wall Jewelry Organizer
- You Can Organize Electronics In Your Home And It’s Easy
“Create The Things You Wish Existed.”
