Are you ready to tackle a girl bedroom makeover? Well, I did it and it took a lot of planning, but I think the reveal was a huge success! Follow along for a step-by-step guide to take your girl’s bedroom from frumpy to fabulous!
It feels like just yesterday that I designed the perfect little nursery for my daughter and since then I have been changing her room to grow with her. But, there are times when your daughter will need a complete girl bedroom makeover. If she is ready to take her room up a notch, you might get some ideas from this reveal!
Looking at before and after photos of my daughter’s room can not only help you plan but also give you some ideas for furniture, functional spaces, links to accessories, and even some motivation.
This post is all about the ultimate girl bedroom makeover reveal after only a few weeks of work.
Girl Bedroom Makeover Reveal
Before showing a ton of before and after photos, I want to share that my daughter and I came up with this plan together. I asked her a ton of questions about her room and involved her in picking out the new pieces. I highly recommend beginning your project with a plan that involves your daughter’s voice. We also did a huge purge together and made lists as we went along as to what to add to the project.
Space #1: The Study Area
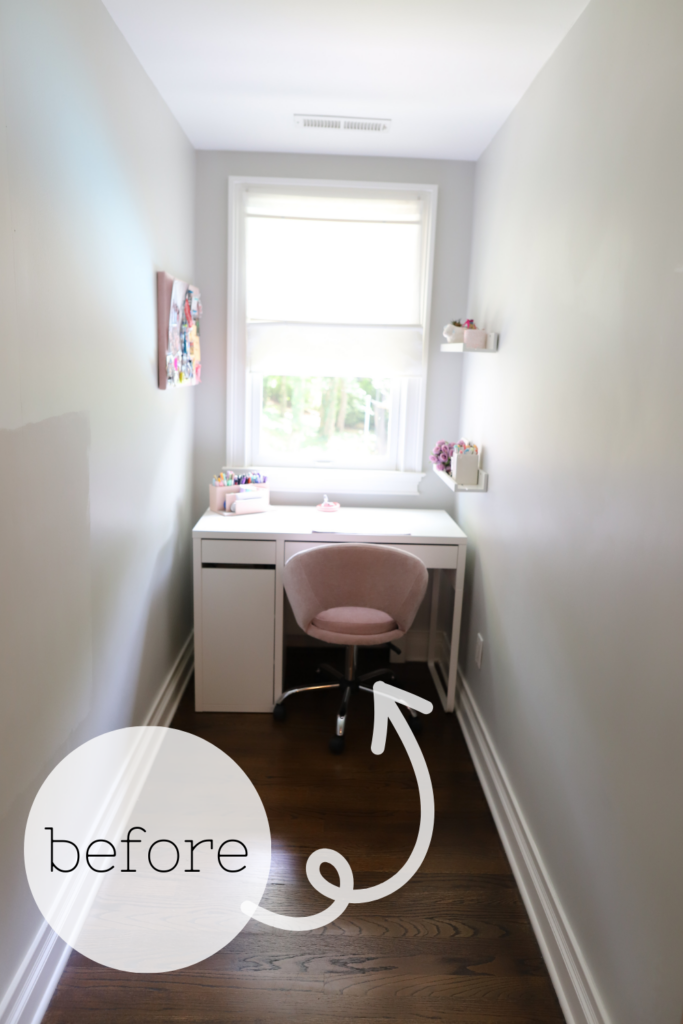
This was my daughter’s first priority. She wouldn’t use this space at all to study or read and she had a vision for what she wanted.
Her Requests:
- A new large desk facing the wall
- A huge whiteboard on the opposite wall
- Decorative pictures above her desk
- Keep her pink chair
- New blackout shades
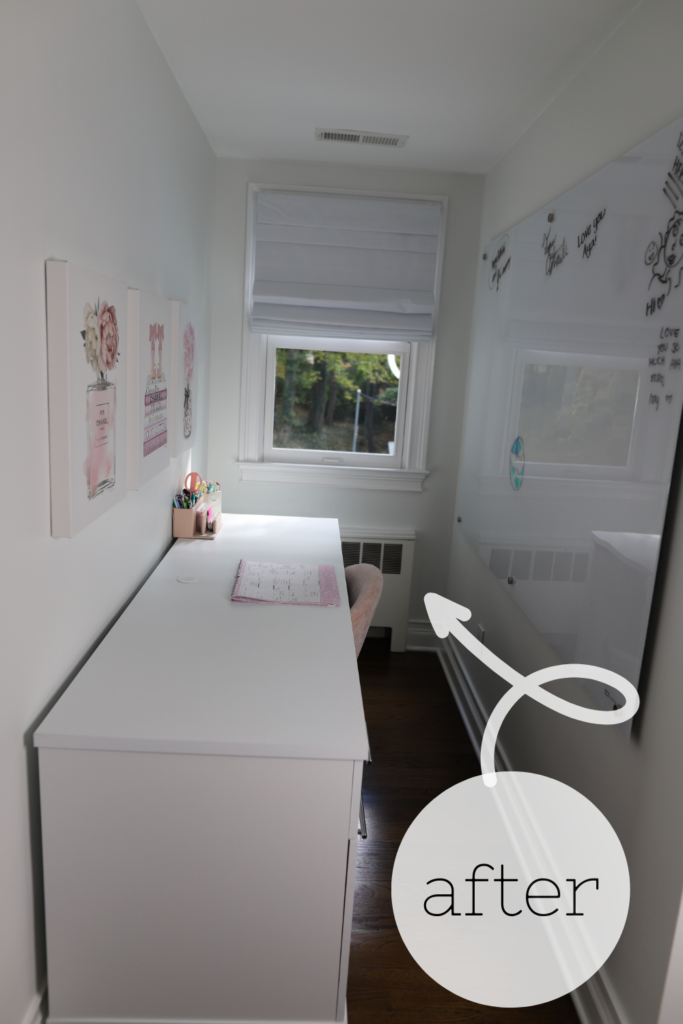
I wasn’t sure about adding a huge desk on the wall because the space is so narrow, but I was wrong. She was thrilled with the change and she uses this desk and study area all the time now.
Shop The space:
- Desk (CLICK HERE for a link to the white desk)
- Chair (CLICK HERE for a link to the pink chair)
- Glass Whiteboard (CLICK HERE for a link to the extra large whiteboard)
- Wall Art (CLICK HERE for a link to the cute wall art)
- Blackout Shade (CLICK HERE for a link to the blackout shades)
Space #2: The Vanity Area
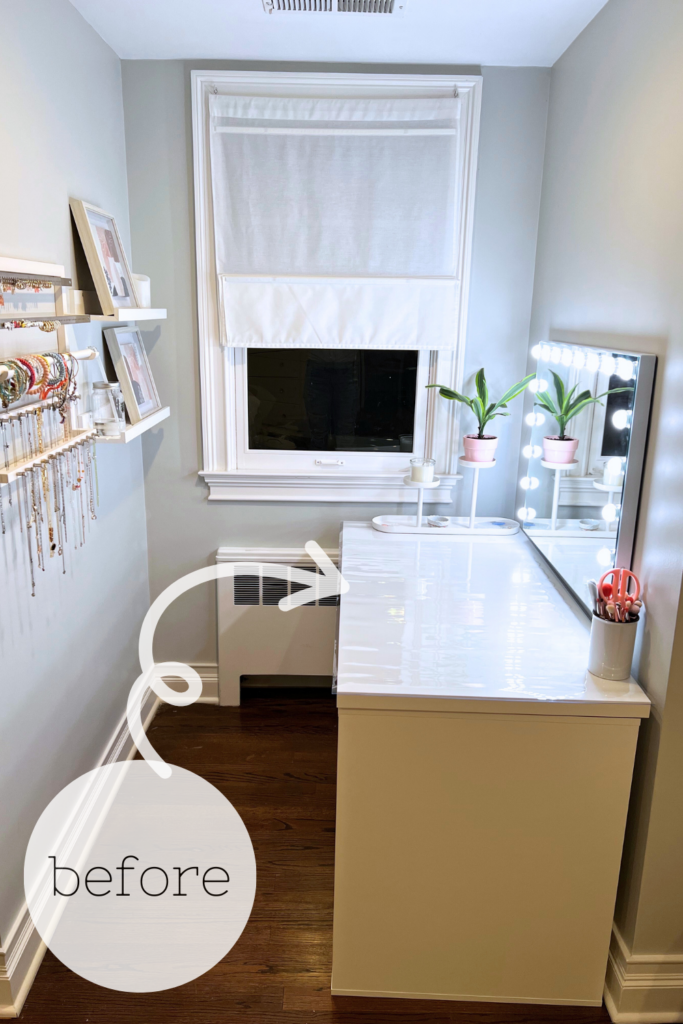
I added this vanity area a few years ago and wasn’t sure it would get much use. It gets more use than any other area in her room. Her friends often squeeze next to her when they are getting ready. If your daughter is into makeup and hair – you need to find a way to add a little vanity. They even make foldable wall ones – LIKE THIS ONE.
Her Requests:
- A custom glass piece for the top of the vanity
- A new blackout shade to replace the broken one
- Move the mirror a few inches higher
- Reorganize jewelry
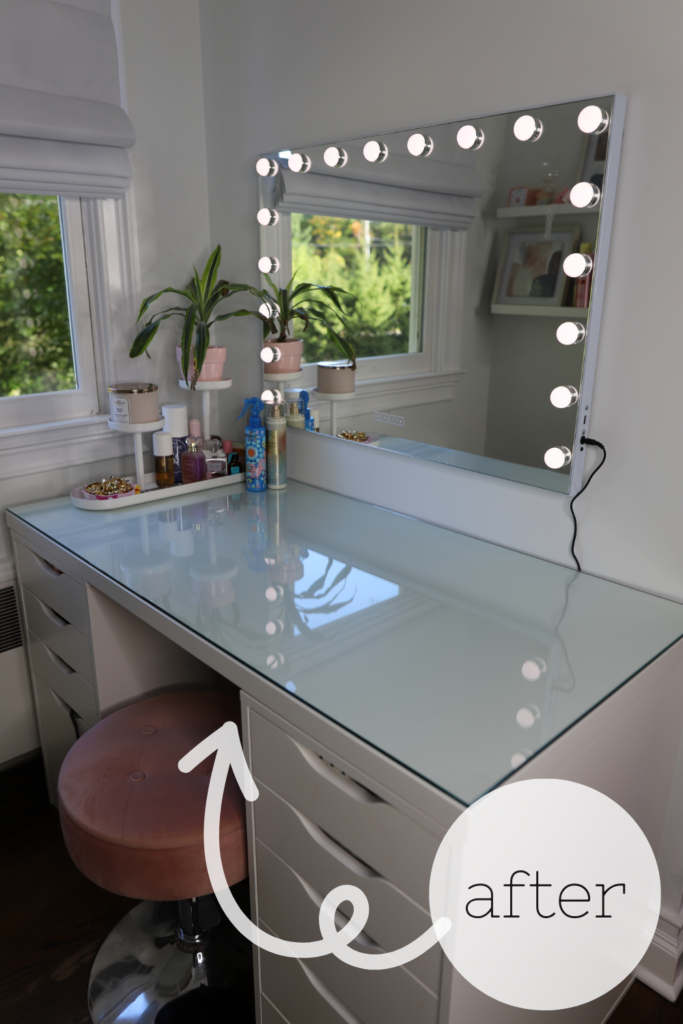
I can’t get over how much of a difference the glass top made! After a ton of research, I decided to order the glass from a local glass company. The price was a little cheaper and I wanted to make sure there were no cracks or issues. There are a lot of options, but be sure to check with a local company first!
Shop The Space:
- Vanity (CLICK HERE for a link to the Ikea pieces to build the vanity)
- Stool (CLICK HERE for a link to the cute pink storage stool)
- Mirror (CLICK HERE for a link to the lighted Bluetooth vanity mirror)
- Shelves (CLICK HERE for a link to the little white shelves)
- Wall Jewelry Organizer (CLICK HERE for a link to the PBteen wall organizer)
- White Blackout Shade (CLICK HERE for a link to the shades- and YES THEY BLOCK ALL SUN)
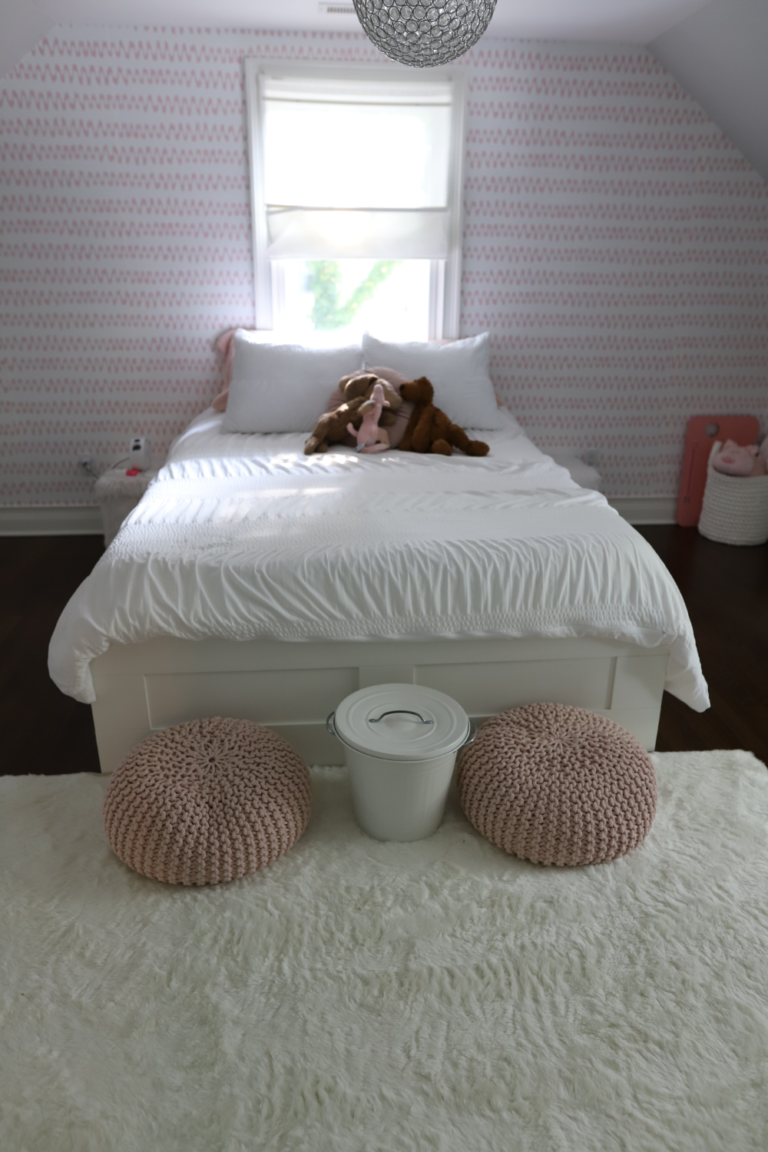
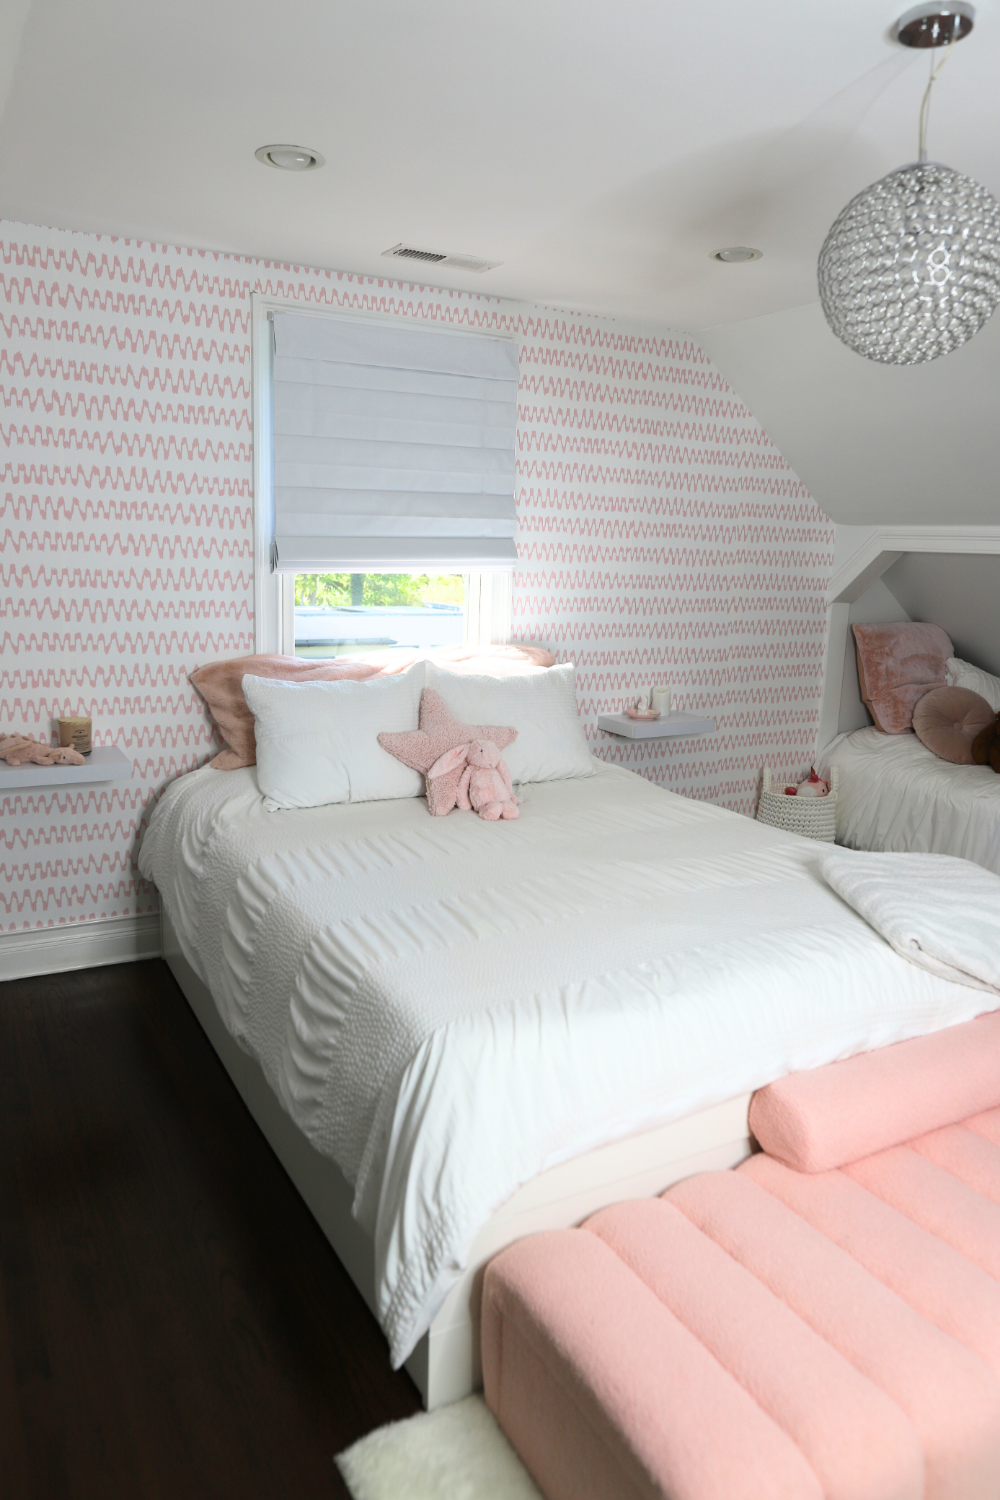
Space #3: The Bed Area
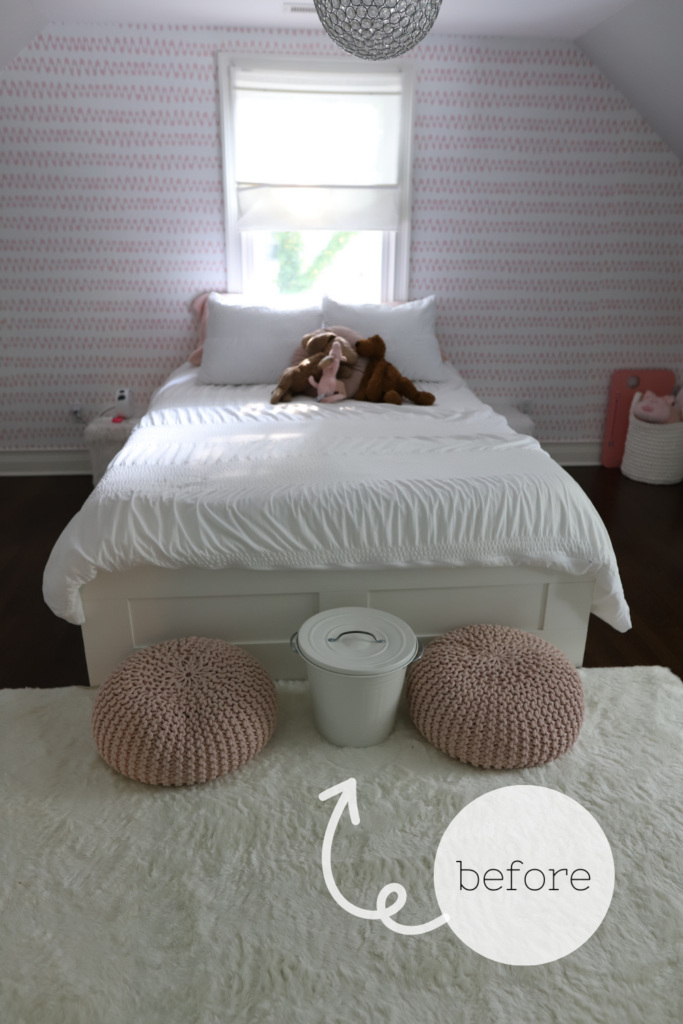
We were both so happy with so many things about this space. We both love the Ruggable Rug, the storage bed, and the bedding. But, there are pieces in this room that haven’t worked in some time.
Her Requests:
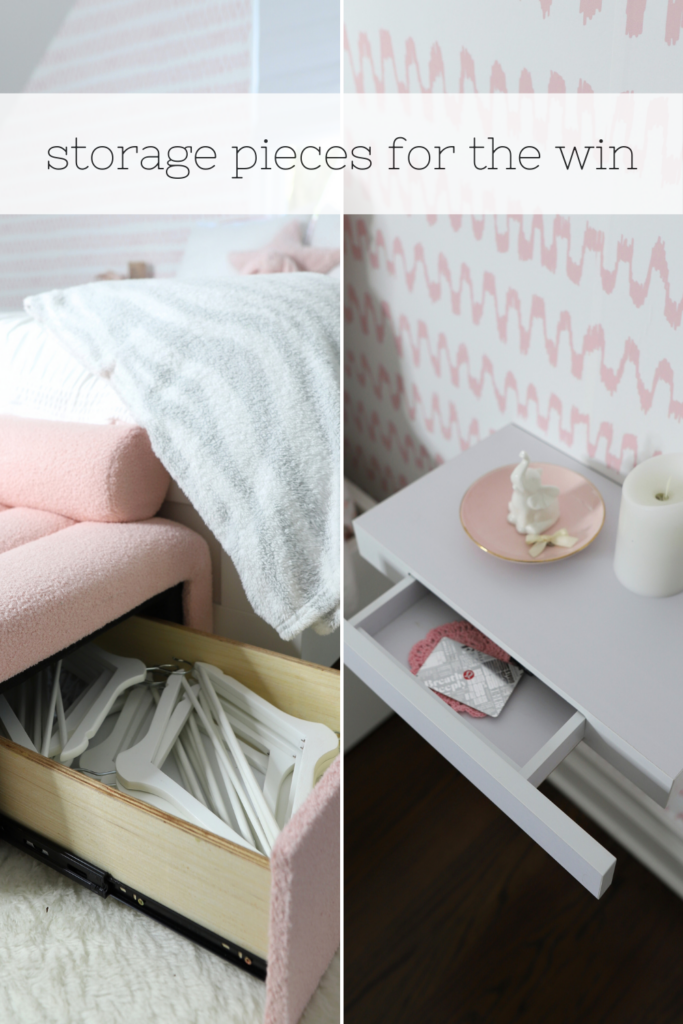
- Replace the small knitted poufs with a storage bench.
- Move the garbage can to the desk area.
- Replace the window shade.
- Replace the two fuzzy storage cubes next to her bed with floating shelves.
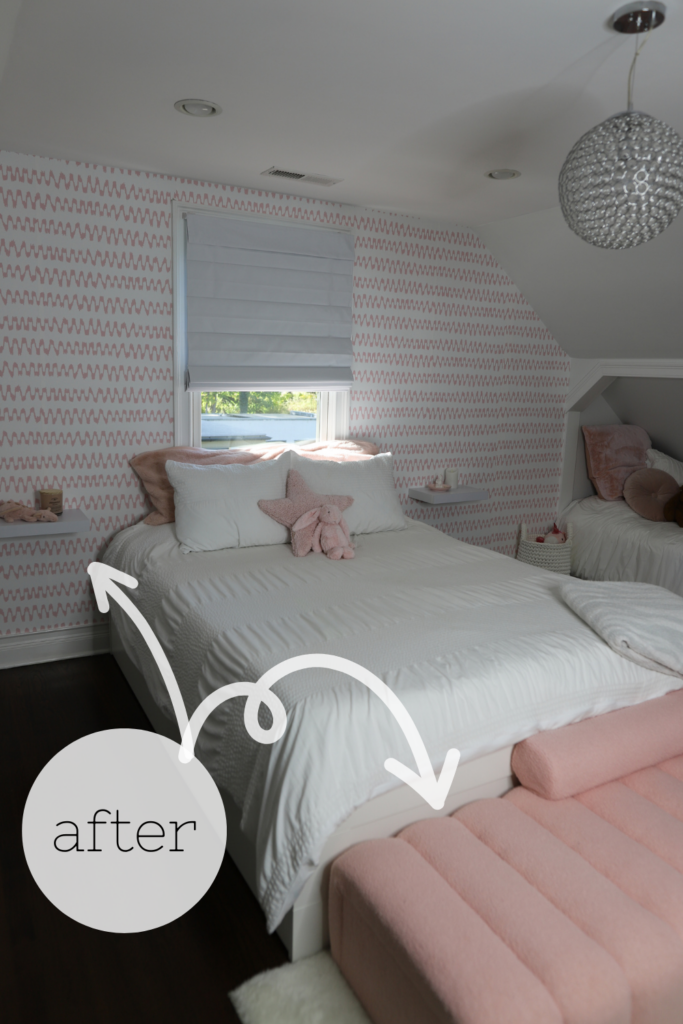
She was right! The floating shelves are so much better than the old fuzzy storage cubes she used to have and the bench is amazing. Both pieces really elevated the feel of the room. I’m so happy we worked on this plan together. She has great ideas and a really cool sense of style!
Shop the space:
- Storage Bench (CLICK HERE for a link to the storage bench)
- Floating Shelves With A Drawer (CLICK HERE for a link to the bedside shelves)
- Ruggable Rug (CLICK HERE for a link to the fuzzy white rug)
- Bedding (CLICK HERE for a link to the white duvet cover)
- Blackout Shade (CLICK HERE for a link to the white shade)
Space #4: The Little Touches
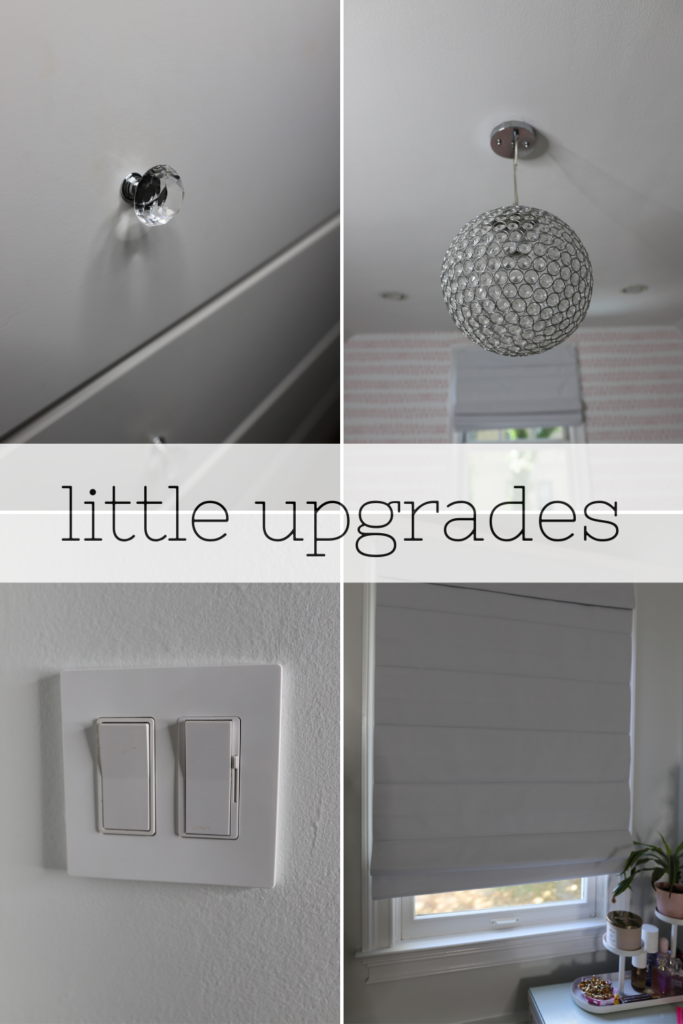
Sometimes little things can make a big difference in a room. We swapped out her simple metal dresser pulls with these cute crystal ones. I changed all of her light switches and outlet covers. She had had the light for years, but there was a gap in the drywall around the circle that looked terrible. I patched it and it looks so much better. And, she couldn’t be any happier about those blackout shades. They darken her room at night and that makes it easier for her to fall asleep.
Shop The Tiny Touches:
- Dresser Knobs. (CLICK HERE for a link to the crystal knobs)
- Crystal Light (CLICK HERE for a link to the fun light fixture)
- Light Switch Covers (CLICK HERE for a link to the light switch covers)
- Blackout Shade (CLICK HERE for a link to the white shade)
The Reality Behind The Scenes
Here are a few fun facts about this project:
- I patched all the holes – which felt like it took forever
- The two coats of paint on the ceiling, walls, and trim actually did take forever. Seriously.
- Painting the room white made a huge difference.
- My dad mounted the huge whiteboard. I could not have done that alone.
- I painted the big Ikea mirror frame with a few hits of white spray paint and it made all the difference.
- My daughter was NOT HAPPY with how long I was in her room working.
- Paint on the floor is the easiest to clean up in the moment.
- Other than hanging the whiteboard, I did everything myself.
- You can do this and it will be worth it!
This Post Was All About The Ultimate Girl Bedroom Makeover Reveal.
Other Posts To Check Out:
- The Ultimate Teen Girl Bedroom Makeover Plan
- The Right Way To Organize Dresser Drawers To Get Ready Faster
- How To Hang Peel And Stick Wallpaper By Yourself