Are you ready to hang peel-and-stick wallpaper in your home – all by yourself? These are some tips and tricks that you can use to make this DIY project a success.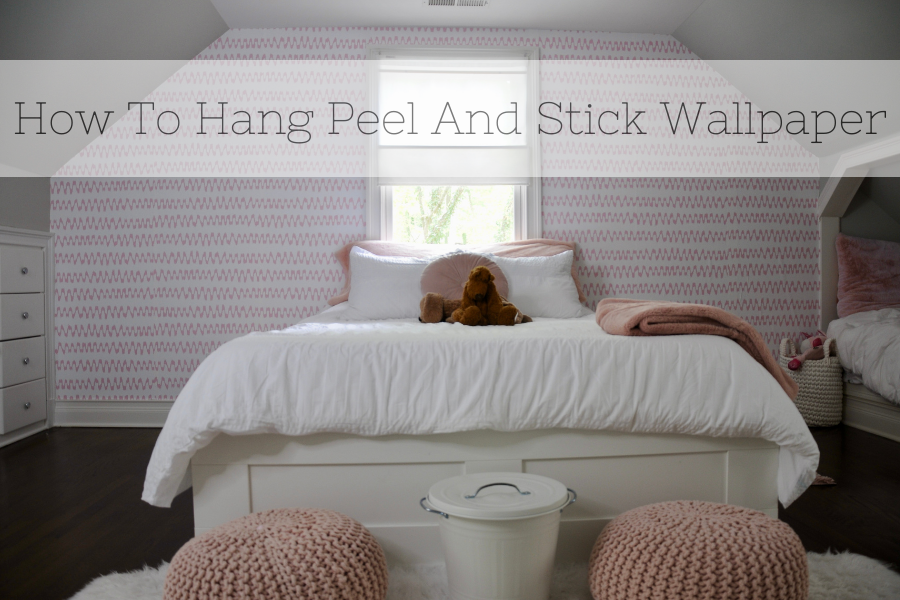 If you think you know how to hang peel and stick wallpaper, you might want to hang out for a second. As a DIY girl who likes to work solo, I am giving you a few tips to try and obstacles I ran into while working on my project.
You are going learn all about how to hang peel and stick wallpaper, materials you need, methods to try, mistakes to avoid, and more.
After learning a few tips and tricks from someone who has been in your shoes, you are going to be extra prepared to tackle your wall with ease.
This post is all about how to hang peel-and-stick wallpaper by yourself.
How To Hang Peel and Stick Wallpaper By Yourself With Confidence
1. Choose Your Paper Wisely:
The paper you pick matters. When I tell you that your paper is important, I am not only talking about the color. Once you decide on the perfect color and pattern, I suggest you order samples. Why? Because a sample is an exact color, pattern, and thickness of your choice, you can get the best view. Keep in mind, that thicker paper is more forgiving and easier to hang.
Where did I get my paper?
Spoonflower! If you’re looking for a ton of patterns and colors, and want fast shipping and quality thick paper, then you want to check them out!
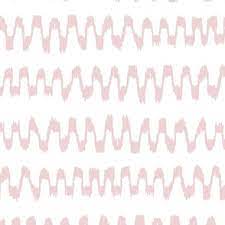
Click HERE to check out this pattern on Spoonflower.com
Price at time of post: 2×6 for $59
Other Great Options:
Etsy.com has amazing options from some of the cutest shops. If you’re looking for cool designs and quality paper, then check out Wallinvogue. I ordered this exact sample. And, it was thick and beautiful and it shipped super fast!

Click HERE to check out this wallpaper on Etsy.com
Price at the time of post: 4×9 for $168
Tried and Trusted:
If you haven’t looked at Amazon.com, you should. This powerhouse of a website can give you powerful reviews and allows you to quickly ship and return almost anything with ease. I found NUwallpaper on Amazon.com and they had some great patterns!
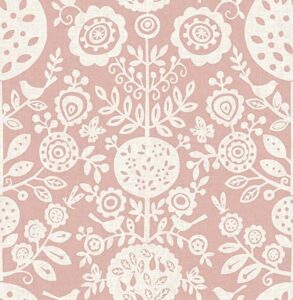
Click HERE to check out this pattern by Nuwallpaper on Amazon.com
Price at the time of the post: 1.7 ft wide x 18ft long for $33.78
There are tons of shops to find your “just right” wallpaper, but remember to order samples and try it out!
2. Prep Your Walls
Seriously, clean your walls, take out any nails, pick off the tape, fill in any big holes, etc. Adding this important step will just make your life easier. And, I know how excited you are and how much you want to get started right away – RESIST THE URGE TO RUSH! We all know that sticky paper will stick better to a clean wall, so just do it. It’s worth your time and effort!
Don’t forget to remove your outlet and light switch covers!
3. Gather Supplies
What do you need to hang this wallpaper the right way? I definitely have a few tips for you:
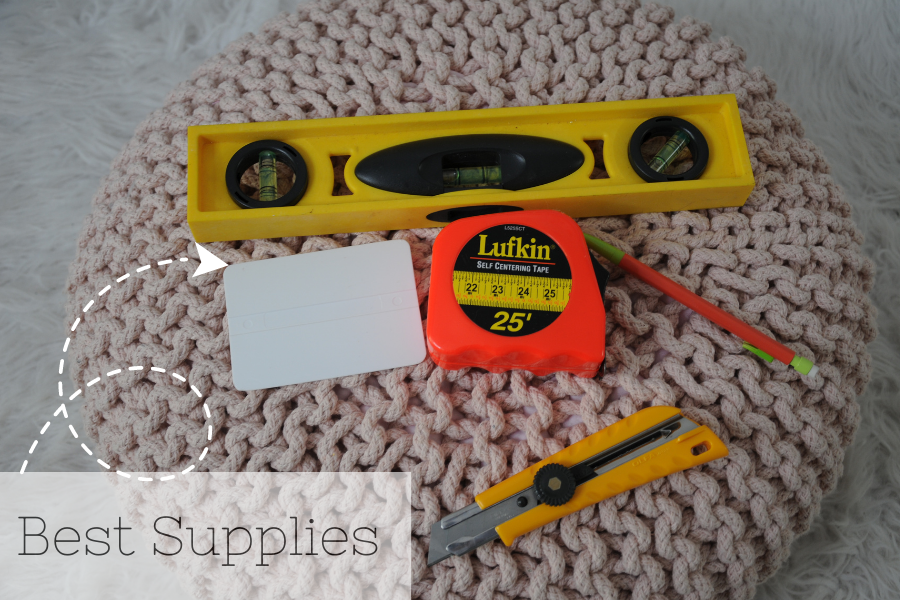
- Tape Measure – Use a tape measure to map out the size of your paper on your wall. You will use it a lot!
- Level– Ok… A longer level would be much better for this project, but this one worked out just fine. It just took a little longer to create my guidelines.
- Pencil– Nothing beats a carpenter pencil when marking up walls to guide your paper. I don’t own one (yet), but CLICK to find a really cool set!
- Exacto Knife– This little tool can make or break your project. Get one with replaceable blades and be prepared to replace it a few times. Click Here to check out my snap-off recommendation – cheap and easy to use.
- Smoother– For less than $3 you can get yourself a little life-saver. Luckily, my wallpaper came with a tool like this included. But, if you need one, amazon.com has what you’re looking for. They even sell peel-and-stick wallpaper kits. Check them out HERE.
- Ladder or Chair – If you think you’re tall enough to reach, most likely you’re not. You need to get up there close and personal to see and line it all up.
4. Measure And Line Up That First Strip To Set The Tone
Let’s talk about that first piece of wallpaper… it needs to be as perfect as you can get it. And, that means, you need to measure lots.
- First, you need to measure from the wall to where the paper will end.
- Second, make a line to mark where your paper should end.
- Third, use your level to make a straight line from ceiling to floor to give yourself a guideline.
- Fourth, double-check that your paper lines up with the wall and the line you made – DO NOT PEEL THE PAPER BACK YET. This is just a test people!
- If it all lines up… you are ready to move on!
5. It’s Happening! Time To Stick!
If you feel ready, you’re ready. It’s okay to be nervous – but don’t be, you can always peel it back and realign.
- Start by lining up your paper with the guideline and the wall and attach the paper a few inches up on the ceiling. You will be tempted to line it up right against the ceiling – don’t! You will be happy to have wiggle room to work with.
- Ok… now that you are lined up and stuck on the ceiling, it’s time to start peeling off the back and sticking. GO SLOW! Use your smoothing tool as you go. And, for goodness’ sake, keep an eye on your guideline. The guideline is the way you will keep your paper straight and it will determine all of the other strips. So, WATCH IT!
- Now that you have the first sheet in place, be sure to overlap the second piece to continue the pattern seamlessly. The directions on my paper had me overlap by 3/4 inch.
6. Tips From A Newby
- Bubbles happen. Sadly, I had some air bubbles. Mainly they were on the pieces that I rushed to put up – because I was working into the night. There are a few ways to fix them. You can unstick and restick your paper to get them out. Or, you can use your scraper to push them to the seam. And, if all else fails you can use a tiny needle to pop them. Then use your scraper to push the air into the hole.
- You might get some creases. I have a few creases and at first, I was really upset. They were caused by my trying to remove bubbles. But, I used my finger to smooth them down really flat and they are barely noticeable. If you get a crease, just breathe. It will still look great!
- You Can Do This Alone. So many posts have strongly encouraged you to have help, but I’m here to tell you that you can do this solo. I tend to like to work alone so I was a little worried that this would be too much. But, I was so wrong. YOU GOT THIS!
This post was all about how to hang peel-and-stick wallpaper.
Other Posts You Might Like:
- 5 Super Easy Steps To Spray Paint Plant Pots
- The Best Desk Organization Tips For Teen Boys
- The Right Way To Organize Dresser Drawers To Get Ready Faster
Stop looking at all the little flaws, you only see them because you’re looking. Everyone else sees your beautiful work.” ~my mom
