Do you want to learn how to make labels with a Cricut machine but need a beginner’s guide? Well, you’re in luck because I just created some bathroom bin labels and am a beginner with my Cricut. I actually had a hard time starting because I still get intimidated when using my Cricut Maker. But, if I can do this, so can you!
(Before you read on, I want you to know this is NOT A SPONSORED POST. It’s just me – a girl with a Cricut and learning as I go.)
Finding a project to make can be so exciting at first, but then reality sets in fast. I have watched videos and read blogs on how to make labels with a Cricut many times, but honestly things don’t always go as smoothly as they’re supposed to when I do them. I wanted to guide you through the process and keep it real because I hit a few snags along the way. Sometimes sharing mistakes can be more helpful for a beginner than the perfect project, right?
I’m going to share exactly how I made my labels with my Cricut, the material I chose, the supplies I used, and all the bumps I hit in the road on this project.
After learning from my mistakes, I hope you’ll gain the confidence just to get started on your project. In the end, my project isn’t perfect, but it’s not too shabby, and I’m happy I did it!
This post is all about how to make labels with a Cricut machine.
How To Make Labels With Cricut Machine – Mistakes Included.
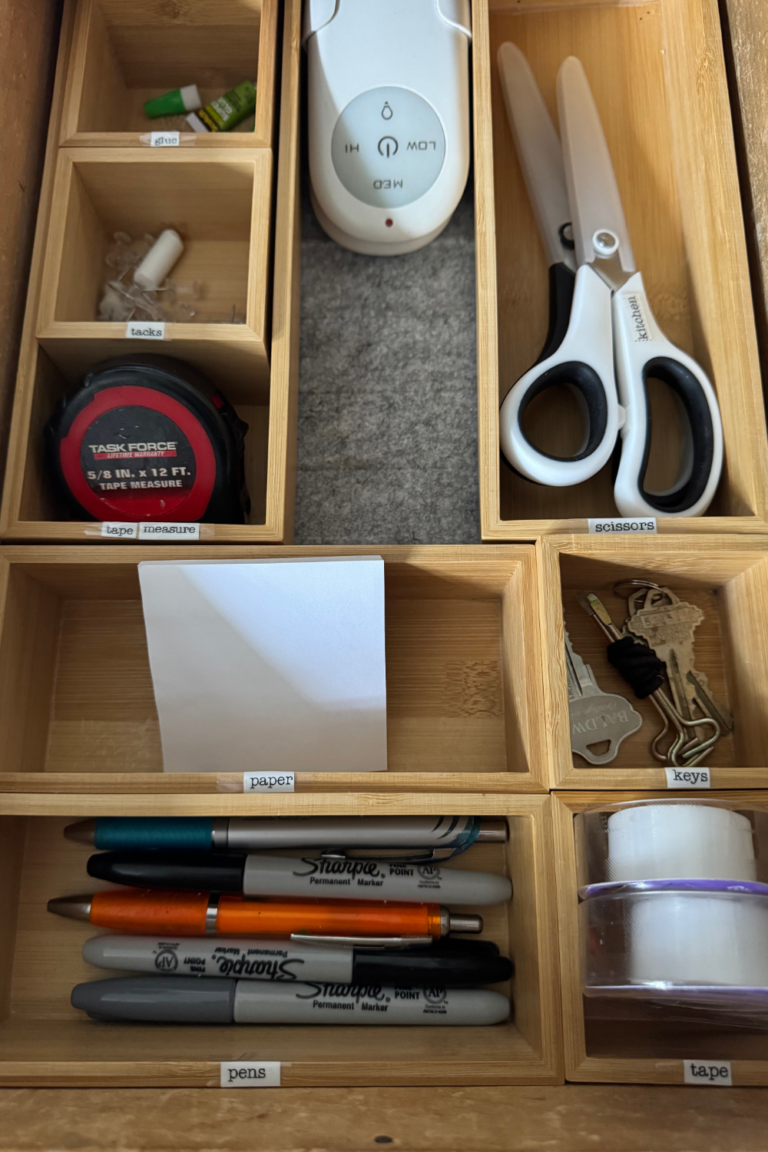
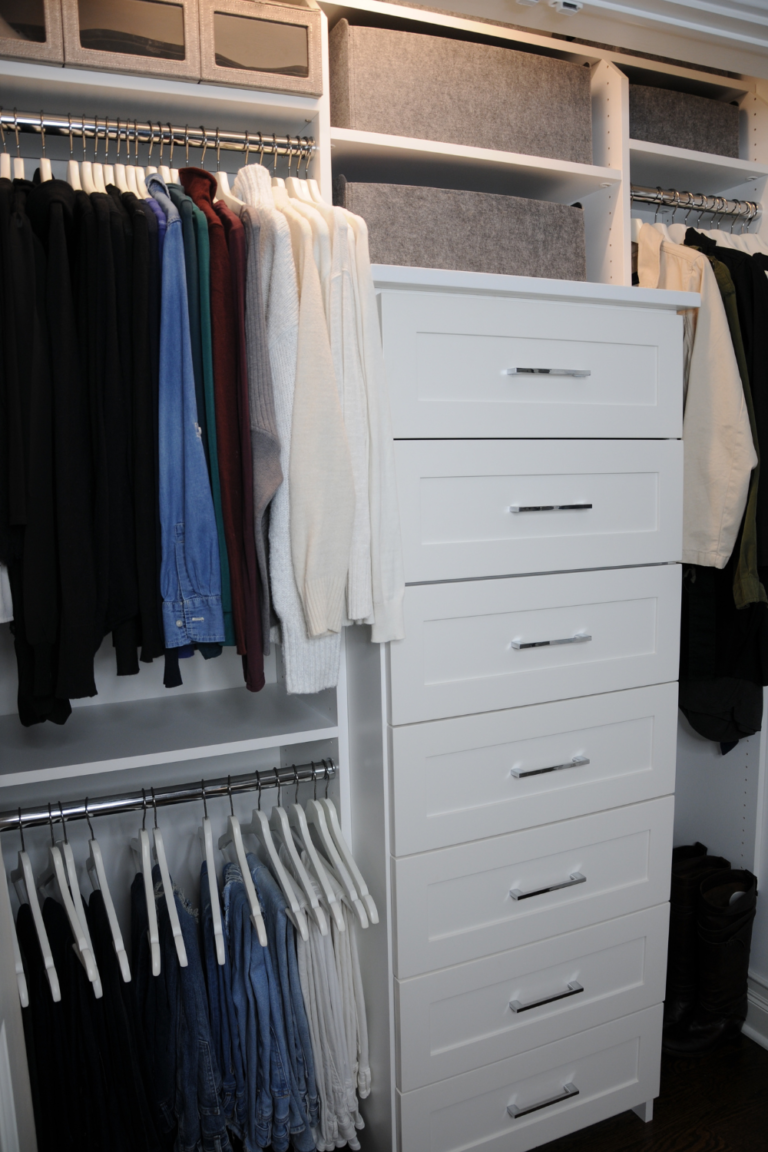
So you want to add some labels to your home and you decided to do it yourself? Me too. I have a stack of bathroom bins that were stuffed with supplies and were in desperate need of organization. I finally got frustrated enough to do something about it. And that “something” involved learning to do a label project on my Cricut. Even though my project isn’t perfect, I wanted to share it with you!
Gather Your Supplies:
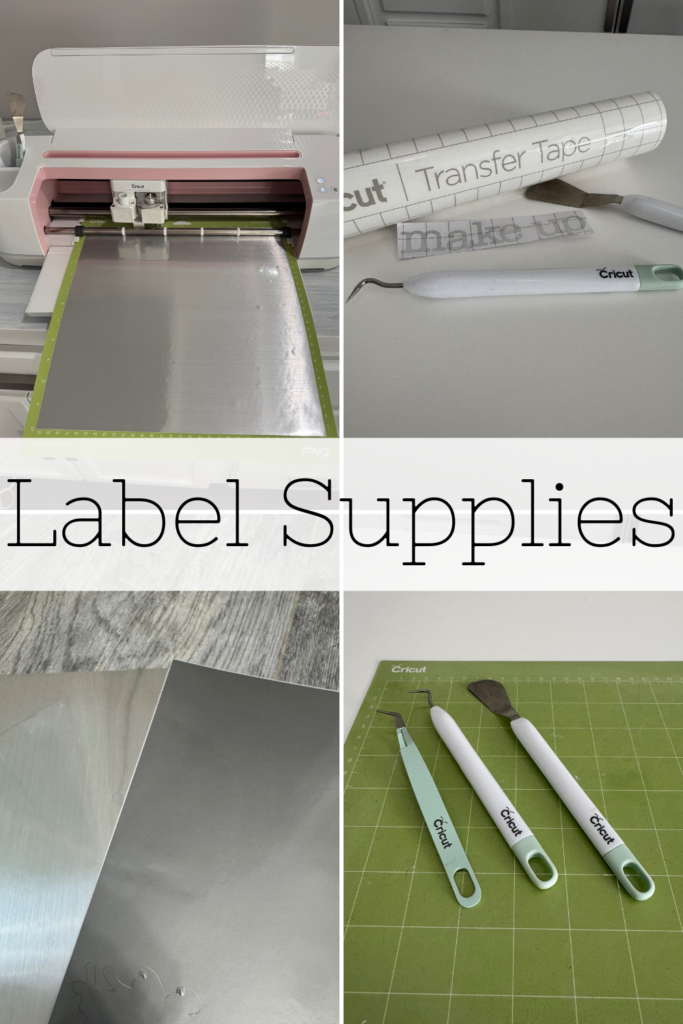
Before you start, make sure you have a version of these items on hand:
- Cricut Cutting Machine: I have a Cricut Maker Machine, but there are other versions of the Cricut machines. You can read and compare the different machines HERE.
- Cutting Mat: I used the Cricut Standard Mat – honestly, I always do.
- Cricut Vinyl: I chose a Silver Vinyl Sheet and it was good and bad to work with.
- Cricut Tools: I definitely used the tools that came with my Cricut to “weed” the labels. Do you need tools? Click Here.
- Transfer Tape: Cricut Transfer Tape made it easy to transfer my designs to the plastic bins.
- White Bins: These are the BEST containers and the labels attach easily. Check out IKEA for these bins!
Get Cricut Design Space and Get Designing
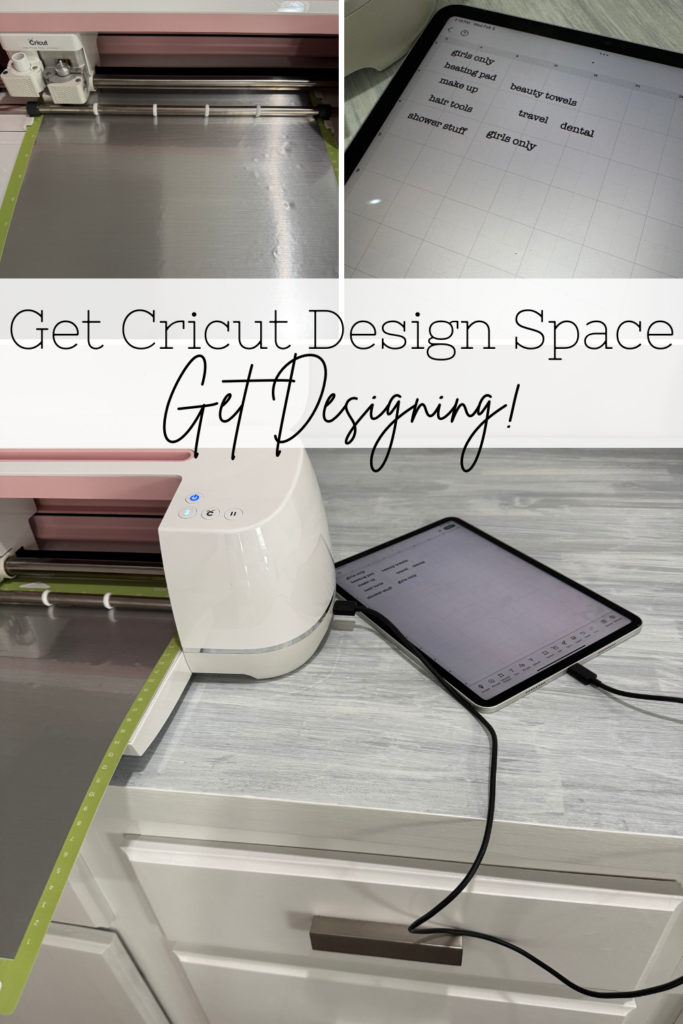
Ok… Here’s where I ran into issues. I have used Cricut Design Space before and had no problems at all, but this time the app couldn’t find my Cricut Maker. In fairness, it was probably a “Sara Lee” issue or a WIFI miscommunication. Luckily, I found a wire that could connect my iPad right to my Maker and it did the trick! So, if you run into issues – just plug it in!
If you haven’t downloaded the Design Space App, you can CLICK HERE to get started.
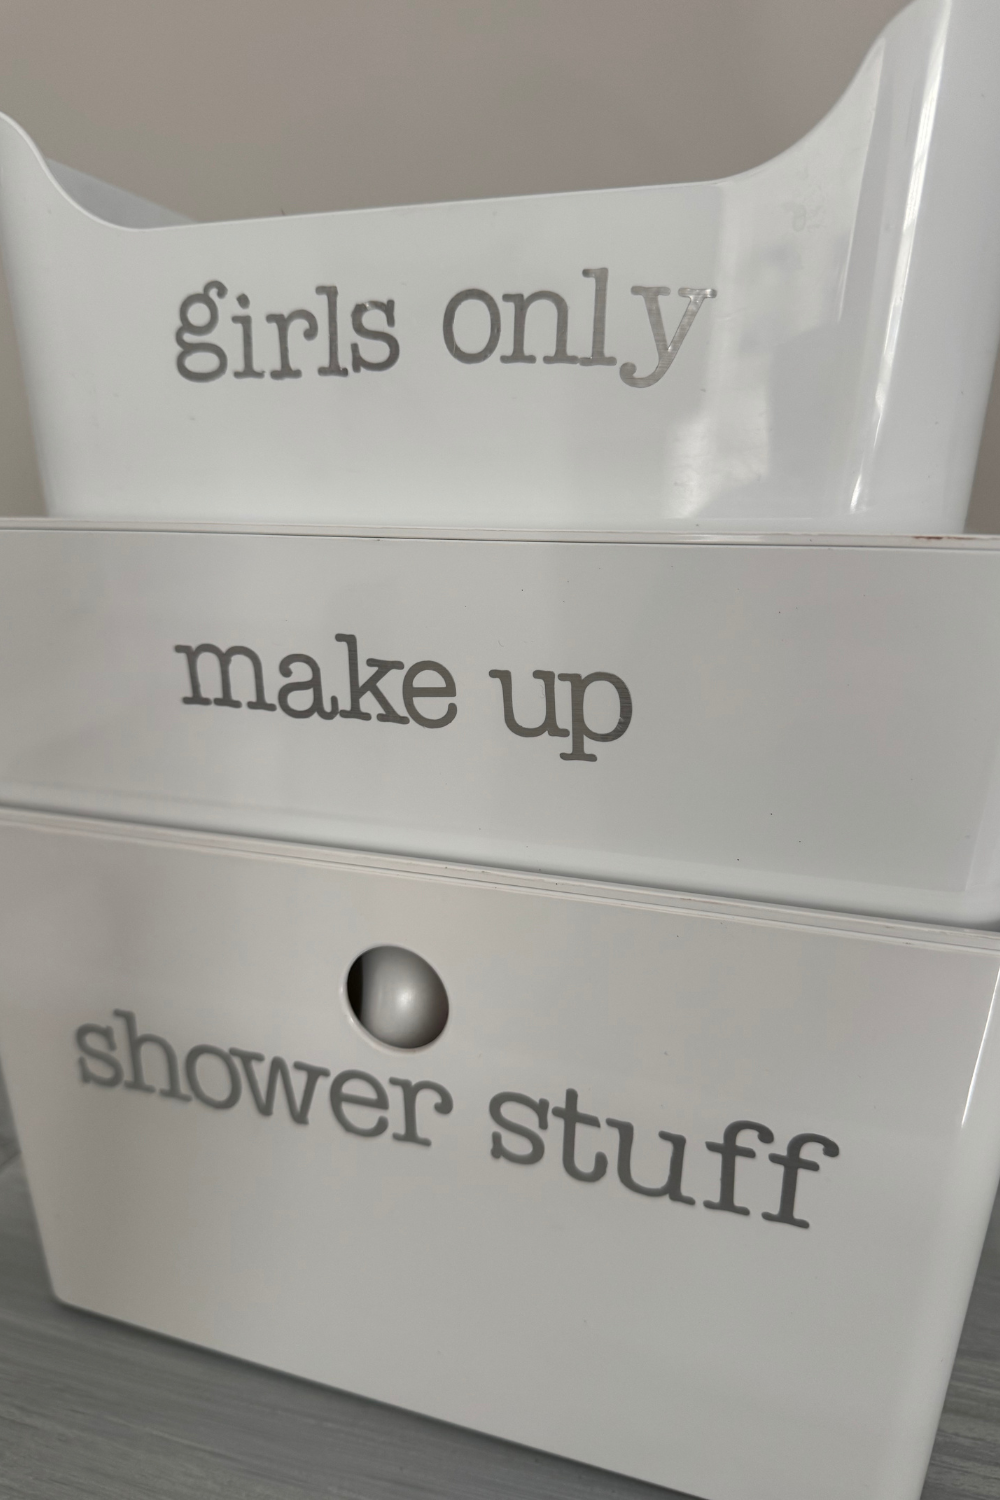
After I got the connection issue solved, it was time to design. Basically, I typed each label word out into the design space and changed the font until I found one I thought was going to look cute in my bathroom. Then, I made each word the same height so they would look good when the bins were stacked. The font I chose was “modern typewriter” and it is FREE.
A Few Tips To Know For Cricut Design Space
- You don’t need to subscribe to start.
- It’s easier to use the “weld” feature to attach your letters so they cut and peel attached. Believe me….
- There are tons of free fonts.
- Be patient and make it fun! Or at least try.
It’s Time To Cut!
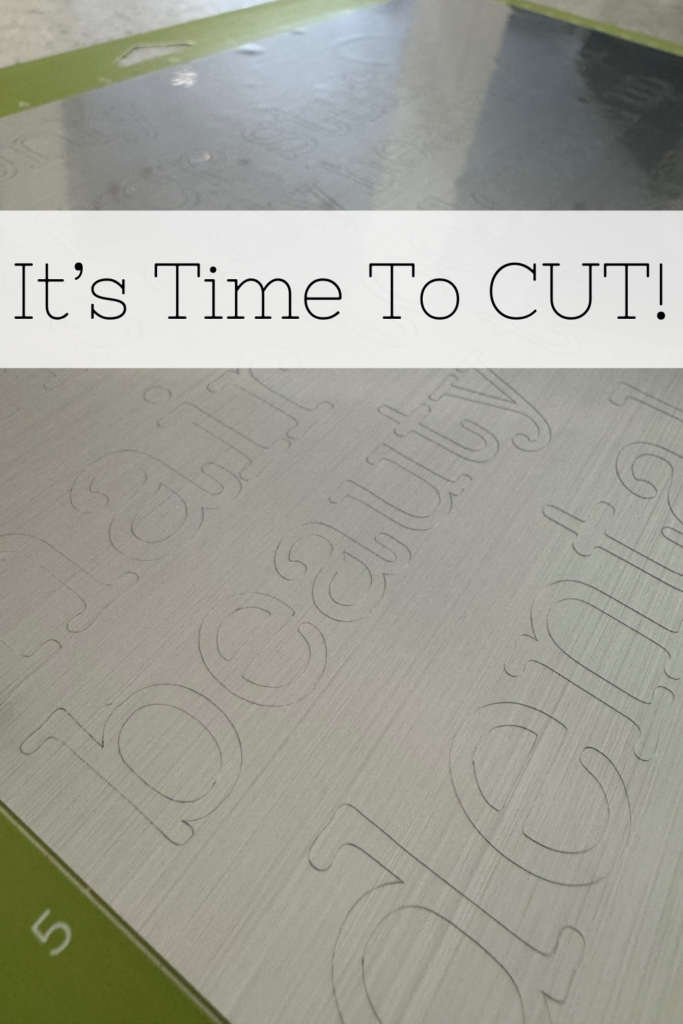
When you think you have everything just right, it’s time to hit the “MAKE IT” button. This is always my favorite part! You can just press the button and watch the magic happen. Your Cricut is even smart enough to arrange your designs to save your vinyl.
But wait… If you are ironing your labels onto a fabric, you will need to press the “MIRROR” button to make sure your designs will face the right direction. {Related Post: You Need These Label Ideas For Organizing Your Home}
Weed Your Design
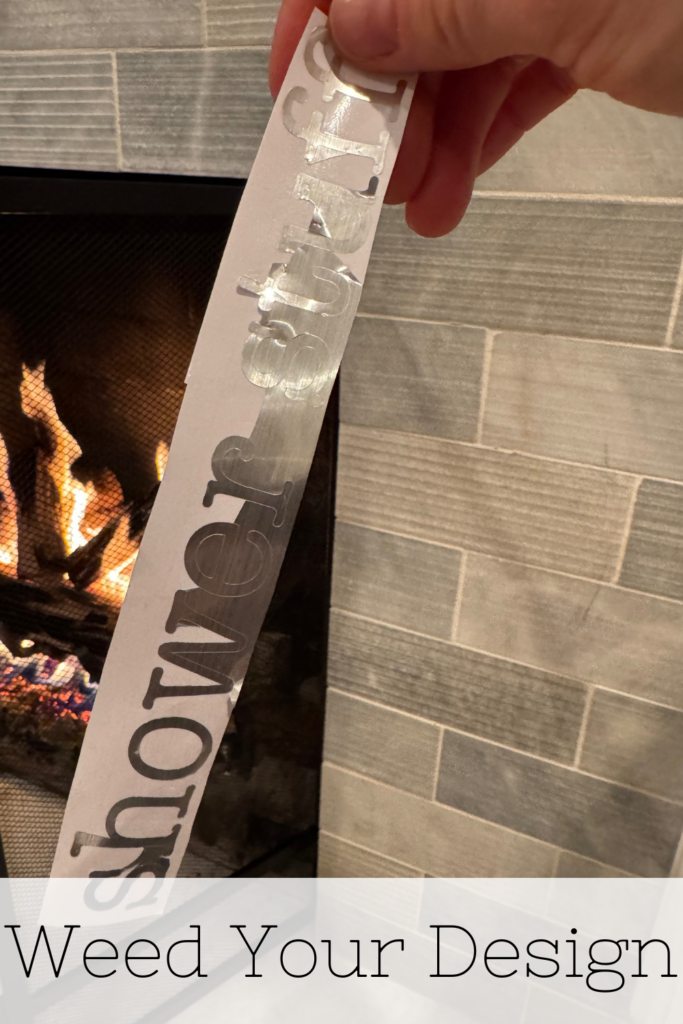
And this is where my biggest problems began. Some of my letters weren’t cut all the way. It was super time-consuming getting the letters lifted neatly. I had a few letters rip because they were just so stuck in so many ways. This part of the process took SO LONG. I have never had this happen before, but I’m guessing this metallic vinyl is thicker than the regular vinyl. If I tried this again, I would set the Cricut to cut for a different material to see if I get a better result.
Let’s get real about weeding…
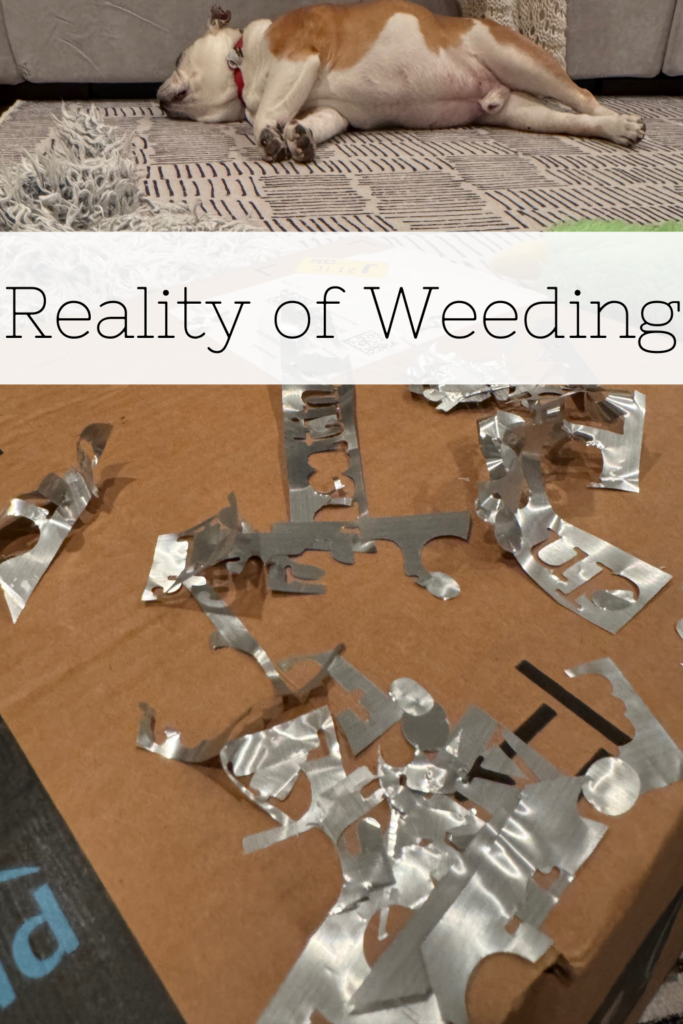
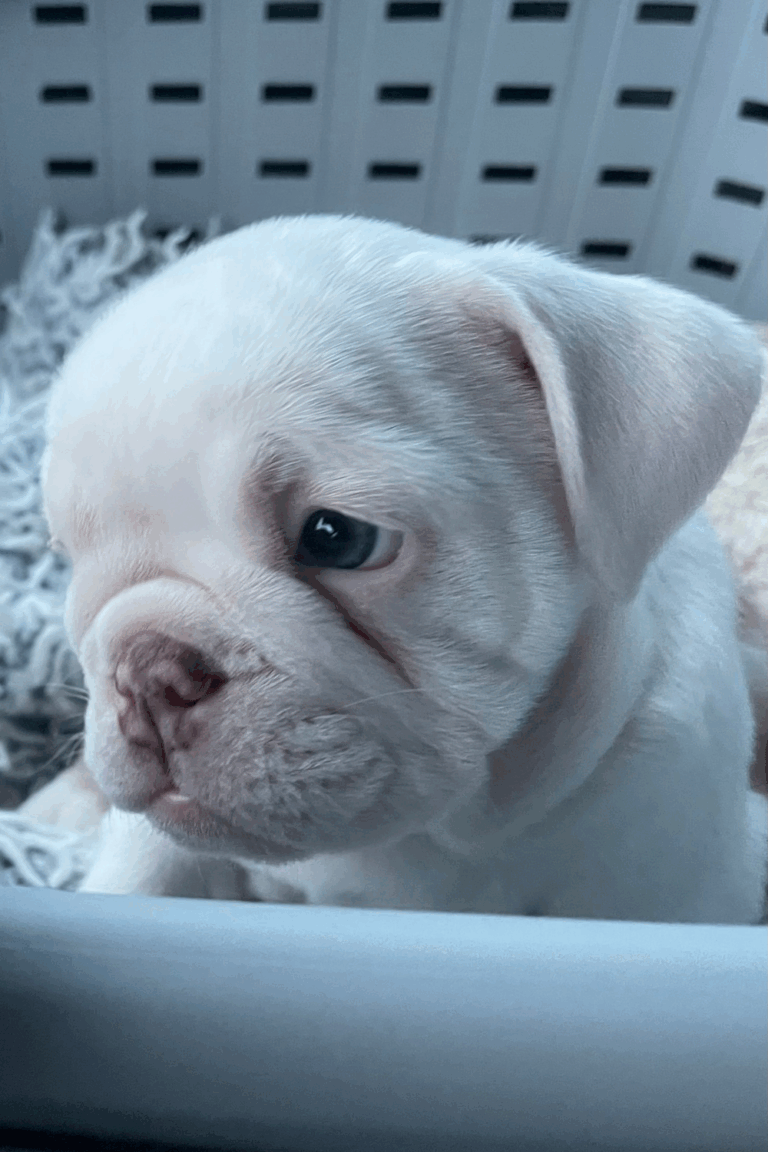
(Even Odie was exhausted from weeding)
To make things more fun, I moved the weeding process to the living room so I could hang out with Odie and have a show on in the background. Let’s just say I struggled. And, I decided to trade the Cricut tweezers in for my own tweezers and that helped a lot. I just couldn’t get the hang of them. I can’t stress enough how much it helps to have your letters welded.
Transfer Your Design
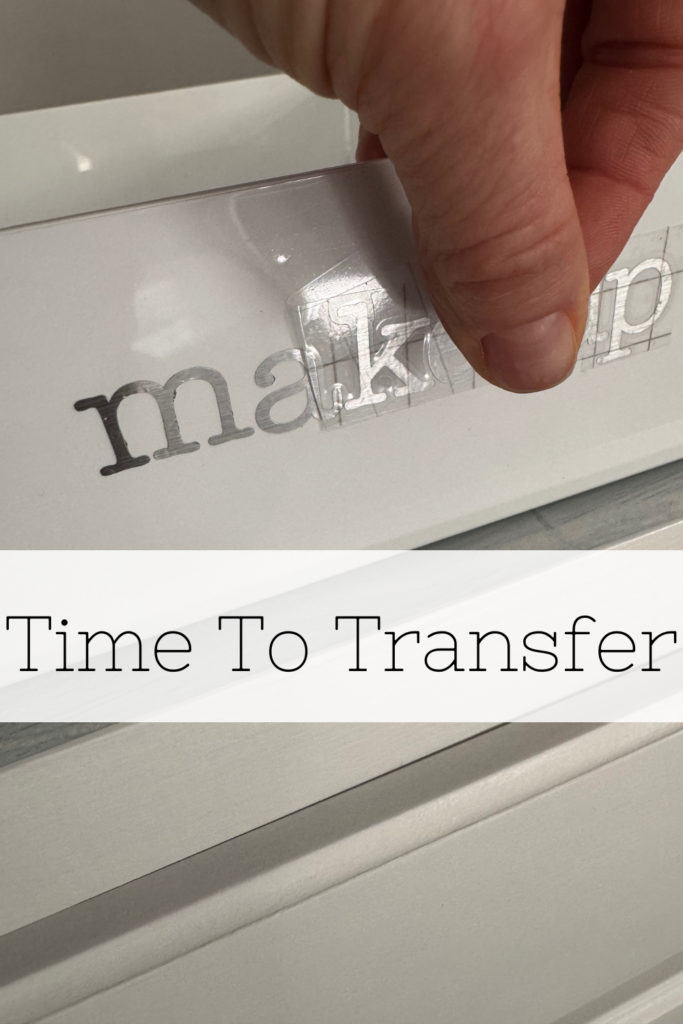
This was the very first time I had used transfer tape. It worked so well! This was by far my easiest step so don’t get intimidated to use this tape. I used a measuring tape to line everything up and when it was just right, I pressed it down and carefully pulled off the tape. Because my letters weren’t welded, it took a little longer to make sure each letter was lined up. If you decide on a welded design, this will be a breeze! Make sure you use a scraper tool to run over the design to make sure the design sticks well to the transfer tape.
I used the hinge method (shown above) to transfer the design to the bin. Basically, you need to line up the design right where you want it then slowly peel back the transfer tape and watch the magic happen! You can also peel the tape back from top to bottom. Just do what feels easier based on the shape of your design.
The End Result
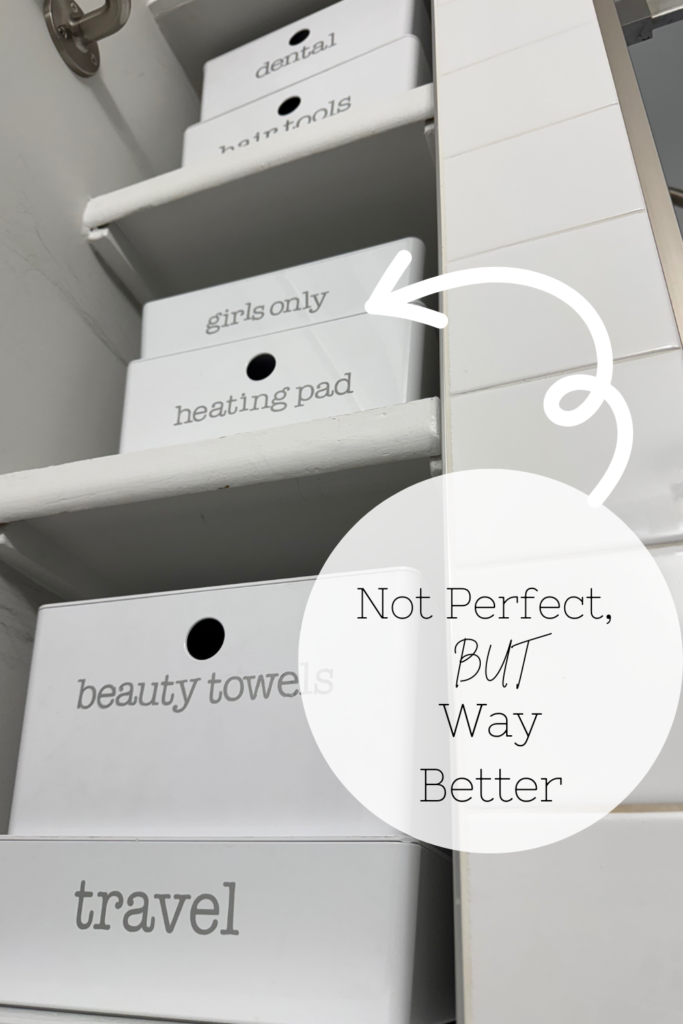
I’ll share some wisdom from my mom with you… she always says that no one sees all of the imperfections of your creations. And no one sees the perfect image you created in your head. So go for it! Even if it’s not perfect… it’s better!
This Post Is All About How To Make Labels With A Cricut Machine.
You May Also Enjoy:
- You Need These Label Ideas For Organizing Your Home
- How To Organize Your Laundry Room Cabinets Like A Boss
- Entryway Organization Ideas For Busy Families