Do you want to learn how to organize laundry room cabinets? I’m not sure why, but this area can easily become cluttered and messy. I worked hard on mine and I am going to share my results with you.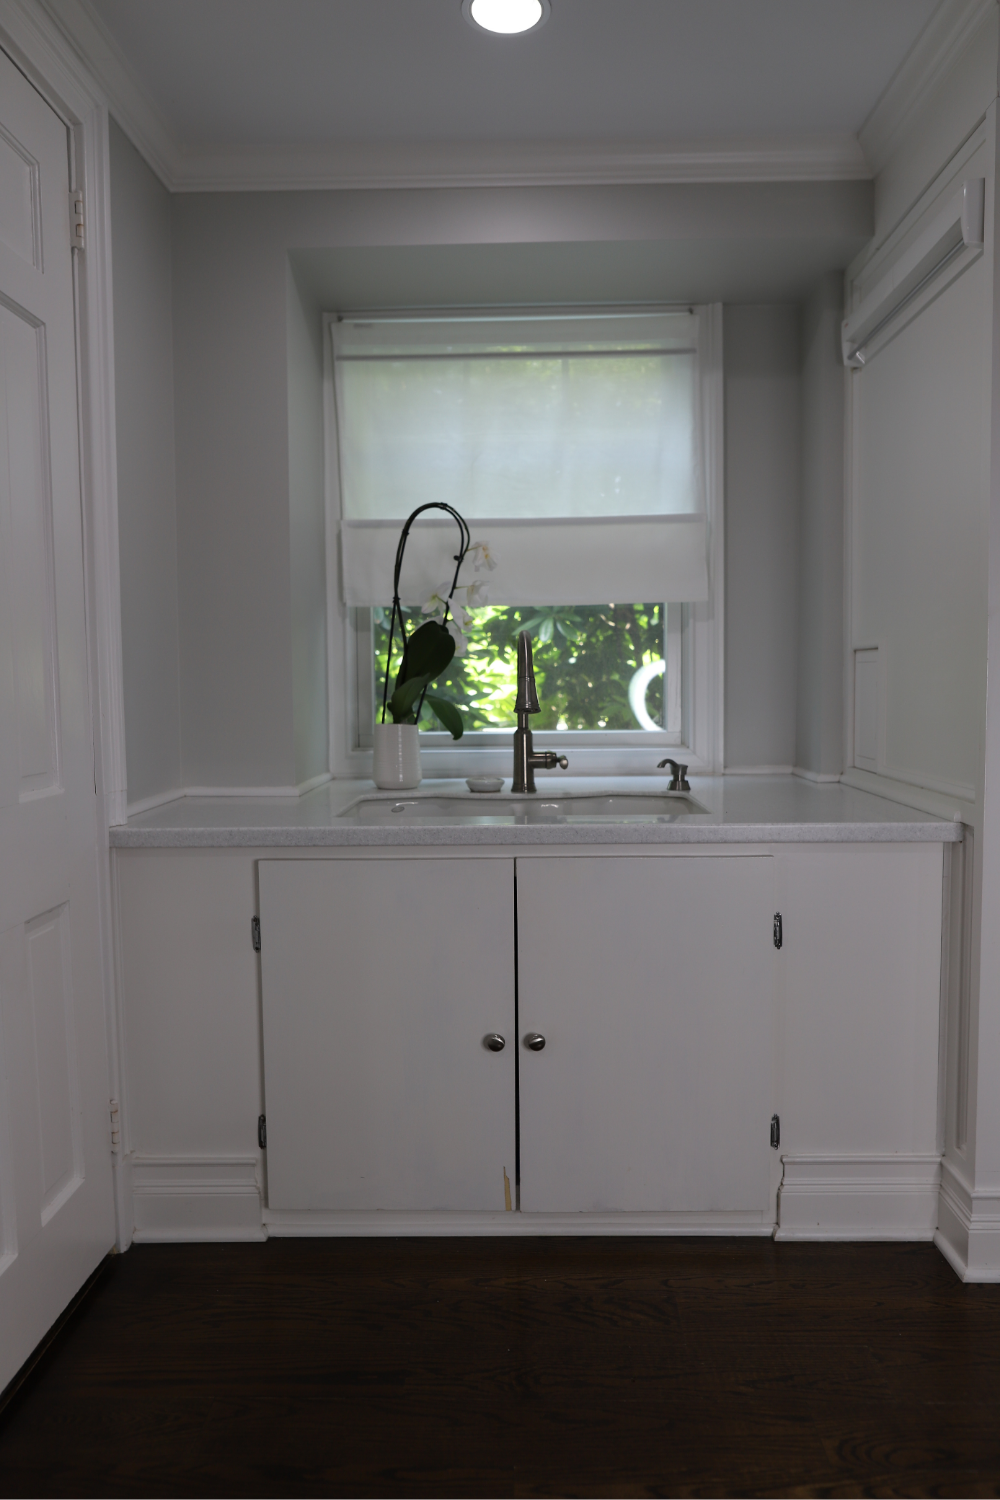 You might think you have a tiny laundry room space, but mine is part of a hallway to the garage! But, hey, we can make anything work if we get creative! This little laundry room sink cabinet doubles as my cleaning cabinet so I really had to maximize the space.
If you need a how-to or just want to see how I organized my laundry room cabinet, this post will be helpful. I struggle to keep this area clean and organized myself and I’m kind of an organizing nerd. This system has been in place for a while now and IT’S WORKING! Let’s get yours to work for you too.
This post is going to teach you how to organize laundry room cabinets like a BOSS.
How To Organize Laundry Room Cabinets
I get it, you bought the cute containers, you sorted everything, and you thought you were done organizing this space. WRONG. I did the same thing and look where I ended up:
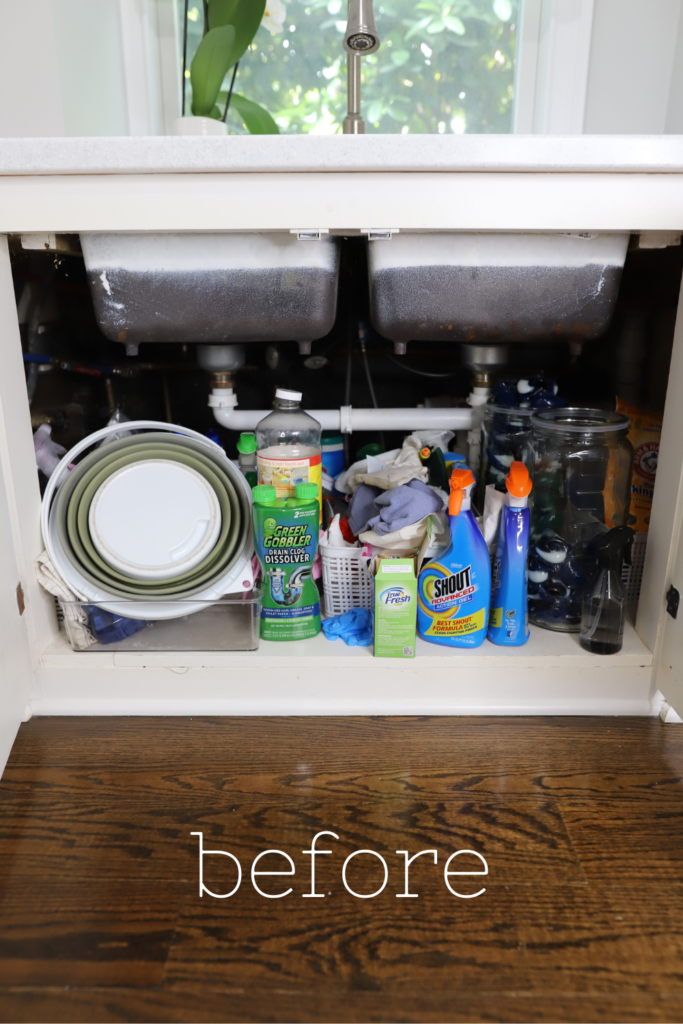
Jeez, this is embarrassing, but let’s go through it.
Step One: Remove Everything and Clean
I feel like a broken record, but the only way to organize a space is to strip it fully. It’s not enough to move things around or try to shove things back in containers. Bite the bullet and take every single thing out! It’s time to throw out any trash, sort recyclables, and donate anything you no longer need.
Here’s my big mess from my little laundry cabinet:
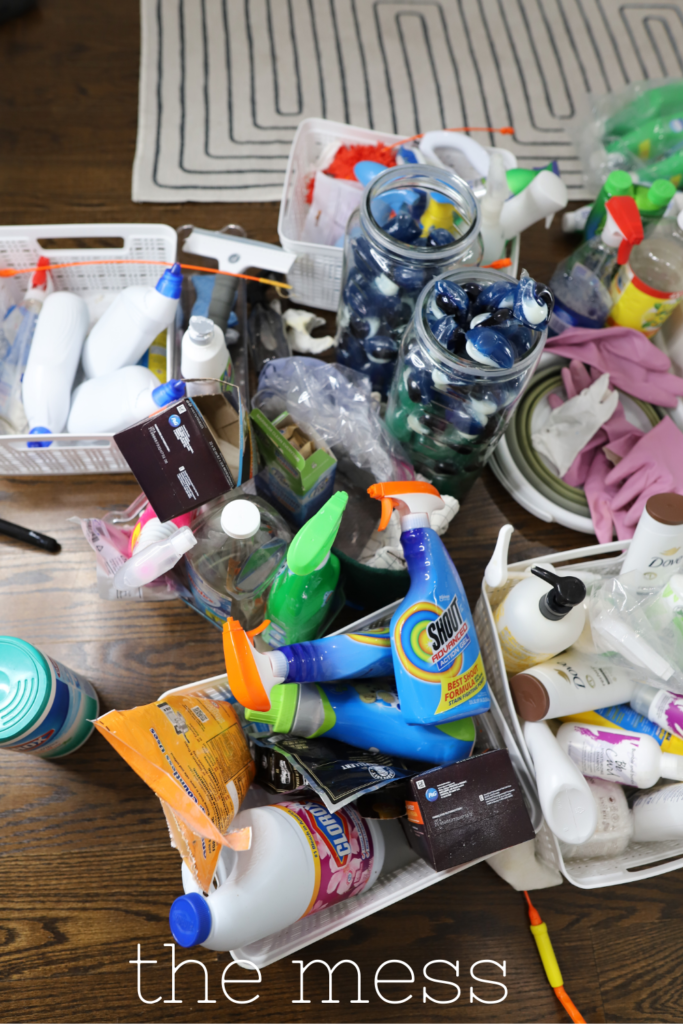
Once you have the space cleared, it’s time to clean! And, yes, that means everything. Clean the empty cabinet, the bins or baskets you intend to put back, and even any spills on the outside bottles or boxes. Not the most fun step, but a very necessary one.
Step Two: What To Store In Laundry Room
After you empty your space, sort everything into categories, so you can define what needs to live there. One of the main issues with my cabinet was the lack of definition.
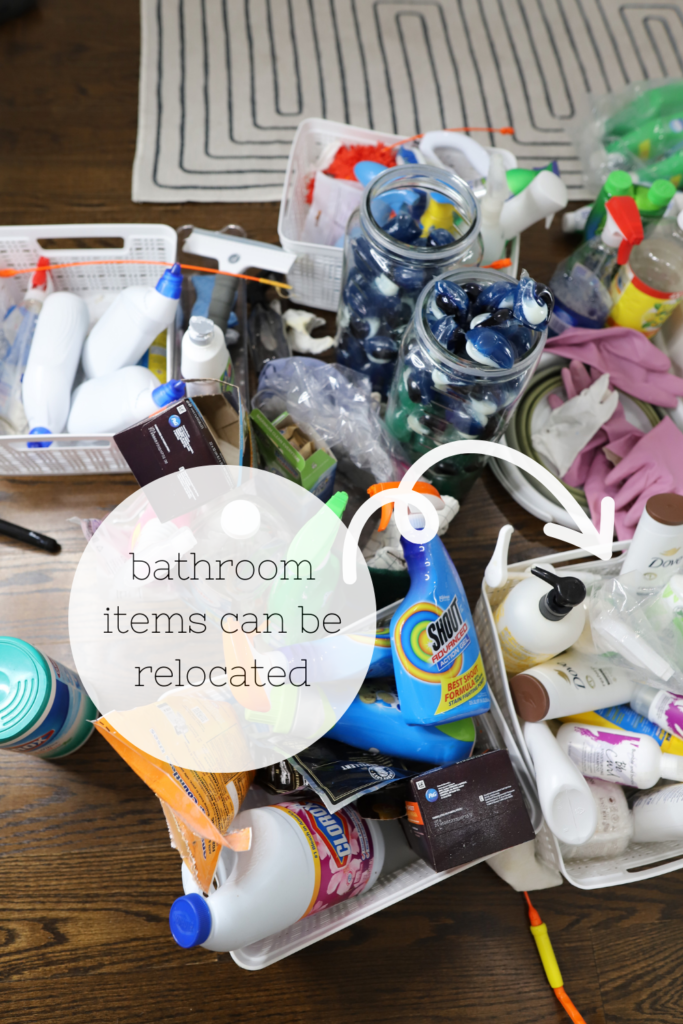
After evaluating everything, I decided to ONLY keep laundry and cleaning supplies in the cabinet. If you look closely at the “stuff” that landed in this space, you will quickly realize that some things could be moved. For instance, the bathroom extras needed to be housed in the bathroom. There simply wasn’t room for them. Keep in mind, that if you have a bigger cabinet or need to store other items in your laundry room, you can do that with a little extra planning.
Step Three: Contain Everything
This is my favorite part! There are so many ways to store things – the possibilities are endless. Before you go rushing to buy new baskets, take a moment to put all like objects together. When you take the time to do this, you learn what type of container will work best. I decided to reuse my baskets, but I changed the way I used them.
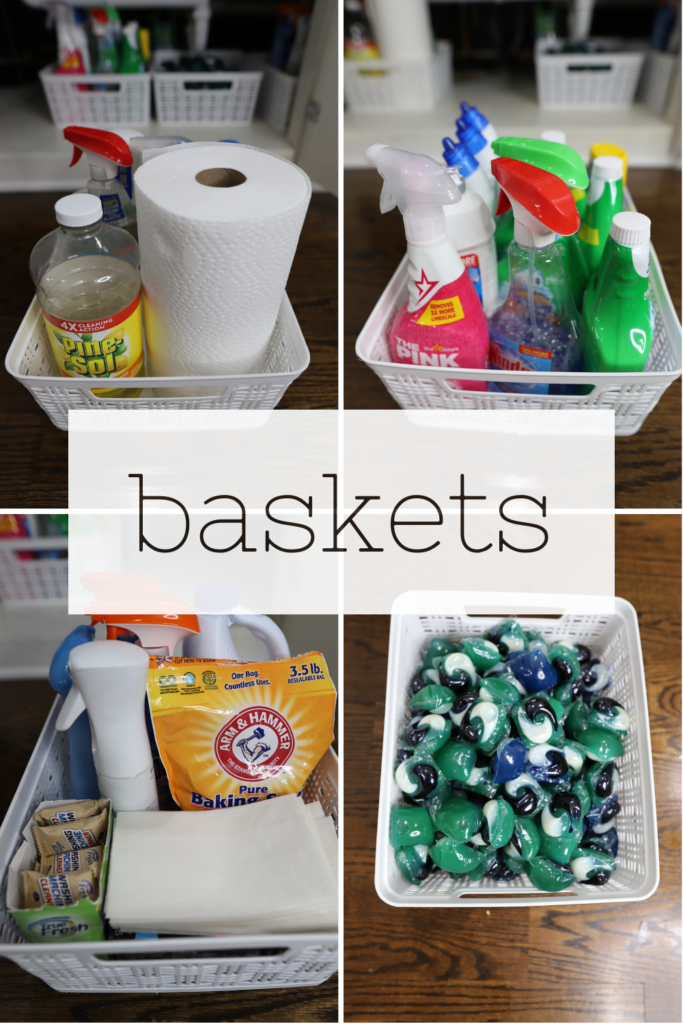
The biggest change I made was to move the bathroom items out and reuse that basket for my laundry pods. Before this, I had them stored in two JUMBO mason jars. They looked cool, but they were not the best storage containers for my pods. I’m still not sure this is the best idea, but so far, so good!
**If you like my baskets, you can CLICK HERE to grab some yourself from Amazon.com- $19.99 for 3.

I used the small clear containers for cleaning gloves, rags, and small cleaning brushes.
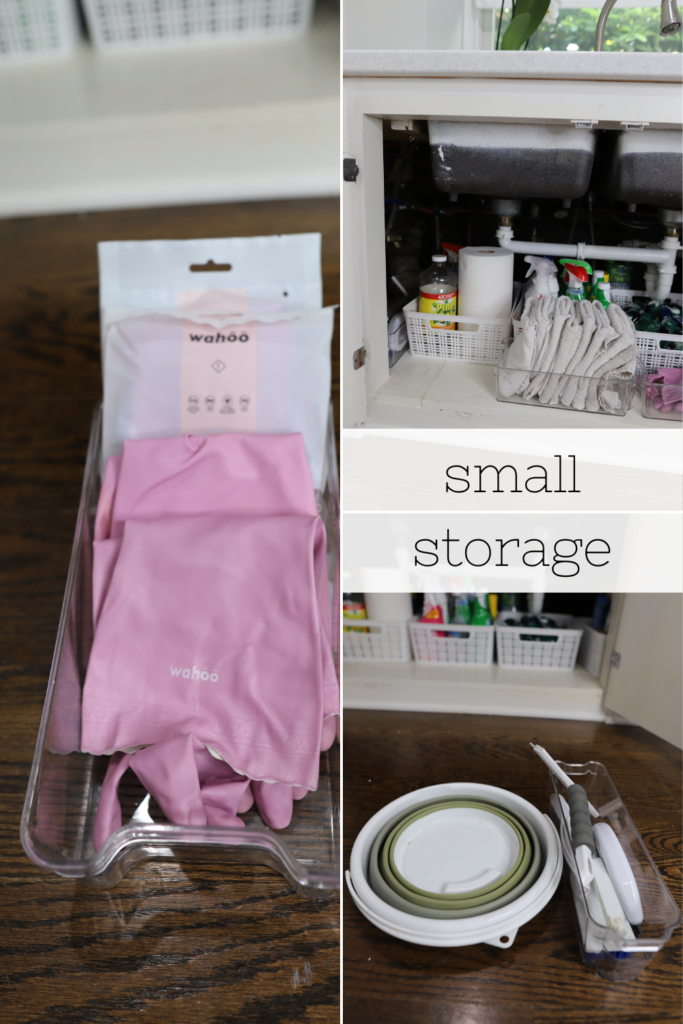
Looking for small clear containers?
CLICK HERE for links to these containers on Amazon.com.
Step 4: To Label or Not To Label That Is The Question
The last step in my organization projects is to decide whether or not to label all the containers. I actually tried out two types of labels on this project. One type was a cool magnetic label that you can find HERE from the Container Store. I decided against these because they are really nice and I have another space that would benefit from them more. I promise to share that one in a future post. The other label types I tried out were metal hook-on labels. You can find them HERE from the Container Store. After some consideration, I also decided that these weren’t quite right for this space either.
There is no need to rush the project if you don’t have to. I have left my containers unlabeled for a few weeks now and I have now decided to create my own labels with my Cricut machine. I’m going to go back to a video I shared in a previous post and use that guide once again to create my labels.
If you’re curious about the Cricut Machine. You can read all about the different types HERE.
Here is the link to the exact video I follow to help me create labels on my Cricut.
(Thank you Karly Hall for beautifully explaining how to work my Cricut!)
Step 5: Use Your Newly Organized Laundry Cabinets
It’s time to try everything out! Live in your space for a few weeks and decide if you need to make changes. My biggest concern with my new system is that the laundry pods could get wet and ruined, but so far, so good! Always remember that being organized is a practice. It’s not something you achieve once and it remains perfect.
This post was all about how to organize laundry room cabinets in your home.
Other posts you might like:
- You Need These Label Ideas For Organizing Your Home
- Entryway Organization Ideas For Busy Families
- The Right Way To Organize Dresser Drawers To Get Ready Faster
