Are you looking for inground pool renovation before- and -after photos? Here are some, along with some things to consider before you sign a contract with a company for your makeover. It’s a big project, so let’s get this one right the first time!
Making over an existing pool is a huge decision. When researching inground pool renovation before and after photos, most sites are from pool companies with an agenda. But I wanted real information from a homeowner’s perspective and couldn’t find much. I want to pass information to anyone in our shoes who needs to overhaul an older pool.
If you’re looking for information on the cost of this type of makeover, ideas that will modernize your pool, issues that could arise, and mistakes to avoid, this post will be helpful. I will go over the list of changes we are making to our pool, what we chose, and what we would have done differently.
This post is all about an inground pool renovation, before and after.
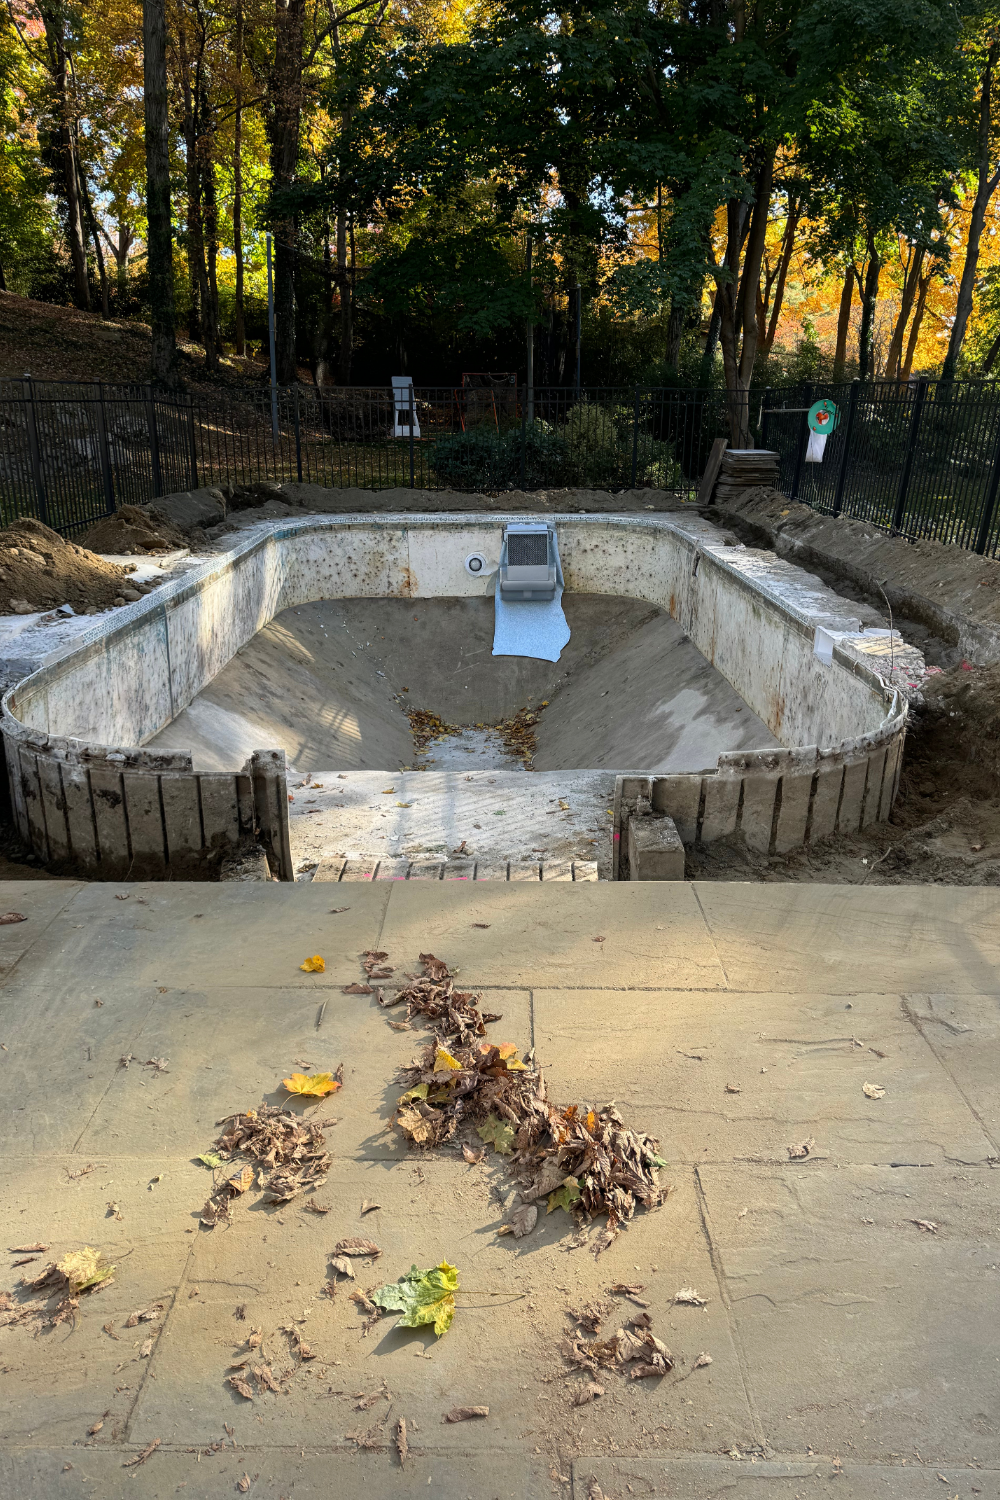
The Before: And Why We Decided Now Is The Time To Renovate
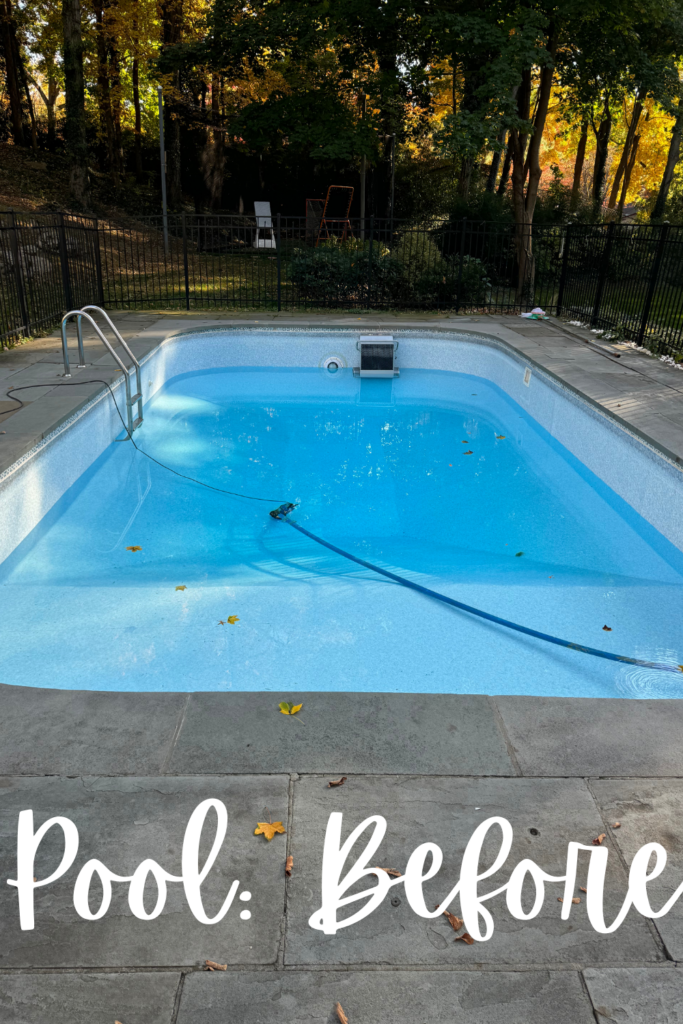
Ok… our pool is old, like ancient. We were so excited to have a pool that we didn’t care that it was over 50 years old until it started having problems.
Here are a few issues we have had since we moved into our house 8 years ago:
- Leaking skimmer– The problems originated with the skimmer. Not long after we moved in, we noticed the water level was dropping rapidly. We contacted our pool company, and they found a leak from a crack in the skimmer. At first, they used epoxy to patch the leak, but warned us that this was a temporary fix. The actual fix for the skimmer leak involved installing a new liner because it often slips when you make other repairs. While working on this issue, we also found another problem.
- Pool equipment slab – At the same time, we were dealing with a leak, and our pool equipment was sinking into the ground. It was another issue we couldn’t ignore, so while our pool was drained, we disconnected all of the pool equipment and had someone come and pour a new stable and level slab.
The skimmer and equipment slab project cost around $13,000
In the process of fixing the original problems, our pool company found more issues, and worse, they created our biggest problem ever!
- Cracked Light Niche – When the pool company replaced our liner, they mentioned that they cracked our light niche. In simple terms, that is the material behind the light that runs to the power source. The crack didn’t make it unsafe to swim, but it caused another leak. The day after we had our brand new liner and fresh water, we were shocked that the pool leaked faster than ever. We were devastated. The pool company assured us they could patch the niche with epoxy and everything would be perfect. They were wrong.
- Endless Pool Oil Spill – Our little pool came equipped with a cool Endless Pool machine. It is a large metal box that creates a current to swim against. We have a blast trying to swim against it and often race our rafts against it for fun. When the pool company replaced the liner, they had to remove it. When they reinstalled it, they made a mistake that caused the Endless Pool to dump its engine oil contents into our pool. Did I mention this happened two days before my daughter’s birthday pool party? Luckily, the machine runs on vegetable oil, so it was safe. But that didn’t make it easier to clean up. After the oil spilled, the whole machine stopped working. It had to be sent to a specialist to be repaired, and our pool company claims they aren’t at fault. More on that later.
After dealing with the issues, we moved on to the next problems and projects.
- Pool Heater: Our pool heater stopped working and had to be replaced. We got a deal, so instead of $8,000, we snagged one for $3,500. Then we had to pay to dispose of our old heater and install the new one.
- Conduit: After replacing the heater, we were told that our conduit would need to be repaired sooner rather than later. We weren’t ready at that point to pay for another project, and it wasn’t leaking, so we left it alone at this point.
A Year Later, And Our Pool Leak Became So Bad, It Flooded Our Neighbor’s Yard.
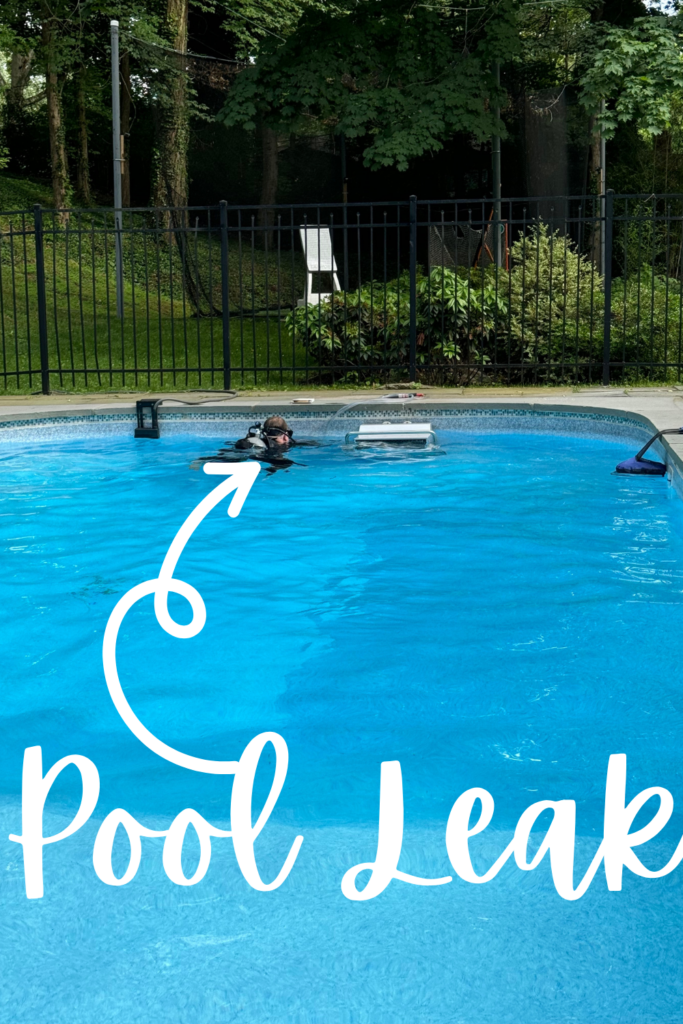
Last summer, our pool was leaking so badly that we hired a diver to help us find the source. (As a side note: we had no clue you could hire a pool diver who specializes in finding leaks.. This guy was amazing! If you have a leak and can’t find the source, I highly recommend hiring a diver.) We thought the light niche was leaking, but our pool guys weren’t so sure. The diver came out and immediately said it was our light niche and that in 20 years of diving, he had never seen a leak so severe. He said that there was nothing left of the light niche to repair. It was cracked and just started to corrode down to nothing. Our pool was spilling into our neighbor’s yard at the rate of a running hose. He put a weird cap over our entire light, and it stayed capped the rest of the summer.
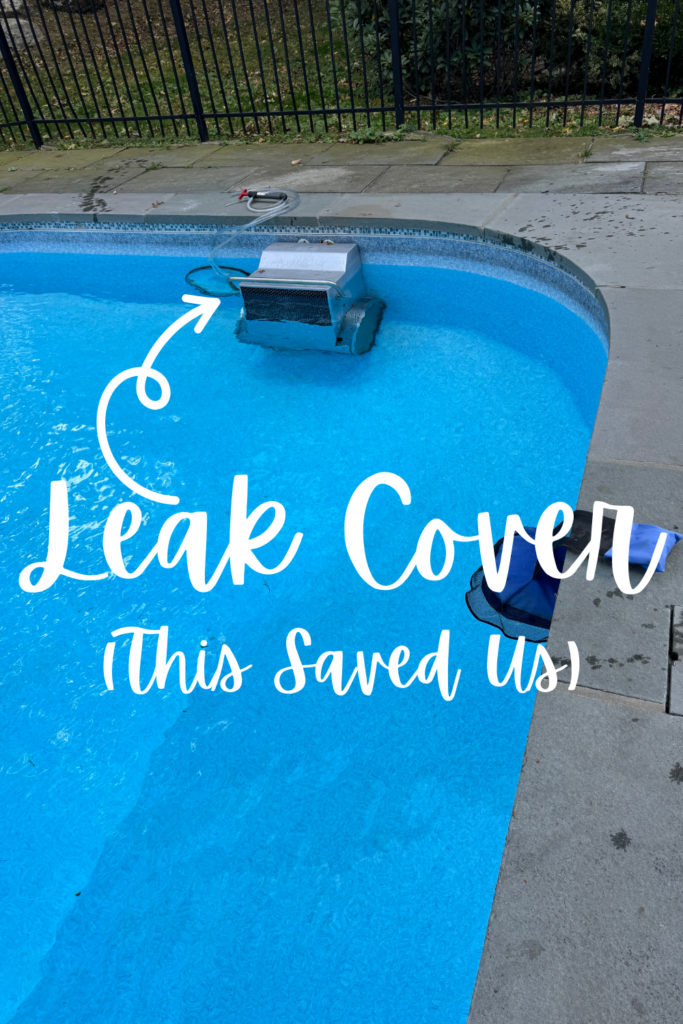
CLICK HERE FOR A LINK TO LEAKTRAC LEAK COVER. – Please share this with anyone struggling with a leak.
The Search For An Affordable Solution
We had no choice last summer, we had to make major repairs to our pool to get it back in working order. We made a dream list of changes we would make if we could afford it. Then, we started calling companies.
- The first company we called gave us advice and an estimate of between $80,000-$100,000 to modernize the pool and get it into working order. YES, I SAID $100,000! They listened to our wish list and added more to it. They basically wanted to demo the pool and bring in a prebuilt mold to drop in. We were pretty discouraged after the first meeting.
- The second company we called listened to our dream list and felt it was impossible to do. They wanted us to do the bare minimum, which meant only replacing the light niche and liner. They gave us an estimate of $18,000-$20,000. We didn’t like that this company was unsure about working on our pool and was very negative about any type of renovation. They wanted us to keep what we have and make it work.
- The last company was the perfect fit. They knew our pool and just did a modern renovation to the exact same model as ours! They listened to our wish list and gave us a little more advice on how to make it the best it can be. They gave us an estimate of around $35,000.
The Plan To Make This Old Pool New Again
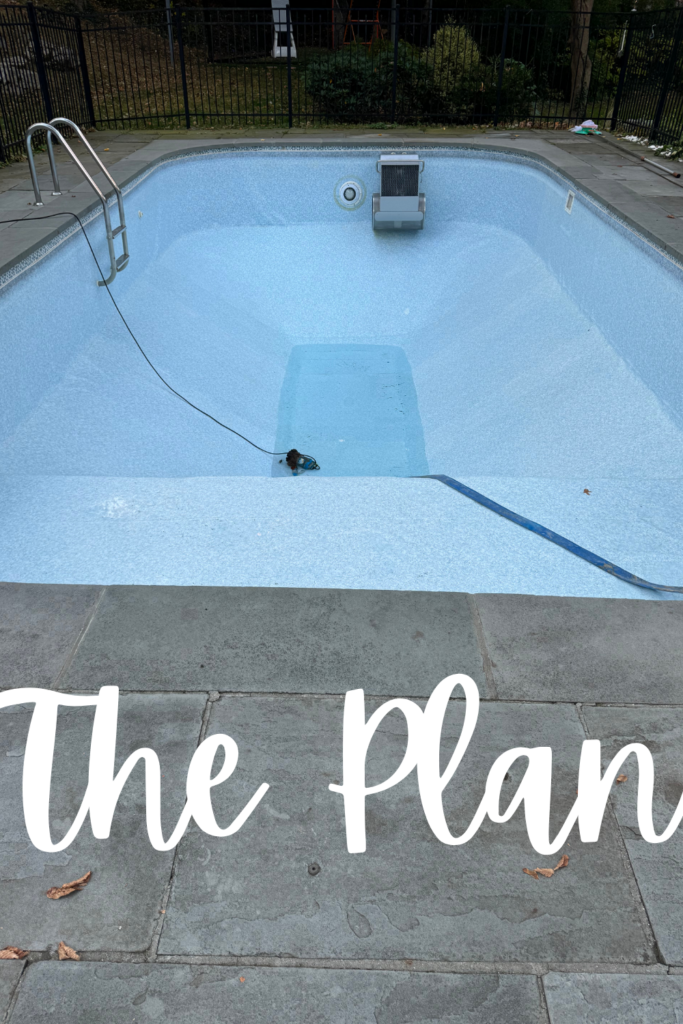
We made a list with our new pool company of everything we could think of to fix all the issues with the pool, but also make it more up-to-date. Here is what we came up with:
Replace The Leaking Light Niche
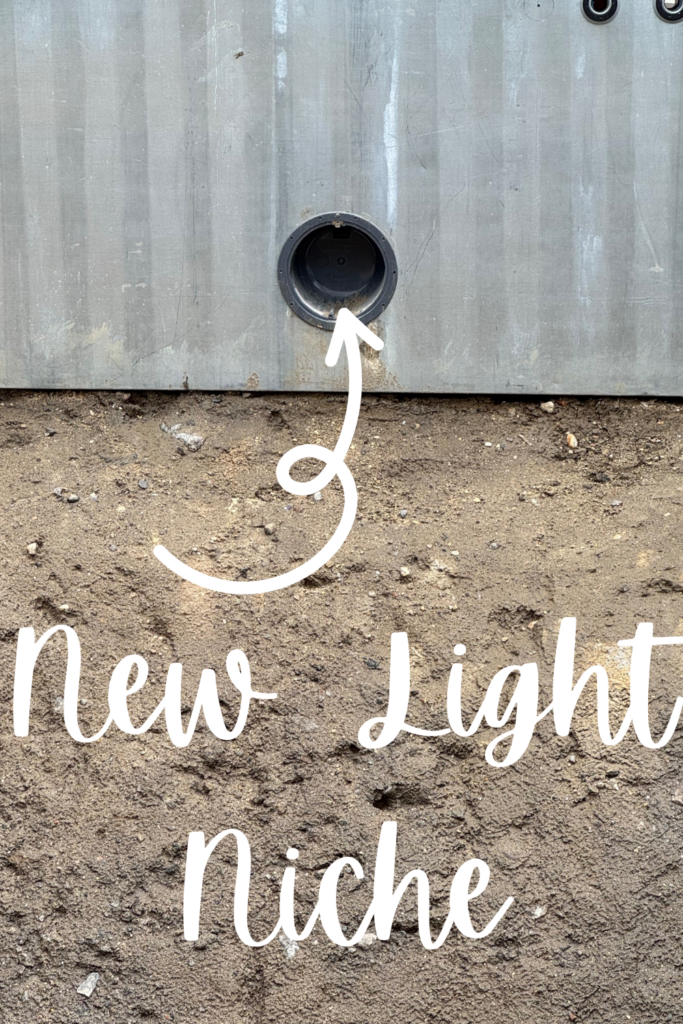
The first thing on the list was to repair and replace anything that is leaking or could leak in the future. We debated adding small LED lights and getting rid of this big spot light, but decided to keep this one for a retro look. We are going with an LED bulb that can change colors.
Replace The Conduit:
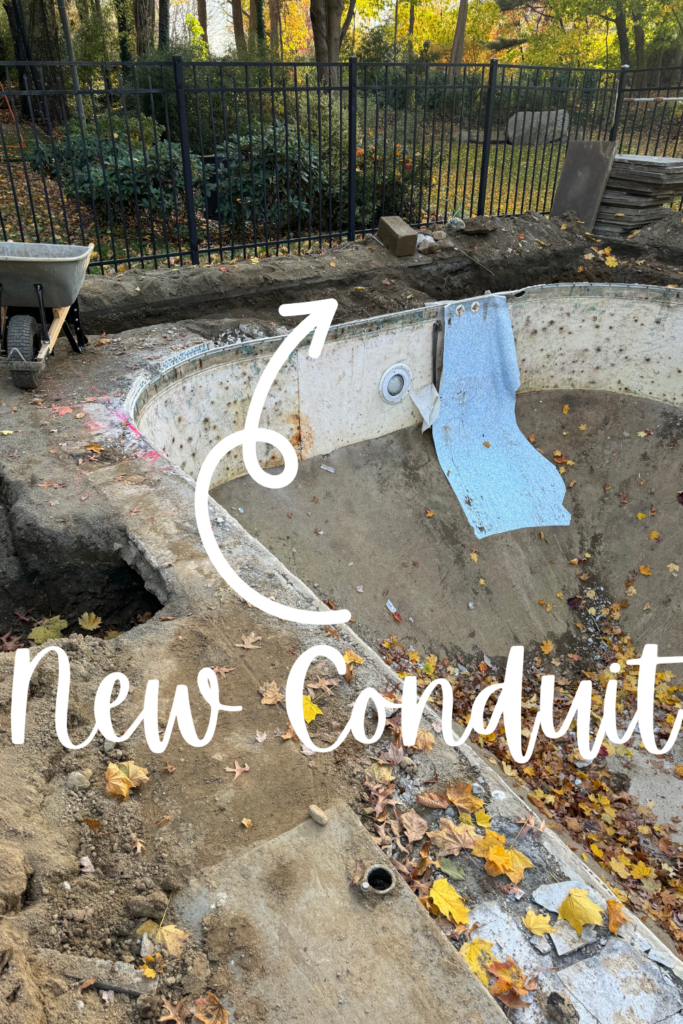
We knew this would have to be done because it was cracked in areas and needed to be upgraded. This was the best time to tackle this project because they had to remove all the stones and dig everything out.
Update The Skimmer:
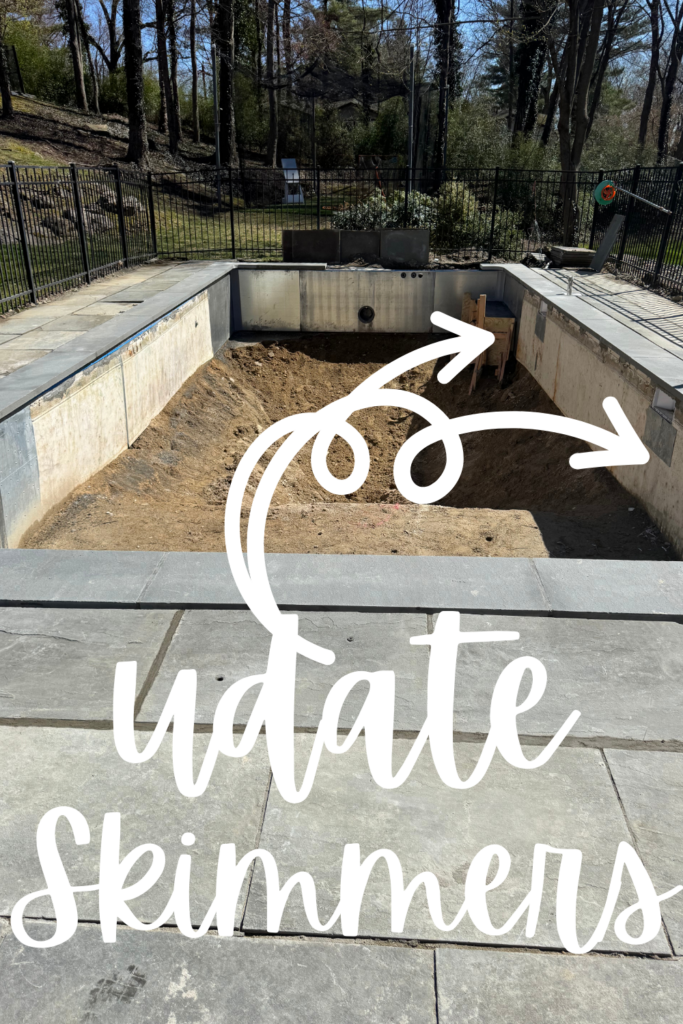
We replaced the existing skimmer with a bigger one and added a second one to catch more debris on the surface. We also raised the skimmer line to give us deeper water.
Add Steps:
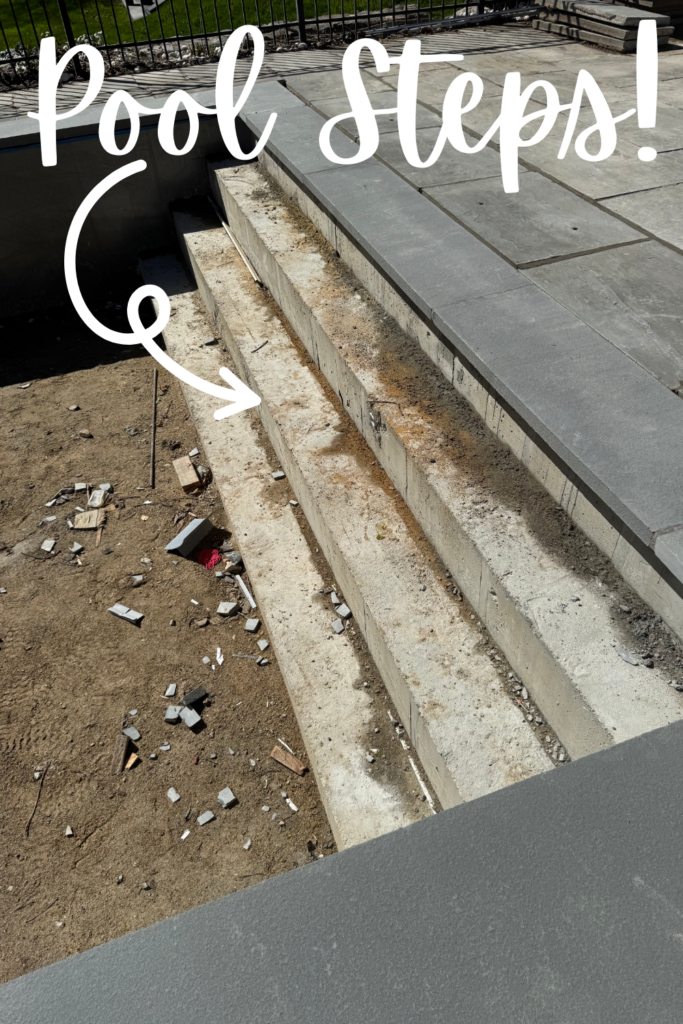
The original pool didn’t have steps! You had to lower yourself into the shallow end or use the rickety ladder and get in at the deep end. It has been ok up to this point, but we always talked about how nice it would be to have a set of steps.
Replace The Ladder With A Bench:
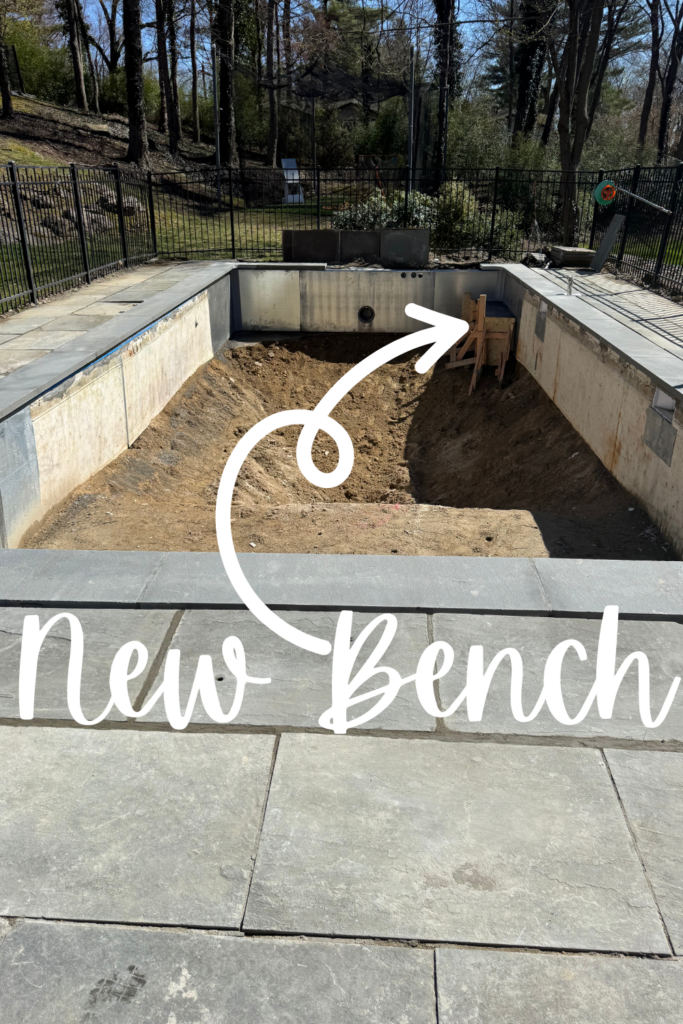
The ladder on the deep end was both rickety and ugly. The pool company suggested adding a bench to the deep end. It was the perfect solution. You can sit on it and hang out on the deep side, or you can use it to climb out, and it’s built-in! Keep in mind, if you add a bench, place it away from where people naturally jump into the water!
Straighten the Corners:
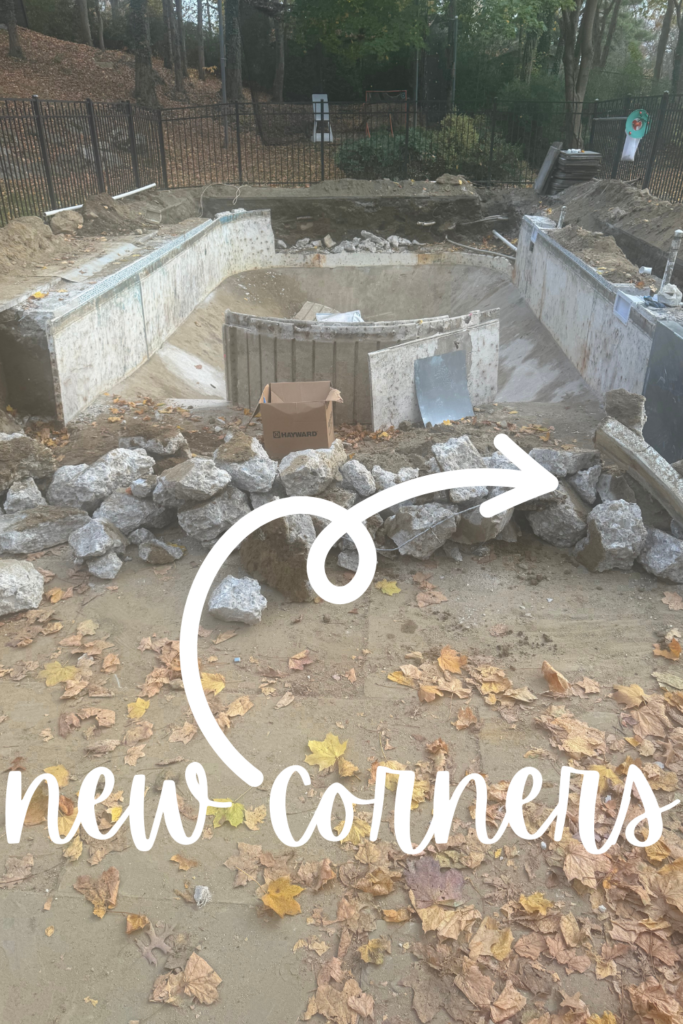
We debated this long and hard. In the end, the family agreed that the pool would look so much better with a more rectangular shape. This change was a little pricey, but I am happy we went with it.
Add Another Return:
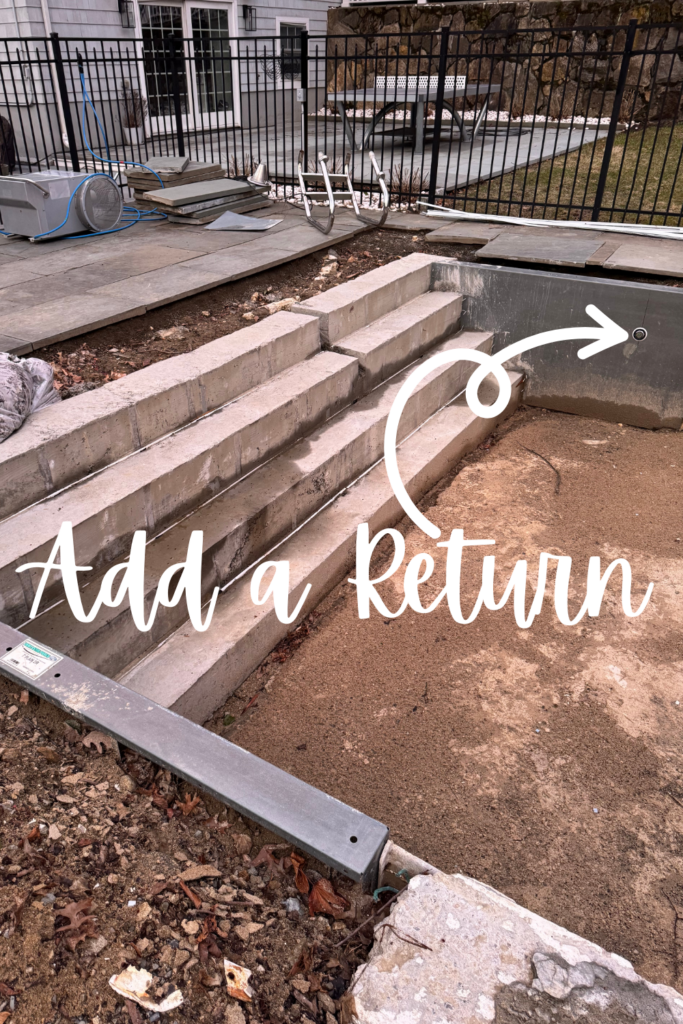
When we added the steps, we added another return to help circulate the water in the shallow more efficiently.
Get Rid Of Old Tiles:
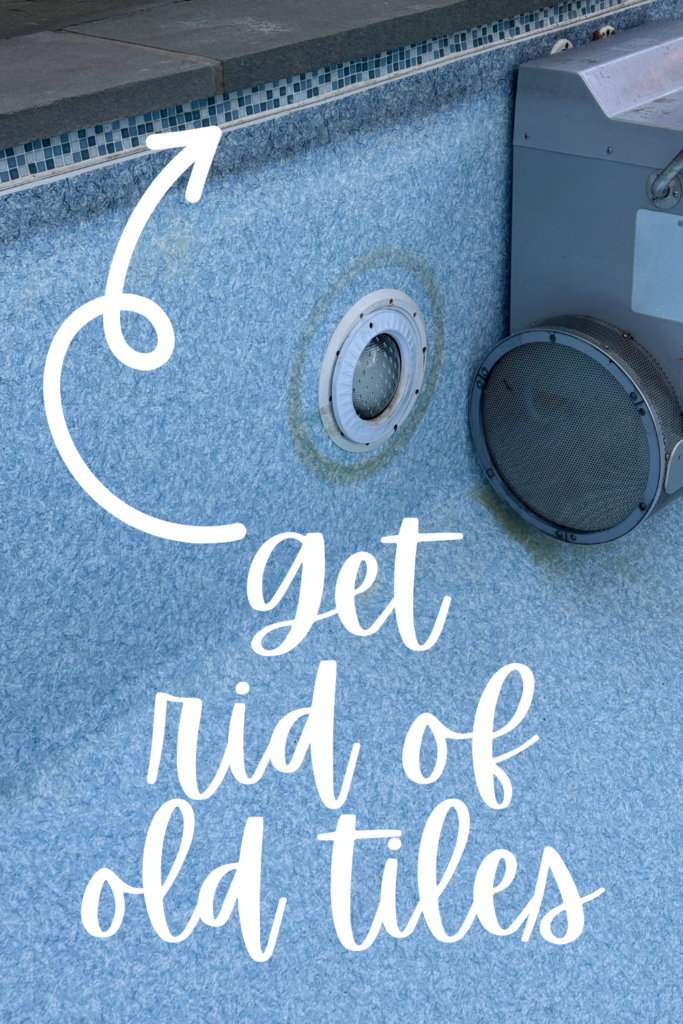
There were old, dated tiles along the top of the pool. I’m sure they were cool in their day, but they don’t match the new renovation, so they are gone.
Resurface the Pool:
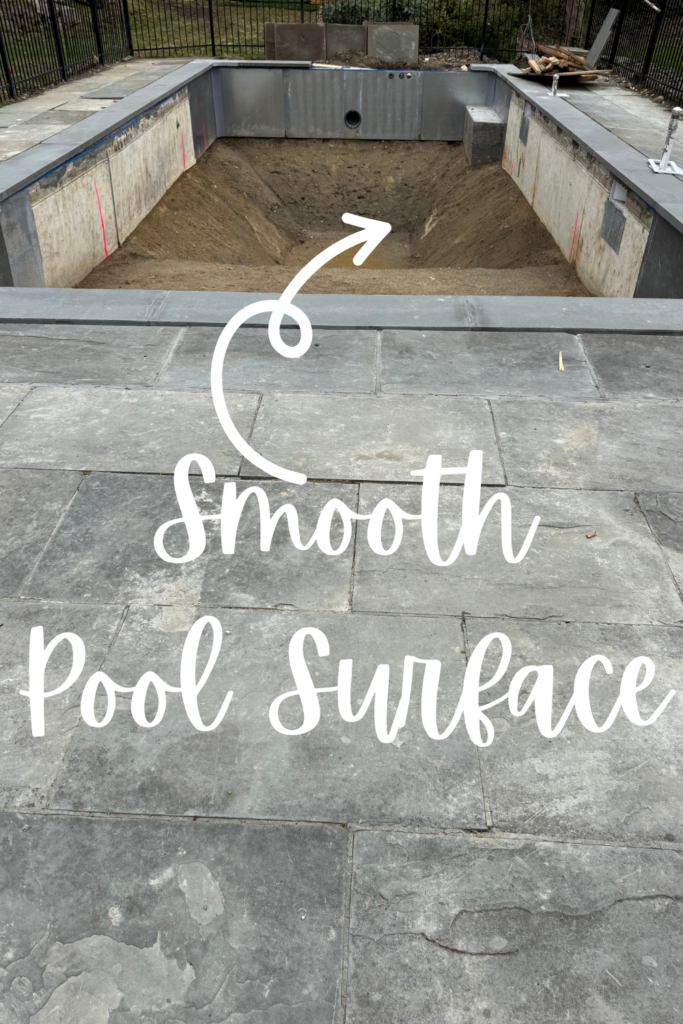
After all of the work, the guys smoothed the sand surface and reshaped the grade from the shallow to the deep end.
New Liner:
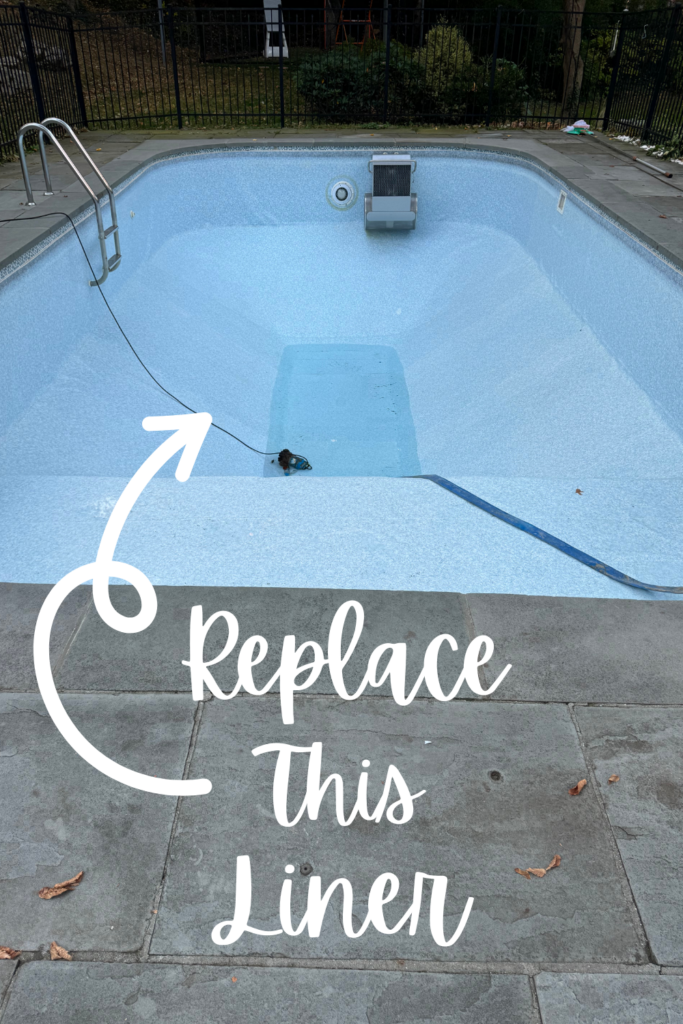
We decided to go with a modern gray liner. (CLICK HERE TO SEE OUR LINER CHOICE.) Our company suggested this liner from Latham Pools, and it has the most amazing reviews. It’s super dark, but trust me and look at images!
Add Vermiculite:
This was another debate. After a ton of research, I finally called my dad, because he’s a builder and always knows best, and he said it was a no-brainer. We are doing it! I will update this post as soon as it’s installed! We can’t wait!
This Post Was All about Inground Pool Renovation Before And After- Tips From One Home Owner To Another.
Other Project Posts You Might Enjoy:
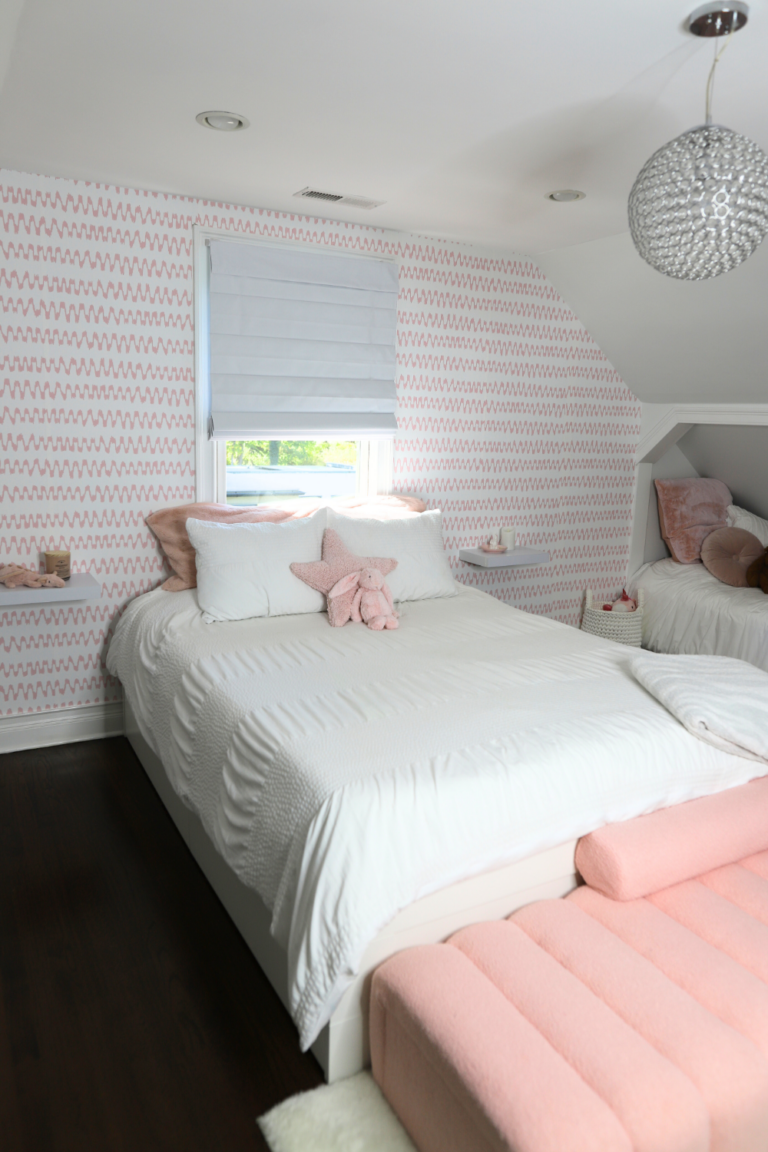
- The Ultimate Teen Girl Bedroom Makeover Plan
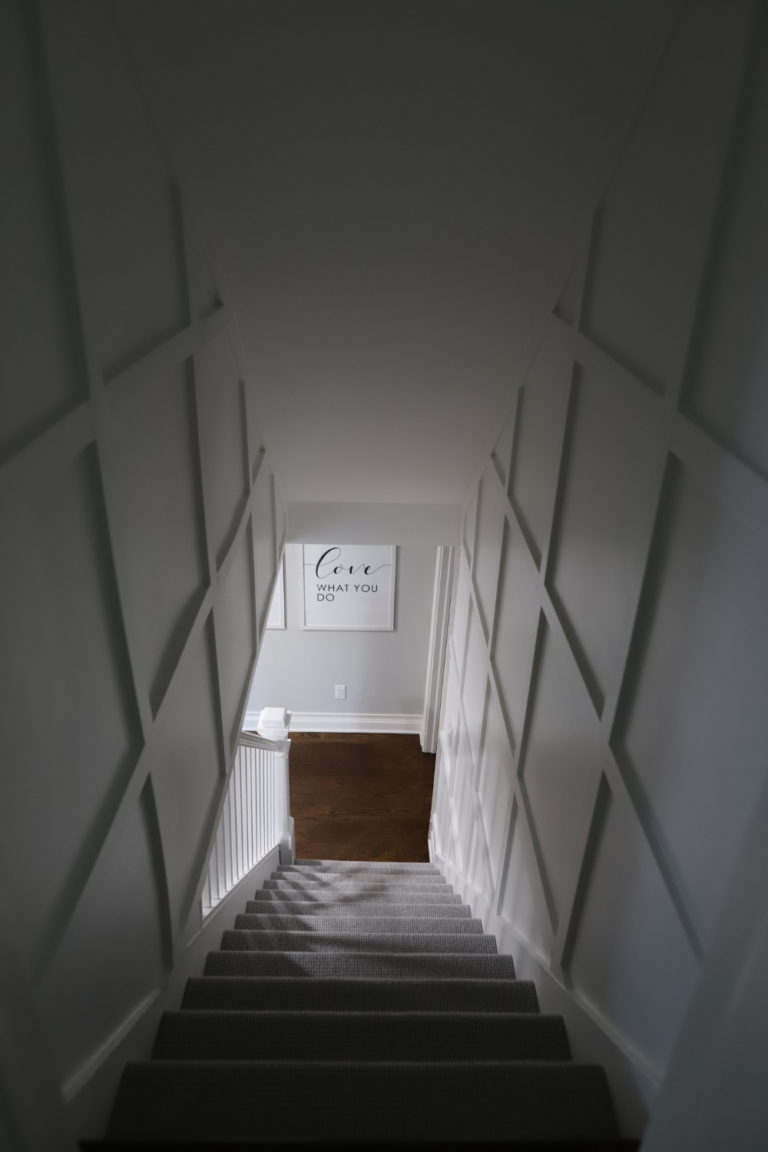
- How To Build A Board And Batten Staircase DIY
- How To Hang Peel And Stick Wallpaper By Yourself