Are you ready to spray paint plant pots and give your outdoor space a fresh look? It’s super easy to do and it will really make your plants stand out.
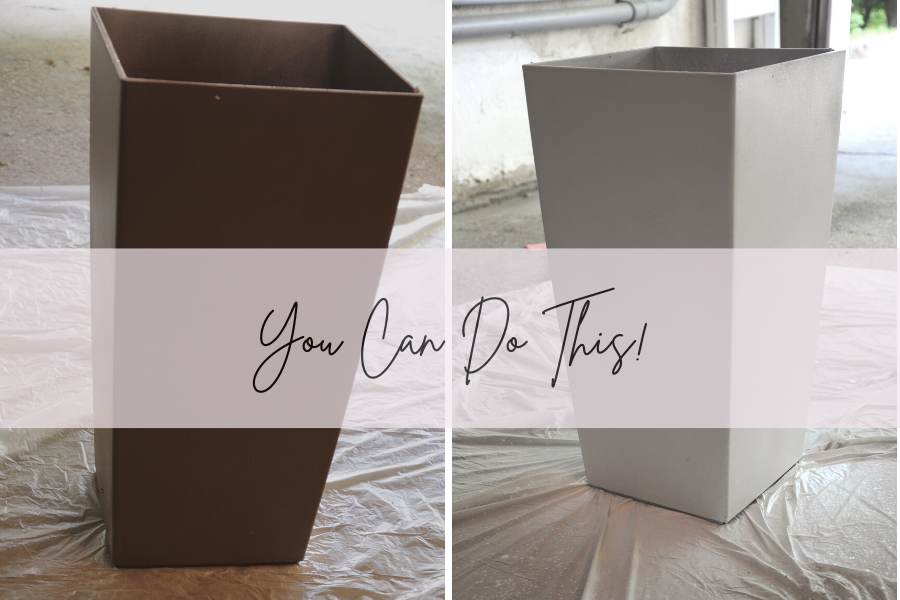
Do you have a plant pot in your house that doesn’t look like the others? This happened to me and instead of donating it, I decided to paint it. And, I’m so glad I did!
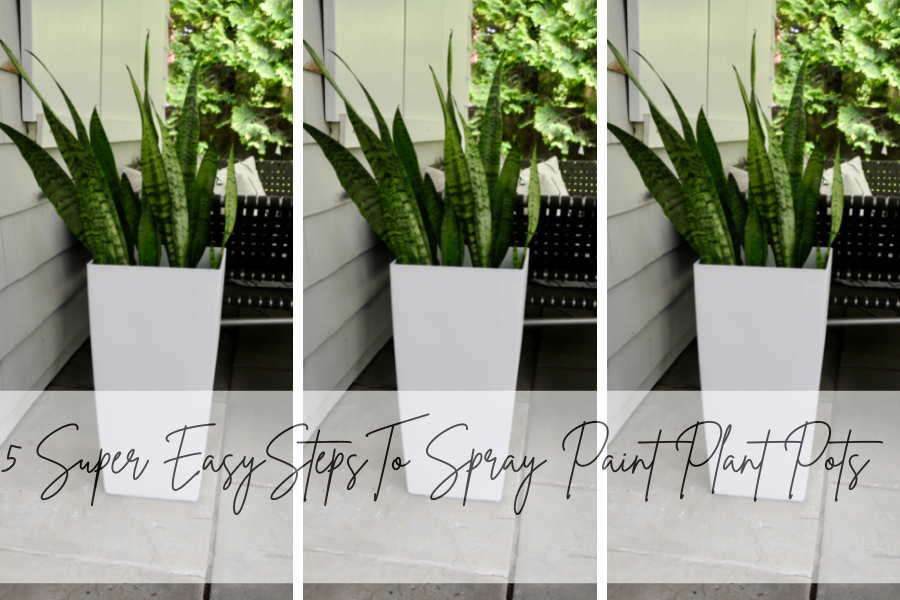
You are going to learn all the steps I took to take this oddball planter to a stand out piece on my patio. It was cheap and easy and I promise if I can do it, you can too.
If you follow these simple steps, you can have a new planter today. It honestly took me less than two hours to paint this big pot. And best of all, I am proud of it.
This post is all about the 5 steps I took to spray paint plant pots on my porch that took my decor from mismatched to beautifully blended.
How To Spray Paint Plant Pots
Step One:
Make sure you have all the materials you need. To paint my pot I used :
- Drop cloth (you can use garbage bags or lawn bags)
- Painters tape (to safety keep your drop plastic down)
- Gloves (I used disposable rubber gloves)
- Paint. Choose what type of paint will best work for you. My plant pot is plastic and I found the best outdoor plastic paint. Depending on the type of pot you own here are a few types that could work for you:
(This is the exact paint I purchased for my plastic planter.)
CLICK HERE TO PURCHASE THIS SPRAY PAINT
(This paint and primer is a great choice for indoor/outdoor use on various materials)
CLICK HERE TO PURCHASE THE KRYLON COLORMAX PAINT AND PRIMER
(Add a textured look with a paint like this – just be sure to buy a sealer – see below)
CLICK HERE TO CHECK OUT THIS TEXTURED SPRAY PAINT
(If you choose a paint that needs a sealer – this is the one for you. It will be an extra step, but you will be able to waterproof your planters with this paint)
CHECK OUT THIS PAINT IF YOU NEED A TOPCOAT
Step Two:
Now that you have all of your materials, you need to clean your pot! I know you’re excited to just get started, but you need to take the time to clean off the surfaces. The last thing you want is to paint over dirt and dust because you won’t have a nice finished product. Trust me. It’s worth the time! I used a damp bar cloth and didn’t add soap. I didn’t have any deep dirt – just a little dust. If you have a grimy pot, try dish soap to cut dirt and oils or vinegar and water.
Step Three:
Now that your plant pot is clean and dry you need to make some decisions about how to prep your pot. If you have a smooth plastic pot, you should take a moment to sand it just enough to rough up the plastic to allow the paint to adhere to it. Ceramic pots need to be sanded lightly before you can paint. Ceramics also need to be painted with a primer first or a spray primer/ paint combination. Cement planters will also need a primer. I lucked out because I had a rough surface plastic pot to work with. I simply cleaned it off and I was able to paint right after it dried.
Step Four:
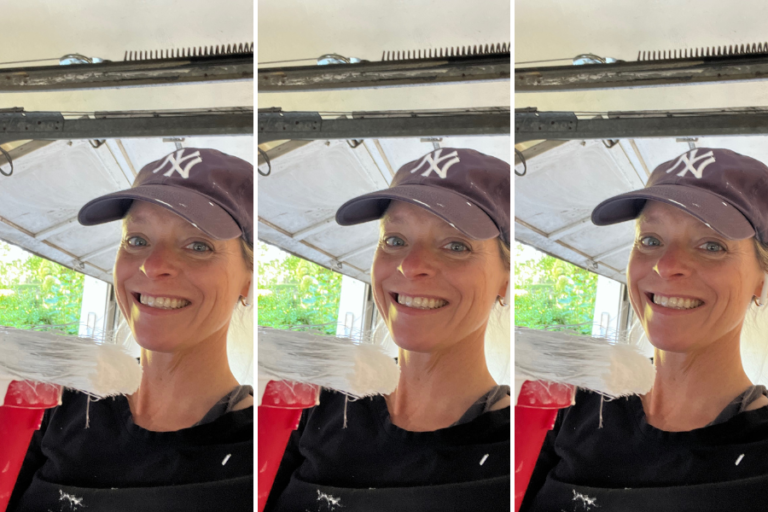
Find a responsible place to spray paint and take the time to prep your work space. Here’s the thing, spray painting is a little messy so keep that in mind when you choose your spot. And, you’ll want to paint in a place with good ventilation. I chose to work in my garage and to prepare I pulled the cars out and opened the doors. Plastic secured with painter’s tape kept my barrier in place. I wore old clothes and older shoes, pulled my hair back and wore disposable gloves. Then, it was game time!
Step Five:
PAINT!
Ok… it’s almost time to just go for it. ALMOST. But, before you jump right in, make sure you read the instructions on the paint can. Remember to take your time, make each spray as even as possible, and use layers to cover the planter little by little. You got this!
Click link to watch me paint my pot!

This post was all about the 5 super easy steps to spray paint plant pots.
Other Posts You May Like:
- 5 Steps To Organize A Junk Drawer That You Need To Do Today
- 3 Ways To Not Kill Your Indoor Plants
- 3 No Stress Ways To Declutter Bathroom Products With Your Family


